Do you have a question about the EK Vertical GPU Holder EVO and is the answer not in the manual?
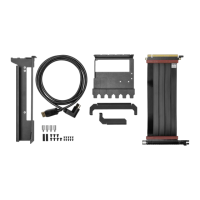
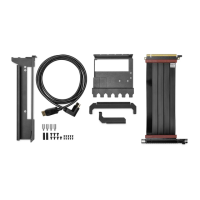
Assemble the three steel brackets using M3x5 countersunk screws for positioning the GPU holder.
Apply two protective adhesive foams to the designated areas to protect the GPU during installation.
Attach the PCIE riser cable to the bracket assembly using three M2.5 x 4 Phillips pan head screws.
Mount the GPU using UNC 6-32x1/4 screws and secure the PCIE latch by moving it to the left.
Power off, unplug PC, position motherboard horizontally, and remove PCIE brackets from the case.
Remove two screws from the bottom right side of the motherboard, saving them for later use.
Connect the DisplayPort cable to the GPU and route its straight connector through the case horizontal bars.
Carefully connect the Riser cable from the GPU Holder to the PCIE slot on the motherboard.
Attach the GPU Holder to the left side of the PC case using saved PCIE bracket screws or UNC 6-32x1/4 screws.
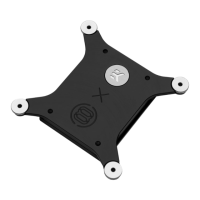
Place two Standoffs UNC6-32x13x5 under Bracket 3 and secure the right side of the GPU Holder to the motherboard.
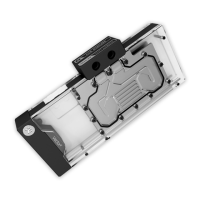
Connect the GPU cables as instructed by the GPU manufacturer to complete the installation.
Links to the company's social media profiles for updates and community interaction.
| Brand | EK |
|---|---|
| Model | Vertical GPU Holder EVO |
| Category | Computer Hardware |
| Language | English |