24
To maximize Battery Life:
Set power to 3.0 W or less when possible.
This uses a high-efficiency transmit mode.
Turn off the backlight (BKLIGHT) and the
isolation amp (RX ISO) when not needed.
Use headphones.
Use the auto-off timer (AUTO OFF).
Use BAT MIN to set up an appropriate
BAT LOW warning level for your battery type.
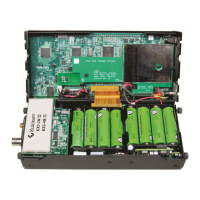
KXBC3 Internal NiMH Charger
Charge only NiMH cells with the KXBC3.
The KXBC3 module provides a convenient way to
keep internal NiMH batteries charged. You can
operate while batteries are charging.
To ensure safe charging of all NiMH cell types, the
KXBC3 uses a “C/10” charge rate (about 200-250
mA, or 1/10
th
of typical cell capacity in mA-hours).
A 13-15 volt, 400 mA or higher power supply
must be connected during charging.
To enable the KXBC3 after installation: Set the
BAT CHG menu entry from NO T INST to OF F.
Exit the menu. Turn power off and back on.
To start charging: Set BAT CHG to the desired
charge time. If batteries are fully depleted, use 10-
12 hours. To top off, use 1-2 hours. Exit the menu.
To cancel charging: Set BAT CHG to OFF . (This
menu entry can be assigned to a programmable
function switch; see pg. 19.) If the KX3 is turned
off during charging, it will “hibernate,” showing the
remaining battery charge time on the display. The
KX3 will turn itself off when charging is complete.
Real-Time Clock
The KXBC3’s real-time clock (RTC), powered by
the battery pack, shows 24-hour time.
Use the TIME menu entry to set the time. Use
ALARM to set the alarm time. To see the time
displayed on VFO B, tap D IS P .
Preserving clock registers during battery
swap: The current time will be preserved during a
battery swap if you connect an external supply or if
you complete the swap within about two minutes. If
the time information is lost, use the TIME menu
entry to reset the time.
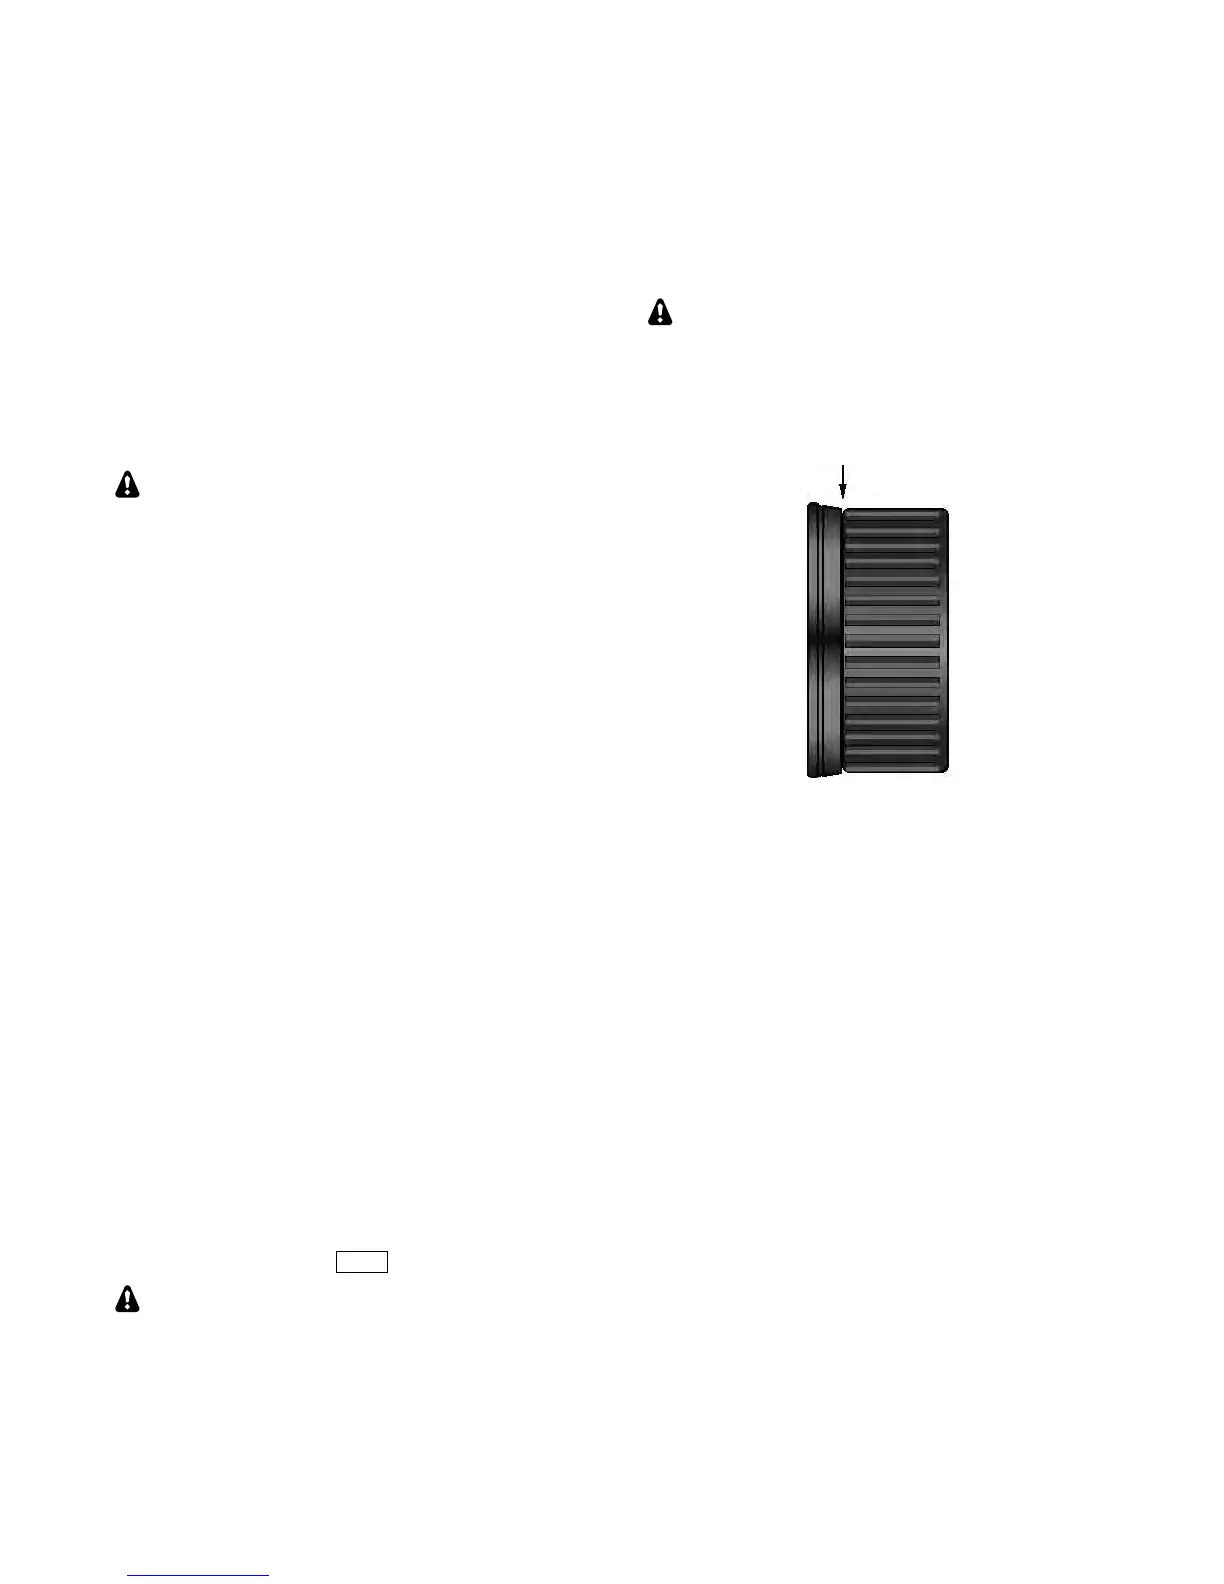
VFO Friction Adjustment
The spin rate of the VFO A knob can be adjusted by
moving the knob in or out slightly. The rubber
finger grip on the VFO A knob covers the knob’s
set screw, so it must be removed first.
In the following procedure, use only your
fingernails; a tool may scratch the knob.
Using your fingernails at the point identified below,
pull the finger grip forward slightly. Rotate the
knob and repeat until the grip can be pulled off.
Use the supplied 5/64" (2 mm) Allen wrench to
loosen the set screw.
Between the knob and front panel is a felt washer
which, when compressed, reduces the spin rate.
Move the knob in or out in small increments until
the desired rate is obtained. (Re-tighten the set
screw each time so you can spin the knob.) Then
and replace the finger grip.