Do you have a question about the Elegoo Saturn 3 Ultra and is the answer not in the manual?
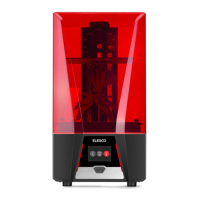
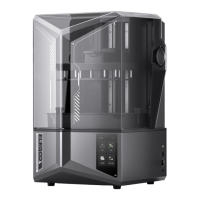
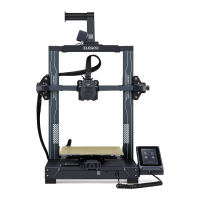
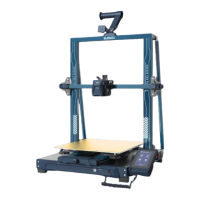
Identifies key printer parts with numbered diagrams.
Highlights external components like the Anti-UV Cover and Extension Port.
Details operational settings such as resolution, layer thickness, and printing speed.
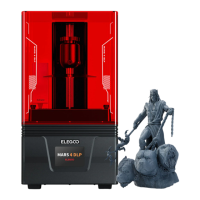
Lists physical dimensions, build volume, and weight of the printer.
Introduces the primary screen layout and basic navigation.
Explains managing print files, previewing, and starting prints.
Details manual control, Z-axis zeroing, tank cleaning, and screen exposure.
Covers system settings, language selection, and device information.
Guides on connecting to WiFi networks and performing firmware updates.
Describes removing the resin tank and adjusting build plate screws.
Explains using a leveling card and setting the Z-axis to zero.
Details raising the Z-axis and performing a screen exposure test.
Instructions on adding resin, inserting U disk, and starting a test print.
Guidance on removing the printed model and post-processing.
Instructions for installing and using the Chitu Box slicing software.
Setting up printer details, resin properties, and print parameters.
Details transition layers, quiescent times, and lift/retract speeds.
Steps for slicing, saving files to U Disk, and initiating print transfer.
Steps for connecting the printer to a WiFi network.
How to send sliced models to the printer wirelessly.
Instructions for upgrading the printer's firmware.
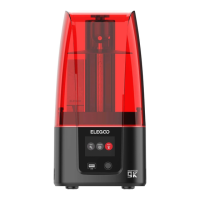
| XY Resolution | 19 x 24 μm |
|---|---|
| Operating System | Linux |
| Screen Type | Monochrome LCD |
| Build Volume | 218.88 x 122.88 x 260 mm |
| LCD Resolution | 12K (11520 x 5120) |
| Connectivity | USB, Ethernet |
| Power Supply | 100-240V, 50/60Hz |
| Dimensions | 305 x 273 x 567 mm |