Find a suitable place for the Control Unit to be mounted. Use the supplied
bracket to attach it to a wall, pipe or another steady and rigid support. To take
advantage of the large and clear dial, the Control Unit should be clearly visi-
ble from a distance and easy accessible for maintenance if needed. Please plan
this with respect to later mounted piping or other obstacles. Install the
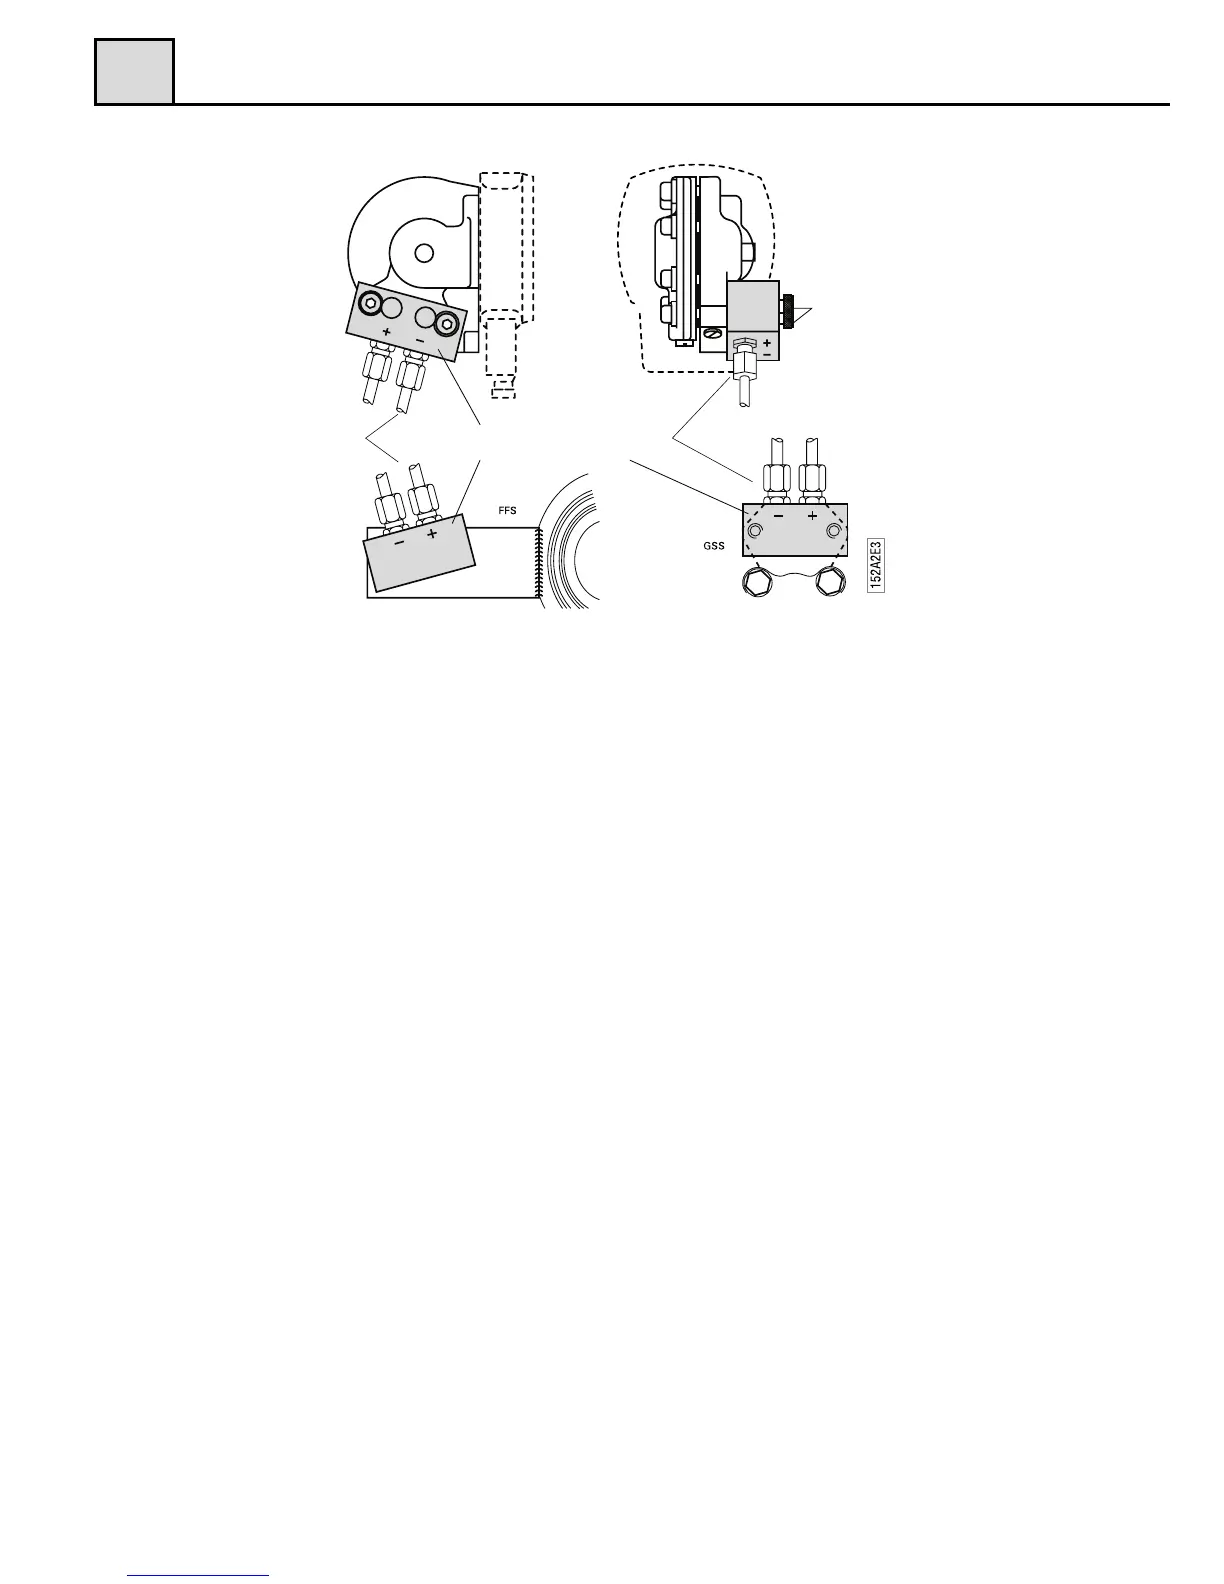
hoses/tubing, commencing with the Pipe Section. Check that you have enough
length to cover the distance between the Pipe Section and Control Unit. The
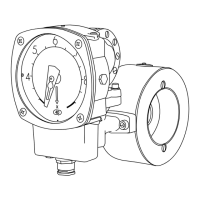
Pipe Section adapter has a (+) and (–) marking engraved and the adapter on
the Control unit too. Please make sure to match (+) to (+) and (–) to (–) on the
adapters. Press the hose/tube end into the coupling and tighten with care.
Proceed to the Control Unit and repeat the above. When you fill up the system
for the first time with liquid, please make sure that all entrapped air in the pi-
ping between the Pipe Section and Control Unit is removed. The air can other
wise, as it is a compressible media, cause faulty flow readings.
Installation and changing of the Control Unit
As all Eletta Flow Monitors are designed in sections to achieve a modular and
versatile Flow Monitor, there is a possibility to upgrade/rebuild them and ad-
ding other features to your already installed Monitor, by changing the Control
Unit or Pipe Section. If you, for example, would like to upgrade a V- or S-se-
ries with mechanical micro switches to a D-series including analog and/or
frequency output, local front display and two independent adjustable relays or
the other way around, this is easily done. You simply order a Control Unit with