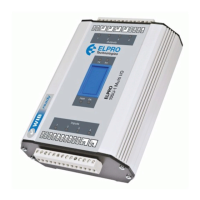
905U Wireless I/O Module User Manual
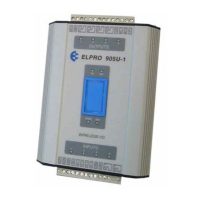
105S Serial I/O Module
Page 66 © January 2011
used for configuration.
The diagnostics menu is accessed by removing the blue “plug” from the front of the module and setting
all switches to ‘0’ or “Open”, and holding down the red button for approximately 5 seconds, until the
RX LED lights continuously. One of the following menus will be displayed on the terminal :
1051 V1.0
a) Ins
b) Tones
c) Comms
d) DO1
e) DO2
f) DO3
g) DO4
h) AO1
i) AO2
j) Switch
k) Signal
>
1052 V1.0
a) Digital Ins
b) Analog Ins
c) Tones
d) Comms
e) DO1
f) Switch
g) Signal
>
1053 V1.0
a) Ins
b) Tones
c) Comms
d) DO1
e) DO2
f) DO3
g) DO4
h) DO5
i) DO6
j) DO7
k) DO8
l) AO1
m) AO2
n) AO3
o) AO4
p) AO5
q) AO6
r) AO7
s) AO8
t) Switch
u) Signal
>
1054 V1.0
a) D Ins
b) A Ins
c) Tones
d) Comms
e) DO1
f) DO2
g) DO3
h) DO4
i) DIO1
j) DIO2
k) DIO3
l) DIO4
m) DIO5
n) DIO6
o) DIO7
p) DIO8
q) DIO9
r) DIO10
s) DIO11
t) DIO12
u) Signal
>
Choose an item from the menu by entering the letter before that item. For example, to select the
"Signal" function from the 105-1 Menu, enter :- k
During the diagnostics session, if you press Enter or Space while the menu is displayed, the module
will restart in normal operating mode. To re-enter diagnostics mode, hold the red button for 5 seconds
etc.
After the diagnostics session is over, force the module to restart, then select “Stop Terminal”, then
“Close”.
Inputs
This option provides a dynamic display of the status of all of the inputs in the 905U, both internal and
external.