IT
31
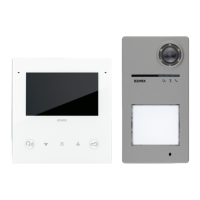
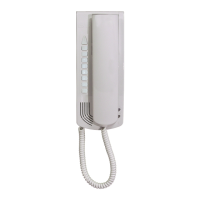
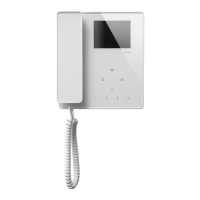
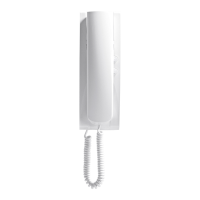
40540 - 40542 - 40540.D - 40547
Dip switch configuration mode
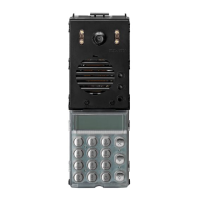
The entryphone is equipped with an internal programmer consisting of 12 dip switches designed to perform advanced
configuration as illustrated in the following table.
Configuration procedure:
N.B.: all the configurations can be made only with the Entryphone powered and connected to the system.
• To enter the configuration state: press and hold down (for at least 6 s) the "Config" button in the entryphone until the
white LED starts to flash (0.5 s ON / 0.5 s OFF) and (only for the handset version) the entryphone emits a confirmation
beep (lasting 2 s).
• for every configuration listed below, set the dip switches as shown in the table.
• press the "Config" button (release within 1 s), or the button to be configured (where envisaged) to save; wait for
visual feedback (and acoustic only for handset entryphones) for confirmation or invalid setting.
NB: the dip-switch values are read only when the Config button (or the button to configure) is pressed; once positive
feedback is given, the switches can move without affecting the configuration, at least until the Config/button is pressed
again (short press).
• to exit the configuration mode: press the “Config” button (for at least 3 s) until the white LED stops flashing (and only
for the handset version, the entryphone emits a "beep" lasting 2 s); or wait for the timeout of 60 s from the last press
on the "Config" button or entryphone push button (the dip switch movement will not renew the timeout).
Note: If the programming is unsuccessful (for instance the ID already exists in the system), you will hear a low tone
acoustic feedback in the handset and a visual feedback with the flashing of the individual red LED.
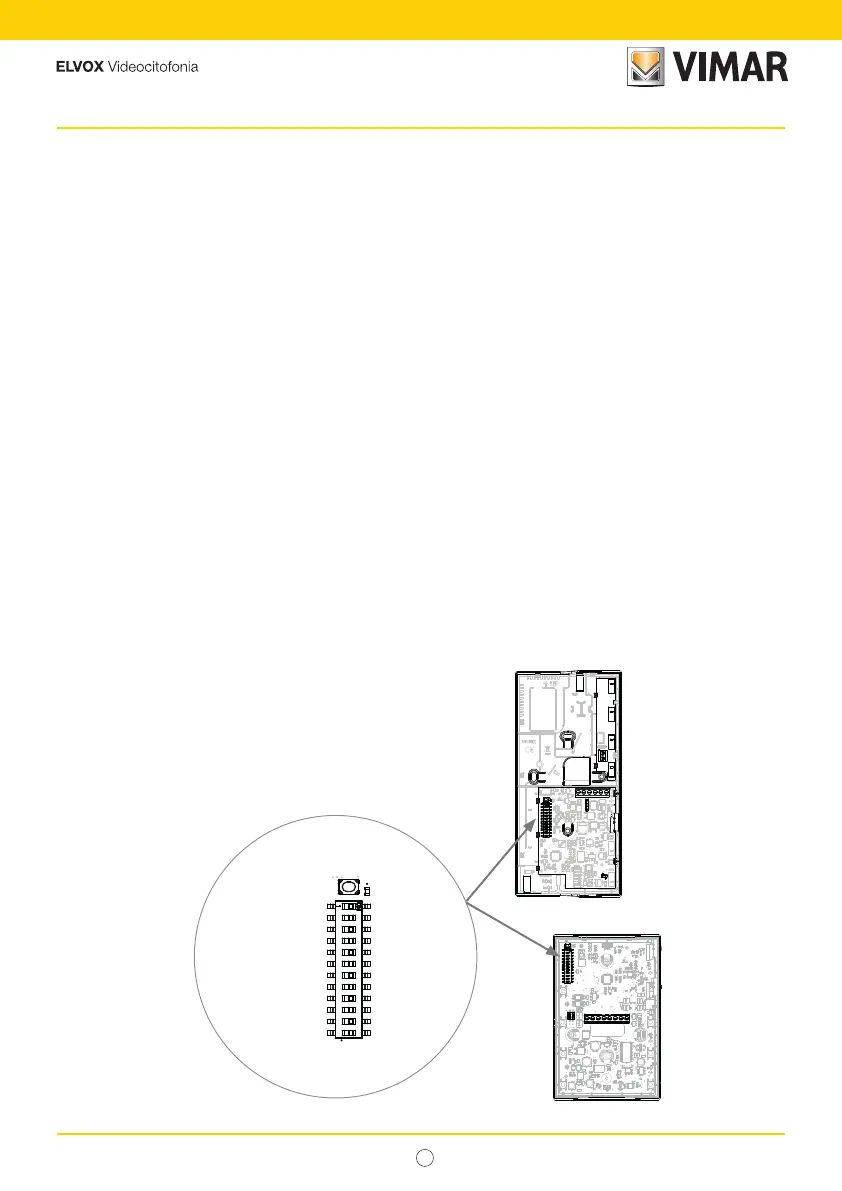
"Config” button
Dip switch
0000 aaaa bbbb
On Position
"Config” button
ON position
Off position
OFF position
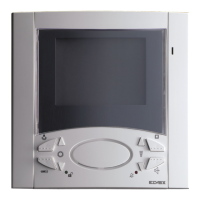
40540 - 40542 - 40540.D
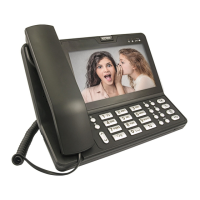
40547