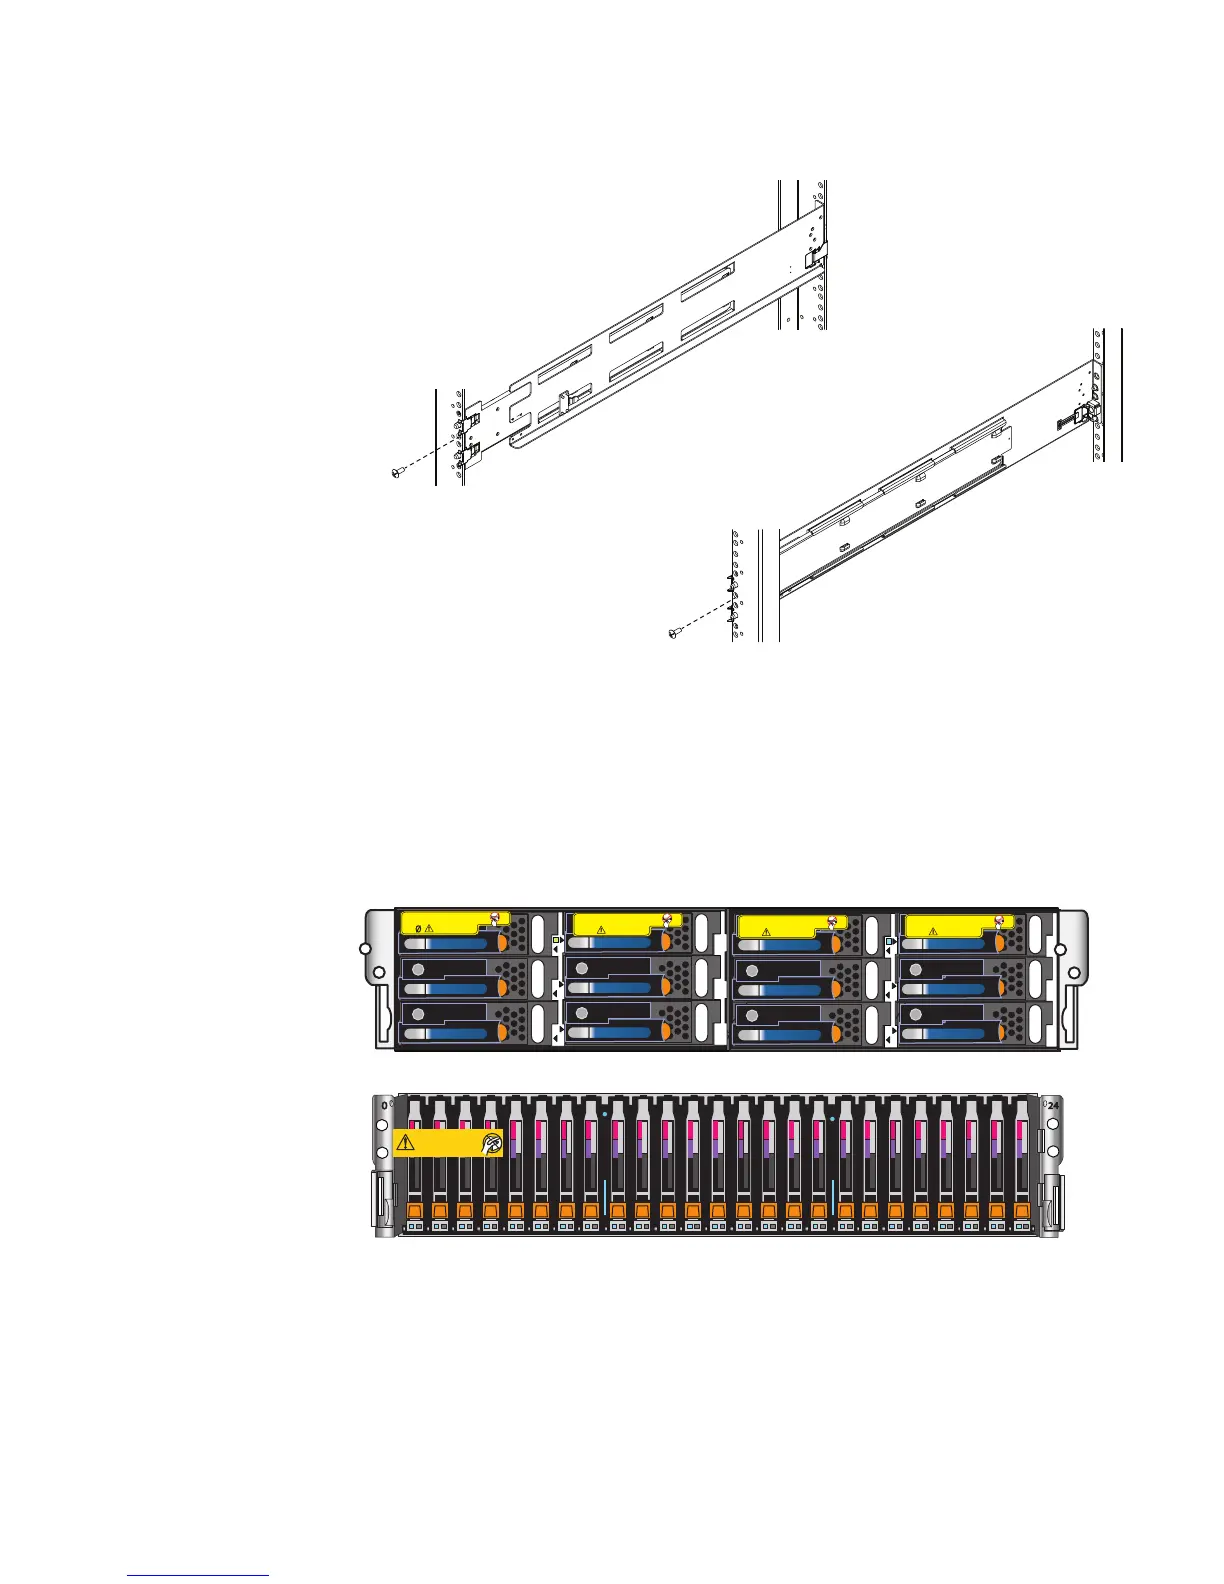
Figure 6 Installing the M5 Screw
6. Repeat for the other rail.
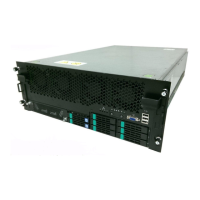
Install the disk processor enclosure
There are two types of DPE(s). Each is 2U. One utilizes 3.5" disks, while the other utilizes
2.5" disks. The installation procedure is identical, no matter which one you have in your
system. Each DPE contains dual storage processors.
Figure 7 DPE front views
Removing these drives will
make the array unusable
SPD
Removing these drives will
make the array unusable
SPD
Removing these drives will
make the array unusable
SPD
Removing these drives will
make the array unusable
SPD
1
2
3
Will Make the Array Unusable
Caution: Array Software on drives 0-3. Removing or relocating them
The DPE has a Product Serial Number Tag (PSNT tag) attached to the rear of the chassis.
Before installation of the chassis, record the information from this PSNT tag on the VNXe
Series Configuration Worksheet. See Figure 8 on page 21.
Rack and install
20 EMC VNXe2 Series VNXe3200 Installation Guide