2 Laser and sensor setup
1. Mount the brackets on opposite sides of the coupling.
2.
Mount the laser and sensor on the brackets.
3. Adjust the laser beam so that it is correctly centered on the sensor.
4. Enable Bluetooth in the AMS 2140.
5. Pair the sensor.
These steps are covered in detail in the topics that follow.
2.1 Laser and sensor overview
The laser and sensor communicate via Bluetooth with the AMS 2140.
The laser and sensor have a similar appearance and are differentiated by the
color of their sliding dust caps—yellow for the laser and red for the sensor. To
power on the laser and sensor, briefly press and hold the on/off button.
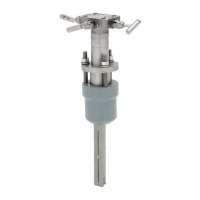
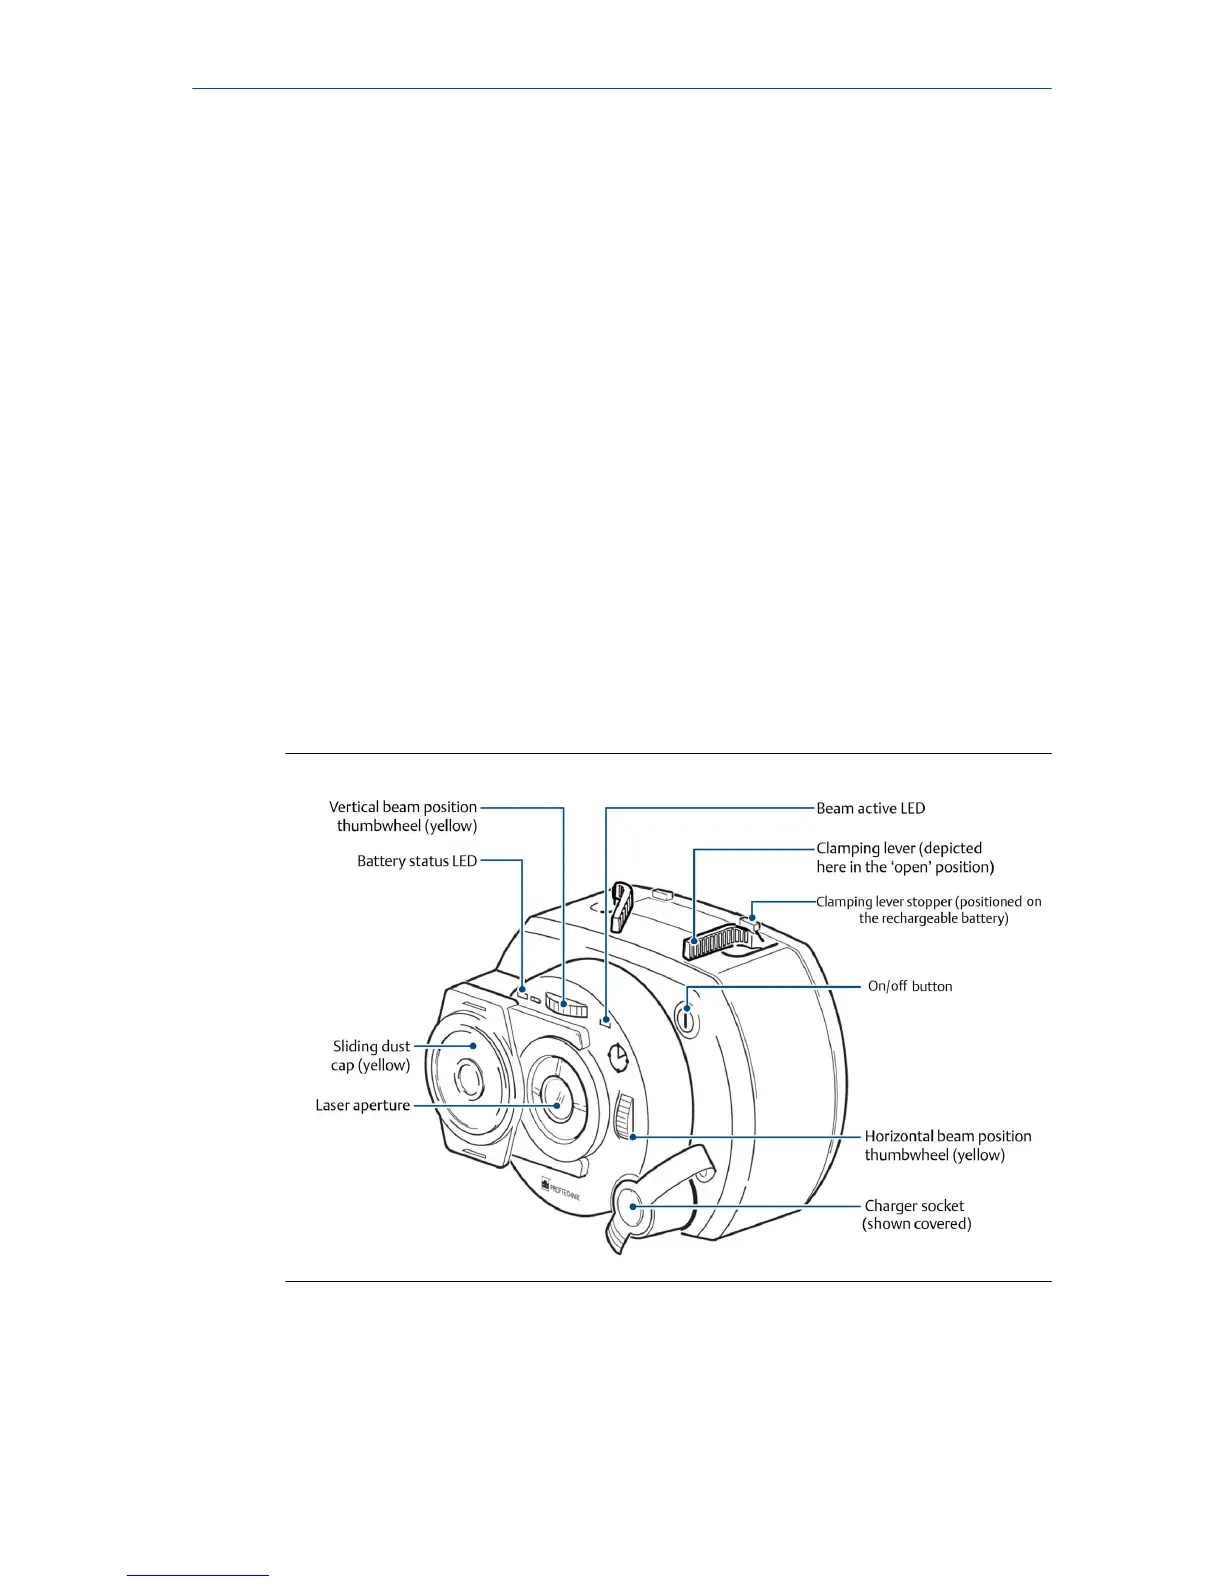
The laser
The laser beam is adjusted during set-up by changing its vertical and
horizontal angles using the position thumbwheels, so that the beam strikes
the sensor lens perpendicular to the lens surface.
The laser is water and dust resistant (IP 65). The internal optics and
electronics are internally sealed, preventing possible contamination.
Quick Start Guide December 2018
8 AMS 2140 Advanced Laser Alignment Application

 Loading...