Configuration
[66]
Prerequisites
• -24 V DC power supply, if the converter is not supplied by a measuring amplifiers
such as an A6500-UM Universal Measuring Card.
• EZ 1000 with factory default settings.
• EZ 108x sensor with 5 m or 10 m sensor cable.
• Suitable tool for pressing the calibration button such as a 2 mm screw driver or a
pen.
• Material of the measuring object: 42CrMo4
• Sensor is not installed in the machine.
Procedure
1.
Connect the sensor to the EZ 1000 (see
Sensor connection
).
2. Connect the power supply if not already done (see
Power supply and output signal connection
).
3. Switch on the power supply.
Note
Wait 60 seconds after powering up the EZ 1000 converter or after a firmware update before
starting the calibration process.
4. Take the sensor and hold it straight up into the air – away from ferro magnetic
materials.
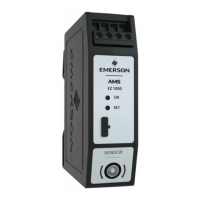
5. With a suitable tool, press and hold the button on the front of the EZ 1000 to start
the calibration process. The green LED starts flashing. See
Figure 8-28
for location of
the button and the LED. Hold the button until the LED changes the flashing pattern
to double flashing.
 Loading...