57
Safety Manual
00809-0200-5100, Rev GB
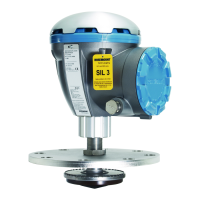
Proof Test
February 2017
Proof Test
7. In the Test SIL High Alarm window, verify the current test time, or change the test time to
the desired value.
8. Enter your signature.
9. Click the Start Test button to start the test procedure. The SIL High Alarm Test Data
window with updated parameters will appear. During the SIL High Alarm test, the
gauge measures the distance to the Reference Reflector and will present it as the SIL
Surface Distance. Safety Status will be changed to Alarm since the Reference Reflector
is located within the High Alarm region. When the test is finished, the gauge returns to
measure the distance to the actual product surface, and the SIL High Alarm Test Data
window is automatically closed.
The Stop Test button allows you to stop the test before the specified test time has
elapsed. You will still be able to fill in the test report form in order to generate a test
report file in pdf format. Pressing the Cancel button stops the test and no report will be
generated. See Table 5-1 on page 59 for information on the various Safety Alarm
Parameters displayed in the SIL High Alarm Test Results window and in the test report.
If no bar graph appears and the Stop Test button is disabled, the gauge was not able to
start the test. This may happen if, for example, the Reference Reflector has been
removed, or if amplitude thresholds are not properly configured. In that case, click the
Cancel button to close the window, and check that the Reference Reflector is properly
installed and configured. You should also check the Safety Alarm Parameters in the
Safety Alarm window for possible errors.
 Loading...