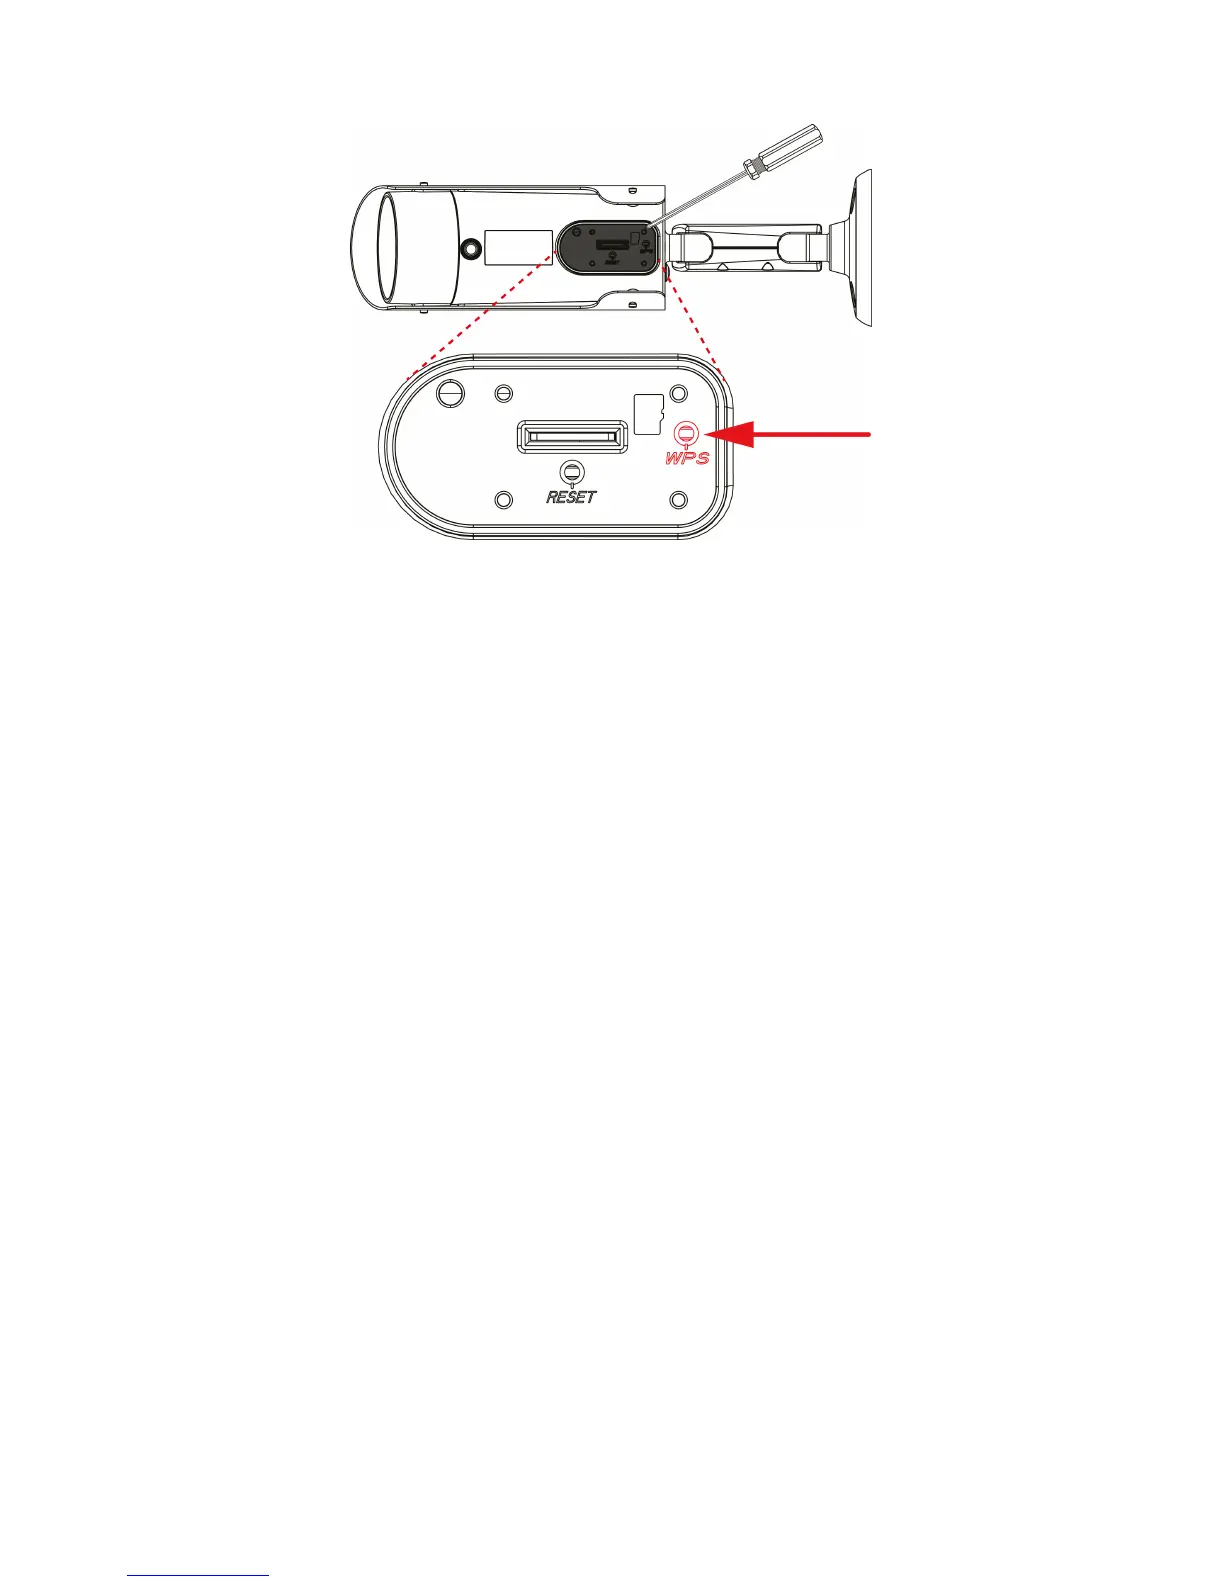
3. Press the WPS button on your modem/router.(please refer to the manual of the
modem router for information about how to start WPS synchronization)
4. The blue LED will start blinking (Camera is synchronizing the wireless encryption
settings with your modem/router). The synchronization is ready when the Blue
status LED continuously lit.
2.7.3 Connecting to Wi-Fi using the App.
1. Ensure the camera is connected to the network with a Ethernet cable.
2. Start the App “Easy Pro View”.
3. Select the “Camera settings” menu by pressing the arrow next to the camera you
would like to configure.
4. (if prompted Login with username: (default “admin”)
Password: (default “leave blank”)
5. Select “Network”
6. “Wi-Fi Network”
7. Enable Wi-Fi
8. A list of available wireless networks will be displayed.
9. Select the wireless network you want to connect to (if not displayed press
“refresh”)
10. Enter the wireless encryption key and press “ok”
11. Disconnect the Ethernet cable to connect to the wireless network.
2.7.4 Connecting to Wi-Fi using the PC (windows).
1. Ensure the camera is connected to the network with a Ethernet cable.
2. Install the software on the CD-ROM
3. Start “Easy Pro View”
4. Right click on “camera ID” in the auto search list and click “web configure”
5. Login with username: (default “admin”)
Password: (default “leave blank”)
6. Click Network
7. Wi-Fi security



 To Next Page