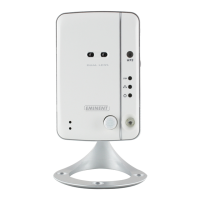
1.3 Requirements to access the camera.
It is very easy to access the video images of the EM6260 on your smartphone, tablet
or PC. You only need the ID and password that is written on your ID/Password card
and download the application for your device. You do not need to remember or setup
the configuration of your modem/router to be able to access the camera.
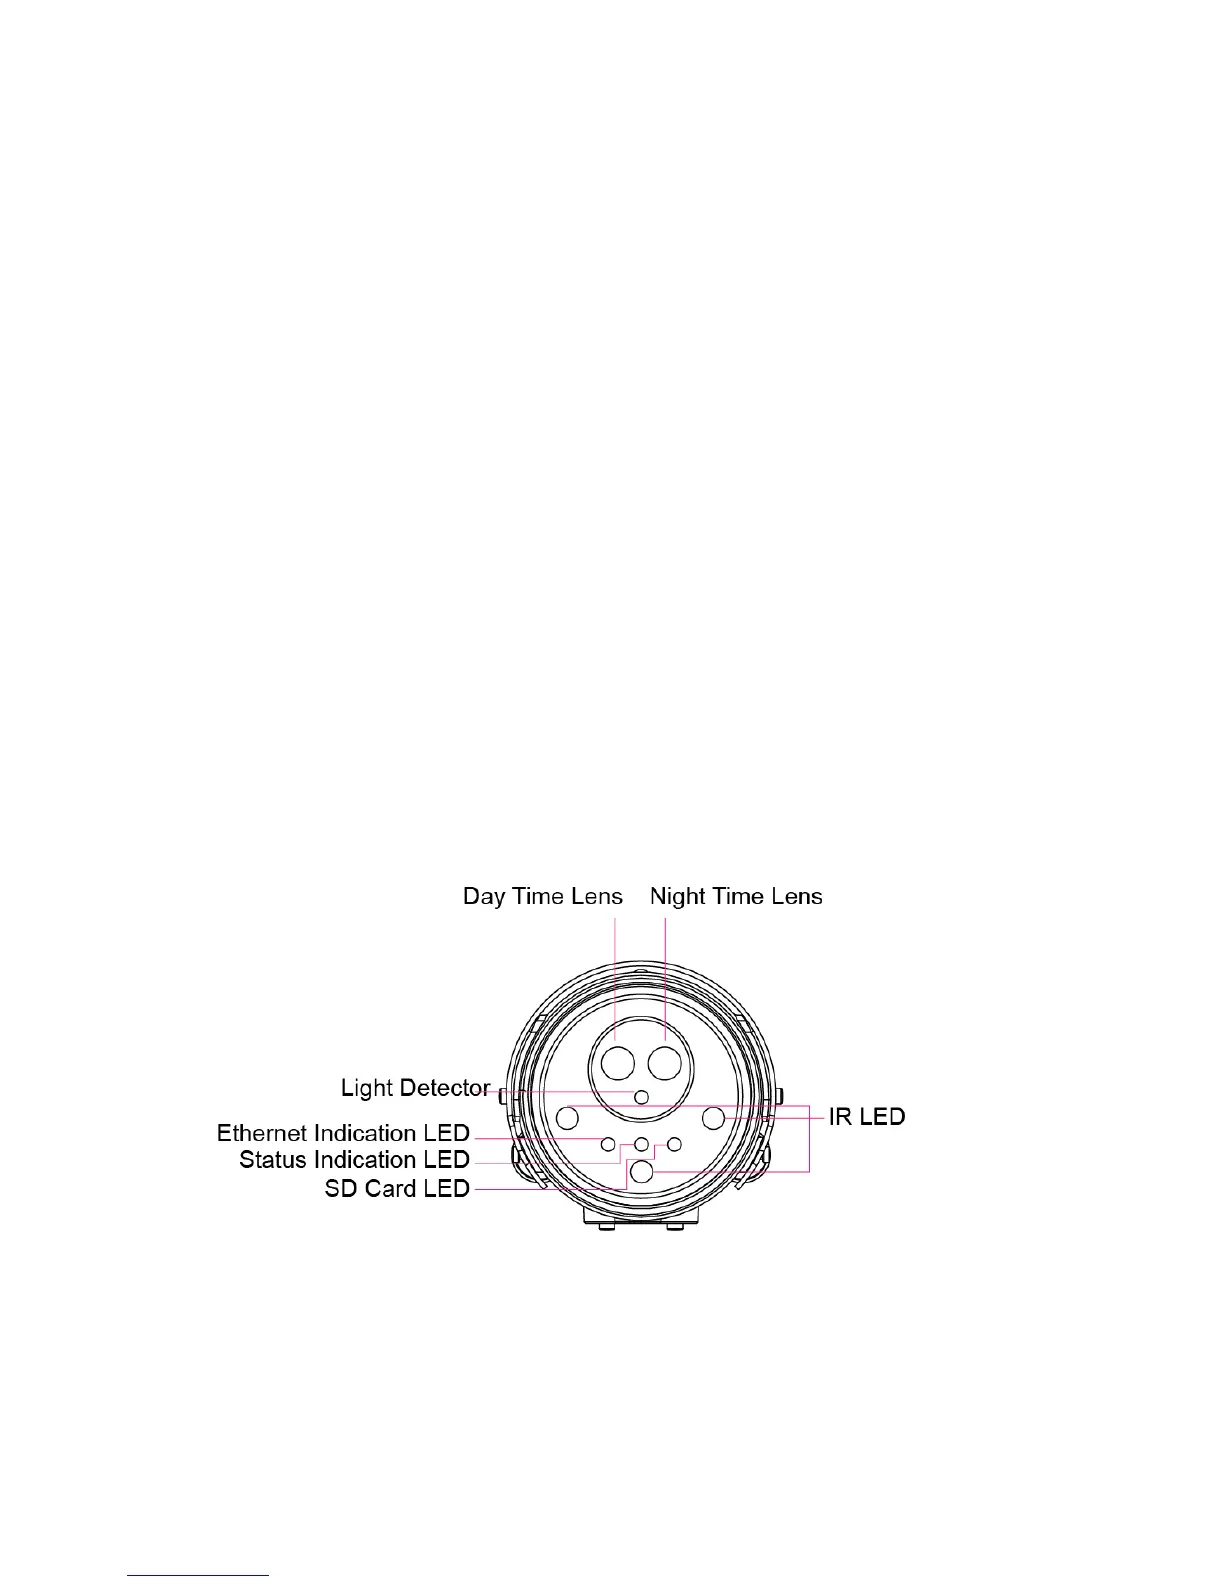
1.4 Major hardware components.
The components on the front of the EM6260 are:
1. Lens – the lens is inside the camera body and the focus of the lens is fixed, you
do not need to spend time to adjust the focus, the effective focus range is from
30cm to infinity. There are two lens for day and night usage separately.
2. Status indication LED (red) – this LED is to indicate the Internet connection status.
When the Internet connection is connected, the LED will be constant red light. If
there is any Internet connection problem, the LED will be blinking red light.
3. Ethernet indication LED (blue) – this LED is to indicate if the Ethernet link is ok
and packet traffic is sending/receiving. When the Ethernet cable is connected, the
LED is on. When there is packet sending/receiving, the LED is blinking blue light.
4. SD card indication LED(yellow) – this LED is to indicate the status of the Micro-SD
card recording, it will be on when the Micro-SD card is inserted and will blink
during recording.
5. Light detector – for light intensity detection to be able to switch automatically
between Day and Night
6. IR LED – there are three IR LEDs for the night mode usage.
The components on the back and bottom panel of the EM6260 are:
1. Microphone – for receiving the audio/voice. Effective distance is about 5 meters.
2. Micro-SD card slot – for inserting the Micro-SD Card. (support up to 32G bytes)
3. WPS button – this is to automatically synchronize the Wi-Fi settings with a WPS
capable Wi-Fi router.
4. Reset button – this is the button to reset the EM6260 to default factory settings.