Do you have a question about the Ender 2 Pro and is the answer not in the manual?
Thank you for choosing our products and a brief overview of service.
Instructions on how to download and install the latest firmware for the printer.
Essential safety guidelines to prevent injury, property damage, and ensure correct printer operation.
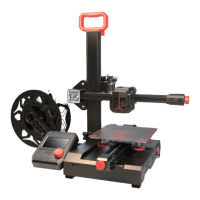
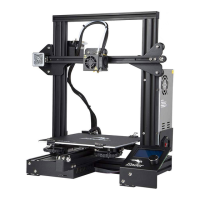
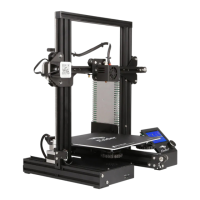
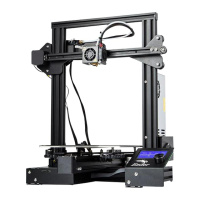
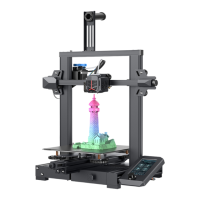
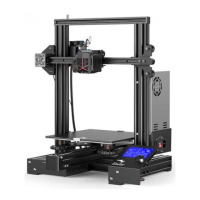
Diagrams and labels identifying key parts of the Ender-2 Pro 3D printer.
Detailed specifications including dimensions, molding tech, nozzle size, and materials.
List of all components and tools included in the printer package for assembly.
Step-by-step instructions for vertically mounting the XZ-axis kit onto the printer base.
Procedure for securing the XZ-axis kit using specific screws from the front and bottom.
Instructions for fixing the material tube onto the rack and securing it to the printer base.
Steps to align and fix the printer handle using hexagonal socket screws.
Guidance for connecting X, E, Z-axis motor wires and X, Z-axis limit switch wires.
Instructions for connecting the display screen cable and the power cord, including voltage selection caution.
Procedure to align and fix the display screen assembly onto the printer base slots.
How to adjust V-wheels for smooth rotation by tightening eccentric columns.
Steps to navigate the menu to disable steppers for bed leveling.
Method to adjust platform height using A4 paper to achieve optimal nozzle-to-bed gap.
Instructions for preheating the nozzle and bed for PLA filament using the main menu.
Steps to manually set and confirm nozzle preheating temperature for PLA.
How to hang the filament spool and prepare its end for smoother printing.
Procedure for inserting filament into the extruder and guidance on filament replacement.
Guide to installing, setting up language, and configuring the Creality Slicer software.
Steps to generate G-code, save it to the storage card, and initiate printing from the card.
Detailed diagram showing connections for motors, sensors, screen, and power inputs.
A step-by-step guide to diagnose and resolve printing problems based on symptoms.
Introduction to different filament series and their general characteristics.
Table detailing print/bed temps, difficulty, flexibility, shrinkage, ductility, and applicable models for various filaments.
| Build Volume | 165 x 165 x 180 mm |
|---|---|
| Layer Resolution | 0.1 - 0.4 mm |
| Filament Diameter | 1.75 mm |
| Nozzle Diameter | 0.4 mm |
| Max Bed Temperature | 100°C |
| Weight | 4.65 kg |
| Print Technology | FDM (Fused Deposition Modeling) |
| Max Nozzle Temperature | 260°C |
| Connectivity | MicroSD Card |
| Supported Materials | PLA, TPU |
| Machine Dimensions | 421 x 383 x 465 mm |