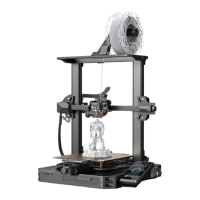
4. Install the Printer
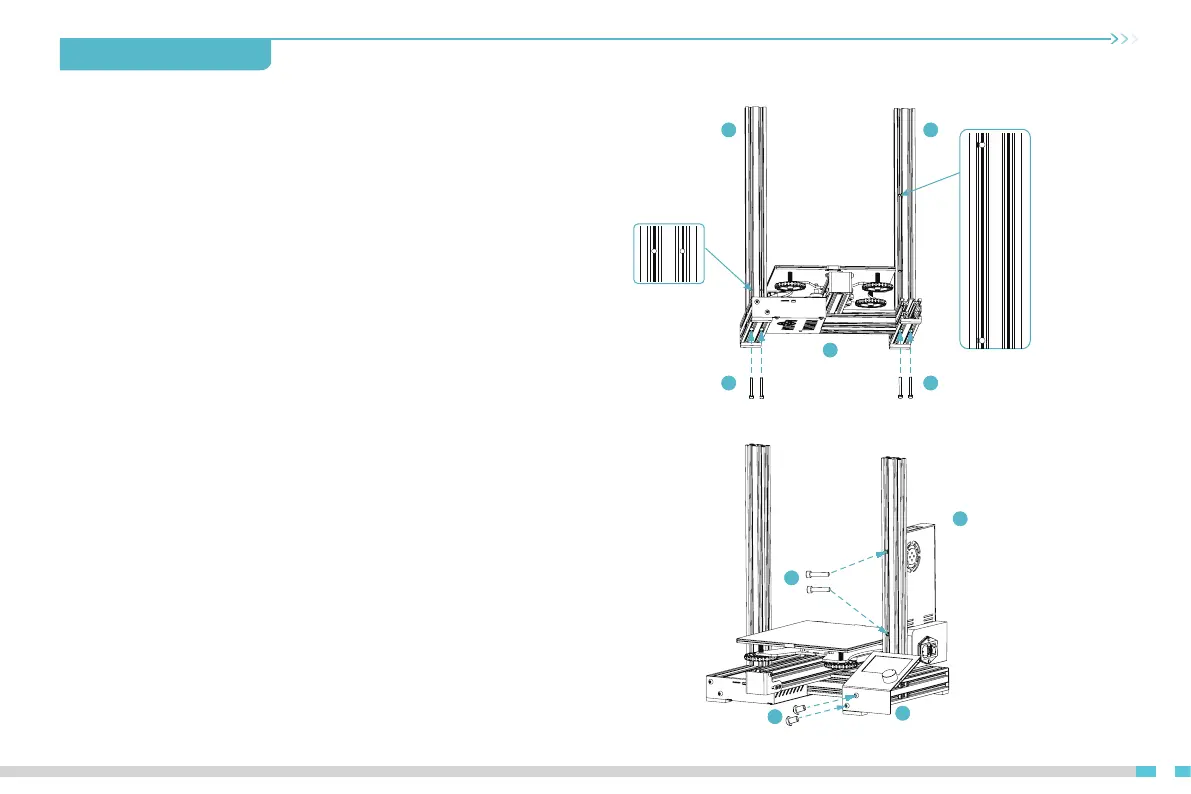
4.1 Assemble Z-axis profiles
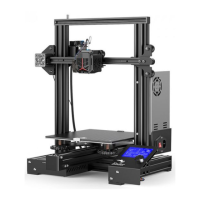
Make sure that the Z-axis profile is perpendicular to the profile of machine base and
flush with both left and right sides of the base profile, and tighten the four M5 x 45
screws from the bottom upwards.
4.2 Install screen and power supply components
1
29
4
30
Front
41
23
Fix the power supply behind the right profile of the Z-axis, pre-lock it first with two
M4 x 20 screws aligned with the holes and then tighten to secure it.
Secure the display fixing plate to the base assembly using two M5 x 8 screws.
A.
B.
05
413
312
3
32
3
32
12


 To Next Page