The splines on the fixture plates can be reversed to
accommodate parts using the inside diameter (ID) or
outside diameter (OD). To reverse the spline orientation, pull
the spring-loaded splines away from the plate and rotate
them 180 degrees.
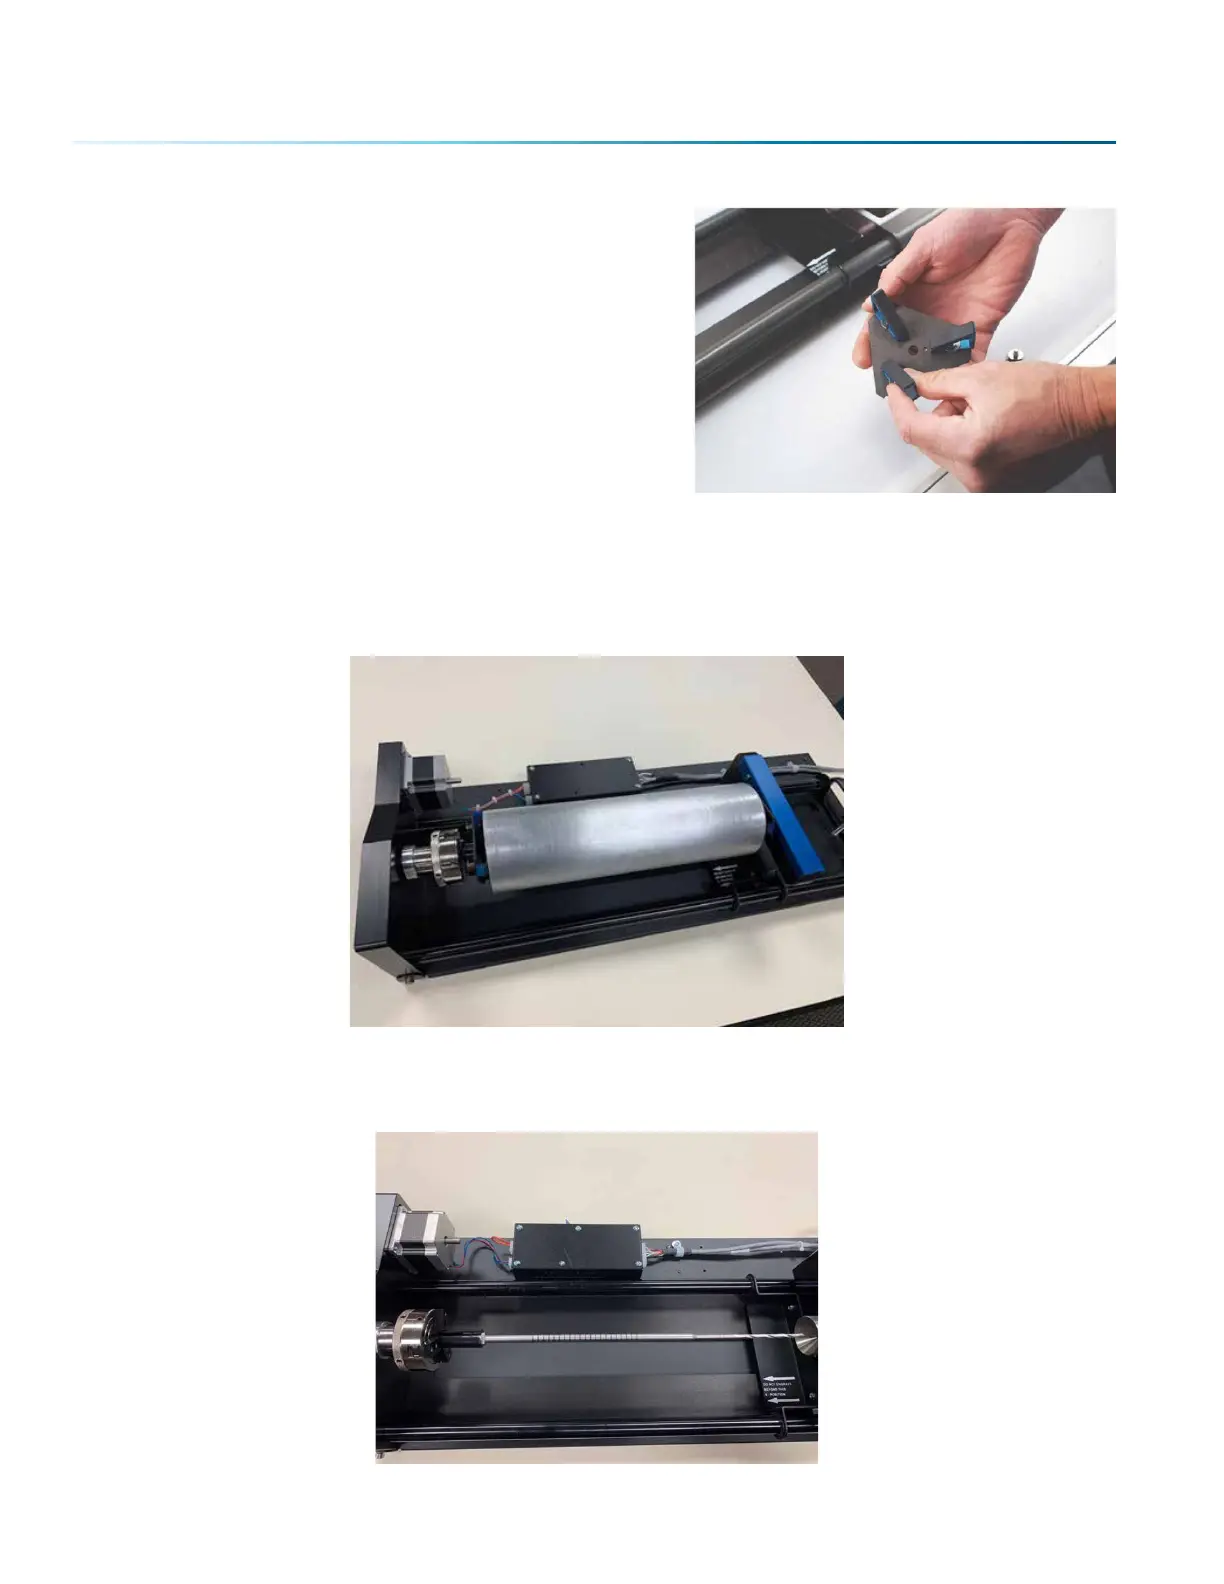
Dierent Configurations for Fixturing Cylinders
This photo shows a typical example of a larger part that requires a fixture plate on both the le and the
right sides. Notice that the le side fixture plate is held in place with the 3-Jaw Chuck.
This photo shows the small 3-Jaw Chuck on the le side and the idle-side centering fixture on the right.
The idle-side centering fixture can accommodate sizes up to 1” in diameter. The centering fixture is used
to support small diameter parts that sag when held in place using only the 3-Jaw Chuck.
- 144 -
SECTION 9: OPTIONAL FEATURES
 Loading...


