12. Now run another test job on the anodized
aluminum, using the same square artwork,
but this time make the process a CO2 job
in the Dashboard. Use low power and high
speed settings.
13. Once the job is running, press the Focus
Menu button on the touch screen, and
slightly raise and lower the table with the
joystick while keeping an eye on the spark
coming from the laser hitting the anodized
aluminum.
14. While raising the table up and down, find
the height where the spark appears the
brightest. If it’s diicult to tell, turn o any
overhead lights in the room.
15. Once you’ve found the brightest spark, let go
of the joystick and press the reset button to
stop the job.
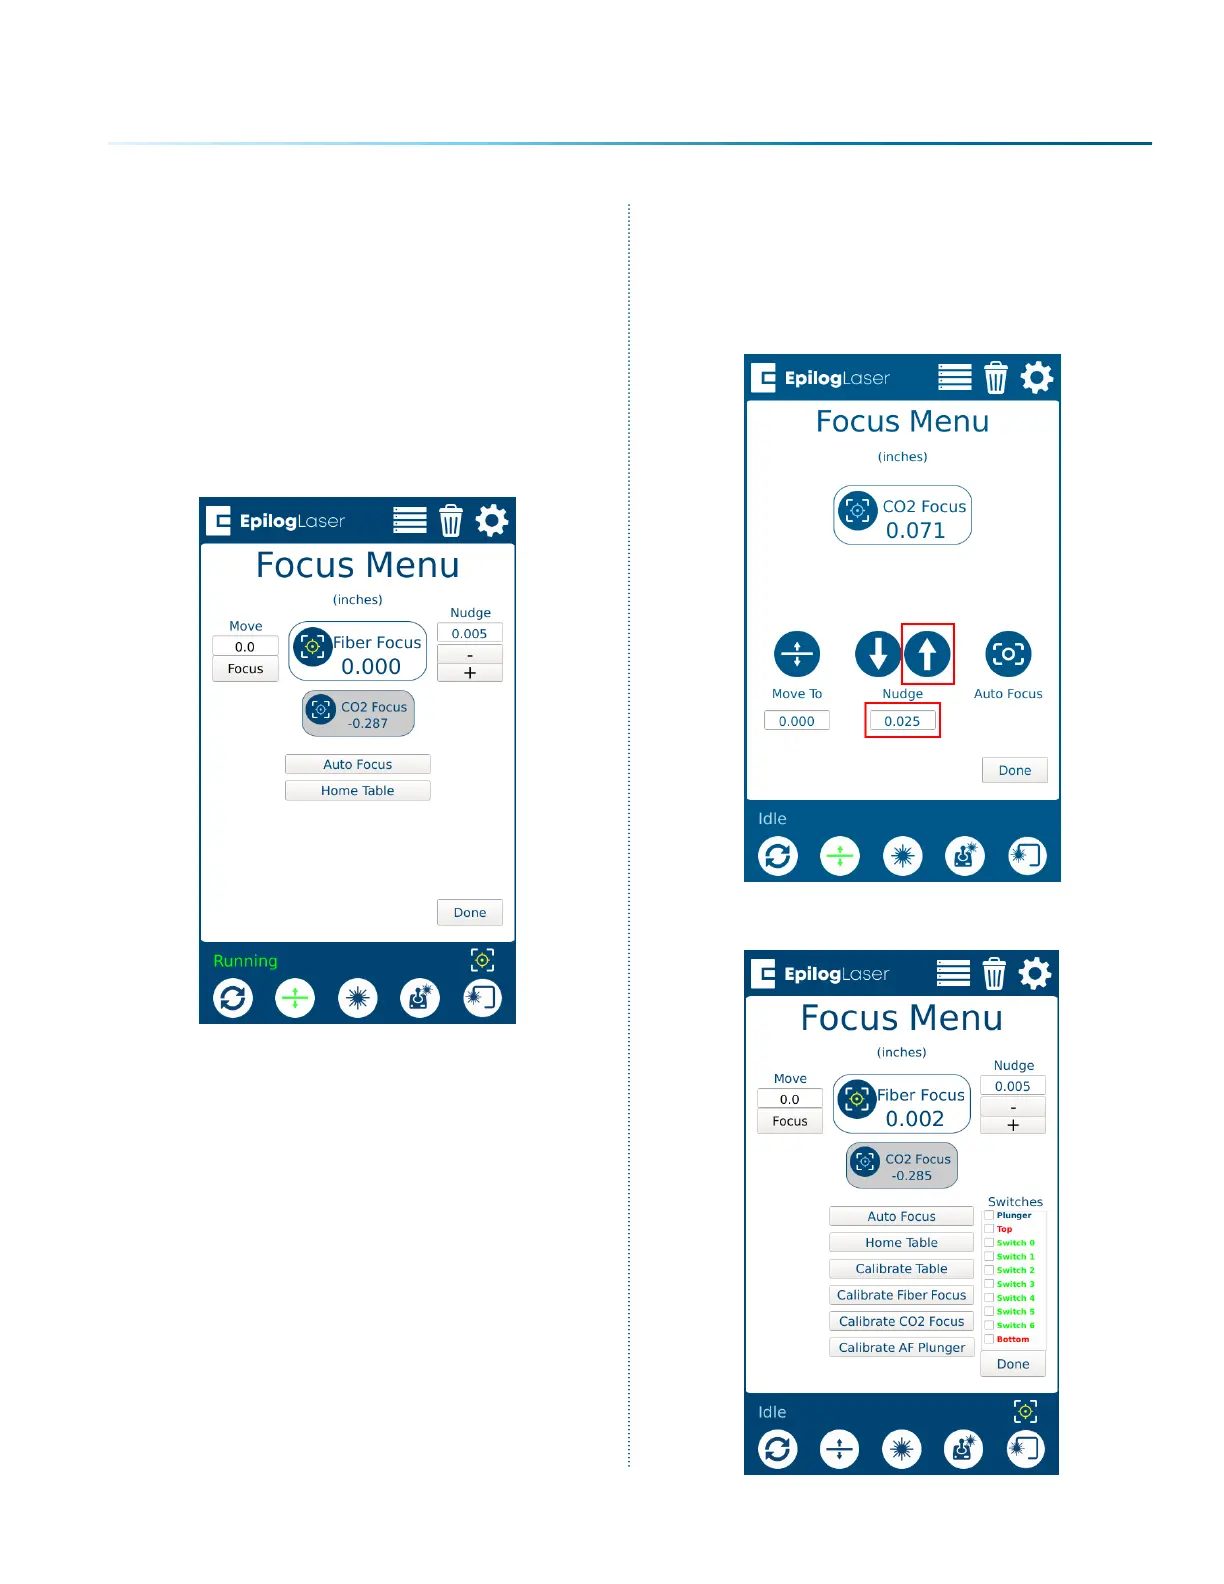
16. Remove the material from the engraving
bed. In the Focus Menu, nudge the table up
by the thickness of the material that was
used for testing. In this example we used
.025” (0.63mm) thick anodized aluminum, so
we will raise the table by .025.
17. Go back to the Focus Commands menu and
select “Calibrate CO2 Focus” again.
- 225 -
APPENDIX C: SYSTEM CALIBRATION
 Loading...


