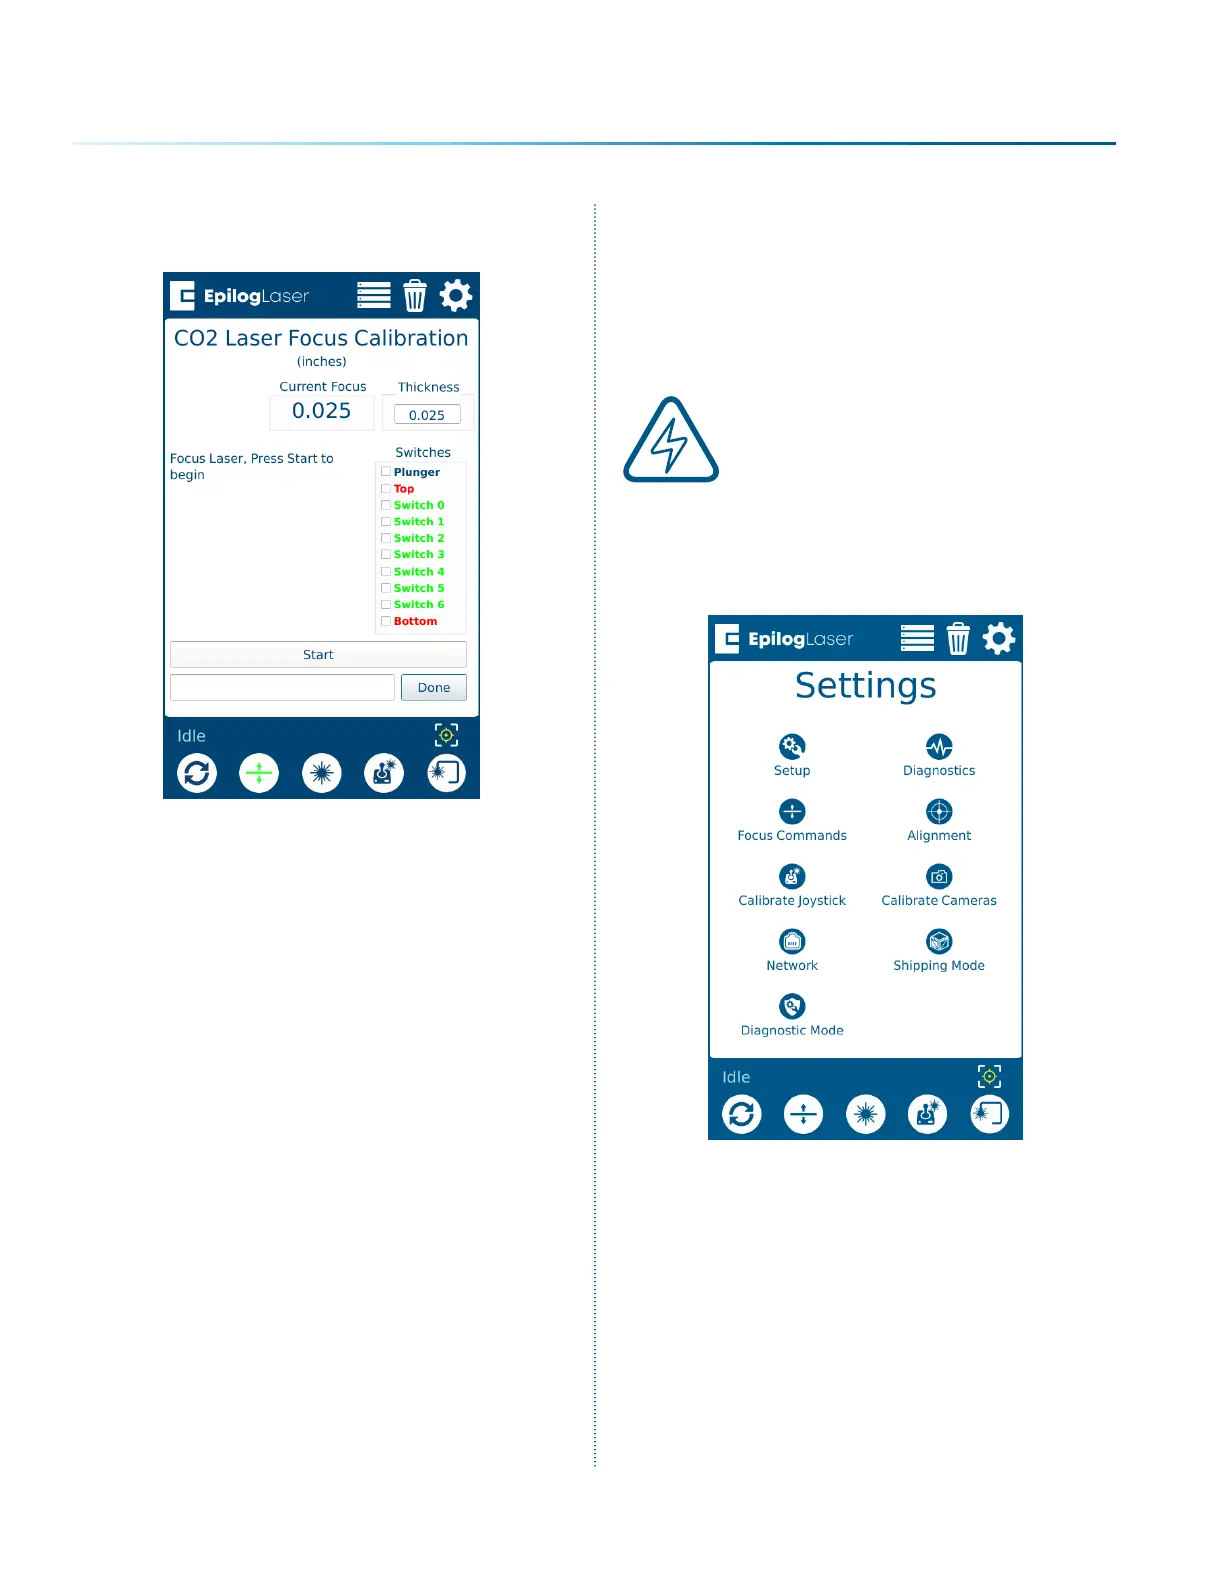
18. Press “Start” to calibrate, and then press
“Done” when completed.
19. Both the Fiber and CO2 lasers should now be
calibrated. Aer completing these steps, you
will need to calibrate the Auto Focus Plunger.
See “Calibrating the Auto Focus Plunger” on
page 226.
Calibrating the Auto Focus
Plunger
1. Before beginning, remove any objects from
the table.
Note: The Task Plate must be in
the machine, you can NOT
calibrate the Auto Focus Plunger
using the Slat Table or the Vector
Cutting Grid.
2. Press the Settings button, and then long-
press the “Settings” text until the Advanced
Settings menu appears.
- 226 -
APPENDIX C: SYSTEM CALIBRATION
 Loading...


