68
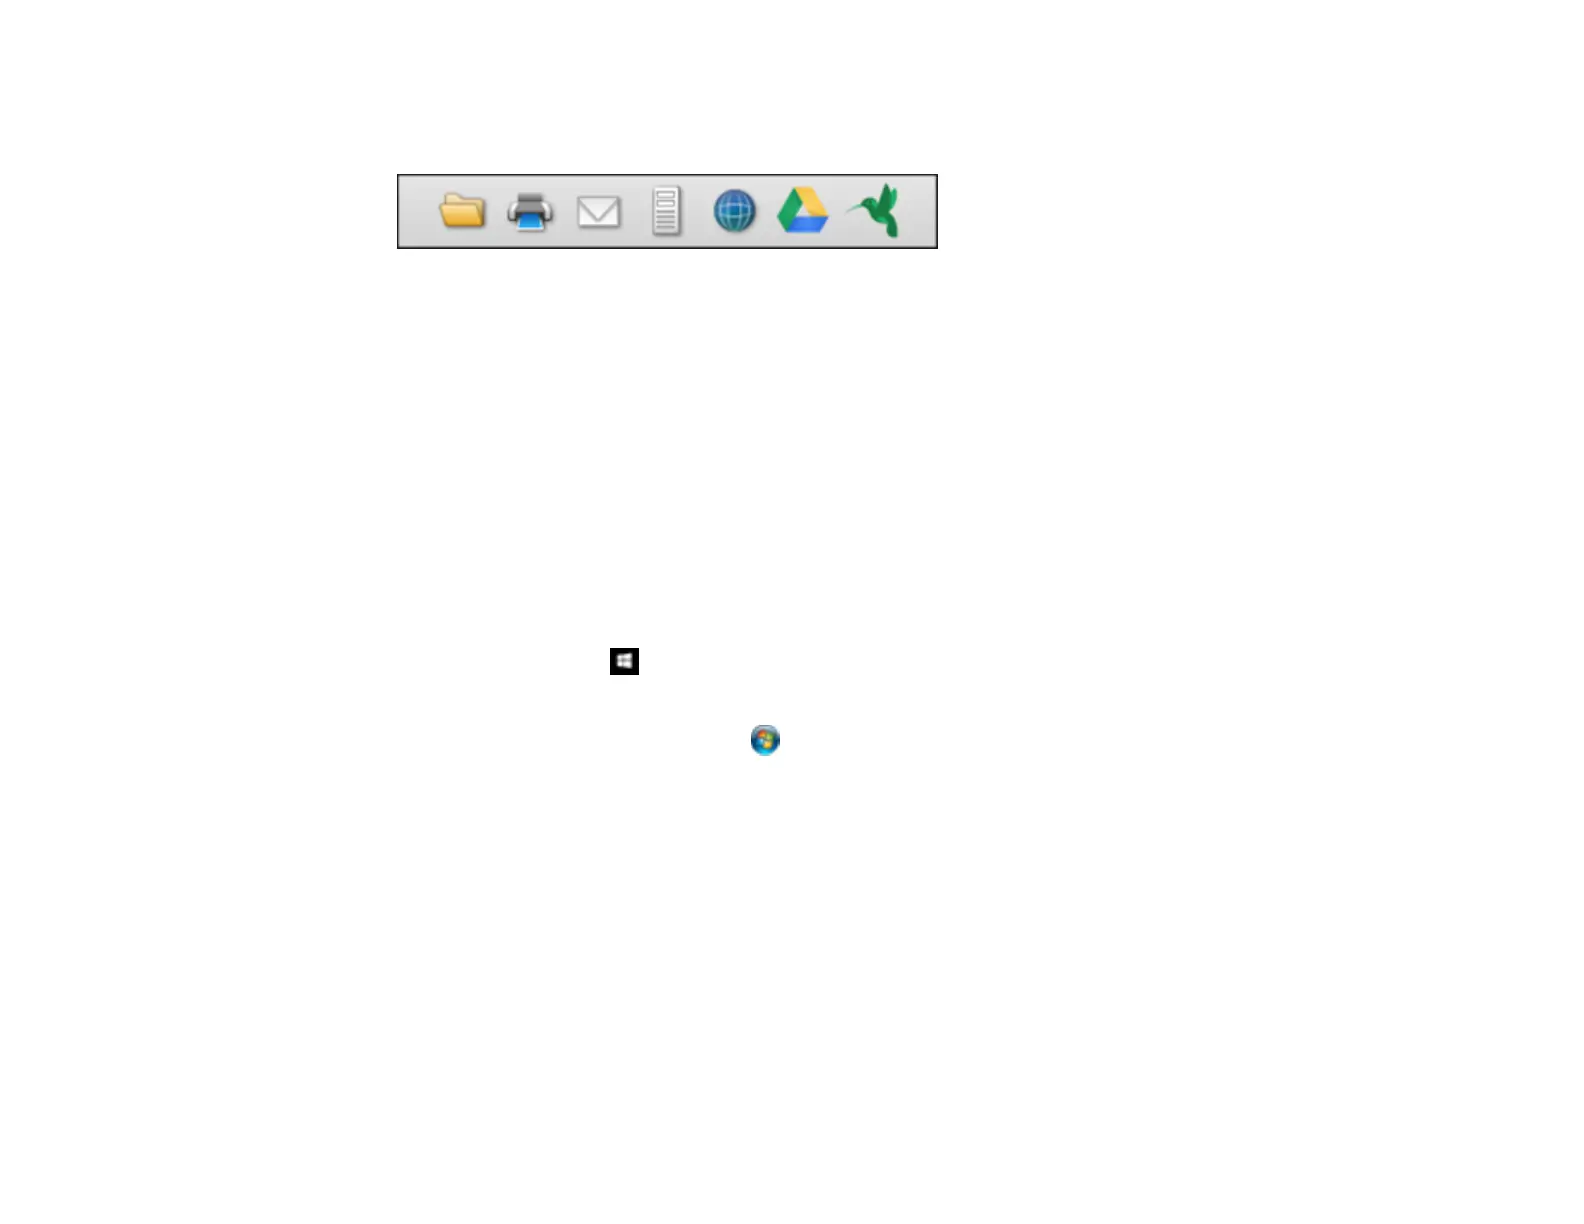
13. Click one of the Destination icons to choose where to send your scanned file. (If you cannot see all
of the icons below, click the arrow next to the icons.)
14. Depending on the destination you chose, click OK or Send to complete the operation.
Parent topic: Scanning Special Projects
Scanning to a SharePoint Server or Cloud Service - Windows
You can use Document Capture Pro (Windows) to upload scanned images to a SharePoint server or a
cloud service.
Note: The settings may vary, depending on the software version you are using. See the help information
in Document Capture Pro for details.
1. Load your original in the product.
2. Do one of the following to start Document Capture Pro:
• Windows 10: Click and select Epson Software > Document Capture Pro.
• Windows 8.x: Navigate to the Apps screen and select Document Capture Pro.
• Windows (other versions): Click or Start, and select All Programs or Programs. Select
Epson Software > Document Capture Pro.
3. If you see a Switch to Simple View button in the upper right corner of the window, click it.