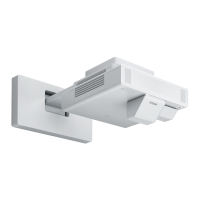
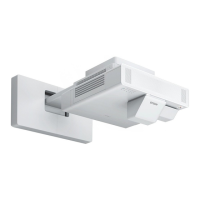
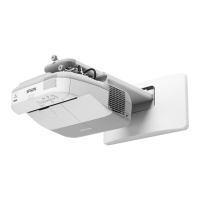
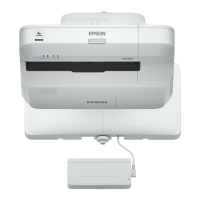
Projector Connections
37
a
Connect the projector to the control pad.
See your projector's Installation Guide for details on the cable
connection between the projector and the control pad.
b
Turn on the projector and your video source.
c
Connect HDMI cable to the HDMI1 or HDMI2 port on the bottom of
the control pad and any available HDMI port on your video source.
d
Press the HDMI1 or HDMI2 button on the control pad to select the
input device.
The projector switches the input source to HDBaseT, displays the image from
your video source, and outputs sound, if your presentation contains audio.
gg Related Links
• "Getting the Latest Version of the Documents" p.10
Connecting to External USB Devices
Follow the instructions in these sections to connect external USB devices to
the projector.
gg Related Links
• "USB Device Projection" p.37
• "Connecting to a USB Device" p.38
• "Connecting a USB Flash Drive to the Control Pad" p.38
• "Disconnecting a USB Device" p.39
USB Device Projection
You can project images and other content without using a computer or video
device by connecting any of these devices to your projector:
• USB flash drive
• Digital camera or smartphone
• USB hard drive
a
• Digital cameras or smartphones must be USB-mounted devices, not
TWAIN-compliant devices, and must be USB Mass Storage Class-
compliant.
• USB hard drives must meet these requirements:
• USB Mass Storage Class-compliant (not all USB Mass Storage
Class devices are supported)
• Formatted in FAT16/32
• Self-powered by their own AC power supplies (bus-powered hard
drives are not recommended)
• Avoid using hard drives with multiple partitions
You can project slide shows from image files on a connected USB device.
gg Related Links
• "Projecting a PC Free Presentation" p.125