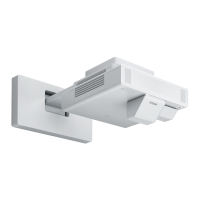
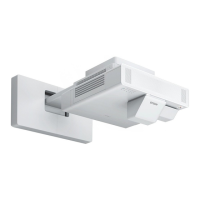
Image Shape
66
g
Press the arrow buttons to adjust the image shape of the selected area as
necessary.
To return to the area selection screen, press [Enter].
a
If you see this screen, you cannot adjust the shape any further in
the direction indicated by the gray triangle.
h
Repeat steps 6 and 7 as needed to adjust any remaining corners.
i
When you are finished, press [Esc].
a
• To save the current shape of an image you have adjusted, select Save
Memory. You can save up to three image shapes in the memory.
s Installation > Geometry Correction > Memory > Save Memory
• To reset the Arc Correction settings, hold down [Esc] for about two
seconds while the area selection screen is displayed, and then select
Yes.
gg Related Links
• "Projector Installation Settings - Installation Menu" p.209
Correcting Image Shape with Point Correction
You can use the projector's Point Correction setting to fine-tune the image
shape in portions of an image. The image is divided into a grid which allows
you to move intersection points on the grid as necessary to correct distortion.
a
If you change the Screen Type setting or adjust the image position, the
adjustments are reset.
a
Turn on the projector and display an image.
b
Press the [Menu] button on the control panel or remote control.