26
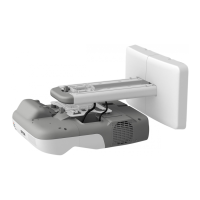
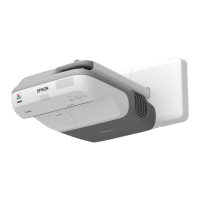
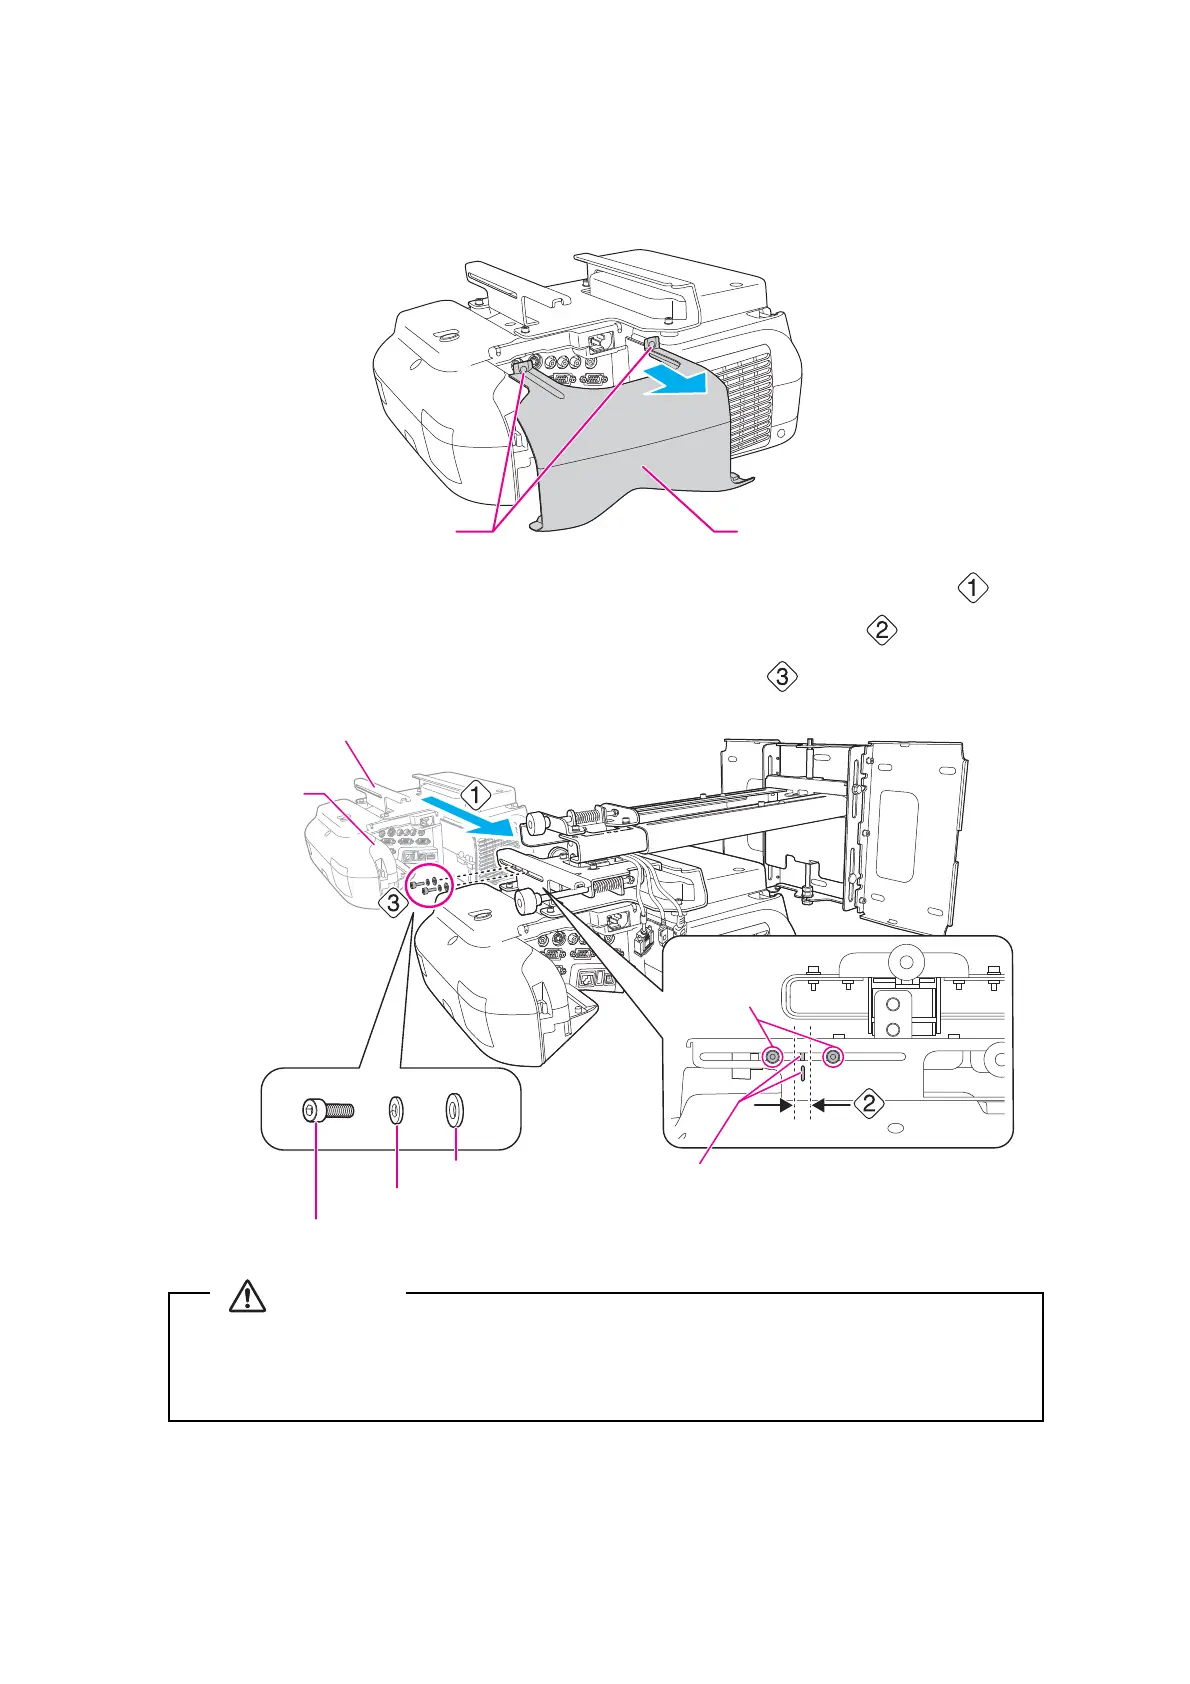
h Secure the projector to the setting plate
(1) Loosen the two screws and remove the cable cover from the projector.
(2) Insert the slide plate into the setting plate from the interface side of the projector ( ).
Align the 3-axis adjustment unit with the slide plate's standard position ( ).
(3) Tighten the M4 x 12 mm hexagon socket head cap bolts (x2) ( ).
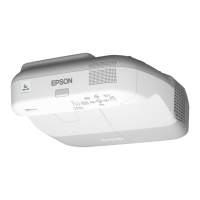
Projector
interface side
Standard position
Slide plate
M4 x 12 mm hexagon socket head cap bolts
Spring washer
Washer
Bolt positions
If you use adhesives to prevent the screws from loosening or things such as lubricants or oils
on the slide plate fixing part of the projector, the case may crack and cause the projector to fall,
resulting in personal injury or property damage. Do not use adhesives, lubricants, or oils to
install or adjust the setting plate.
 Loading...