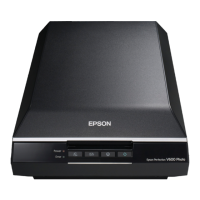
Perfection 4870 Photo Revision A
DISASSEMBLY/ASSEMBLY Disassembly Procedure 49
4.2.7 Removal of Driven Pulley
1. Remove the CR Timing Belt from the Driven Pulley.
(Refer to Step 1 to Step 3 in 4.2.6
Removal of CR Motor Unit.)
2. Remove the screw (C.B M3x3) which secures the Driven Pulley Unit and then remove
the Driven Pulley Unit.
Figure 4-24. Removal of Driven Pulley Unit
3. Remove the E-ring and then remove the Driven Pulley.
Figure 4-25. Removal of Driven Pulley
C.B M3x3
(9±1 kgfcm)
Driven Pulley Unit
E-ring
Driven Pulley Holder
E-ring
Driven PulleyTorsion Spring
Get the ends of the Torsion Spring caught in the two hooks as shown in
Figure 4-26.
Figure 4-26. Installation of Torsion Spring
Hooks
 Loading...
