Print Artist: Designing with Style 6-9
A
B
6
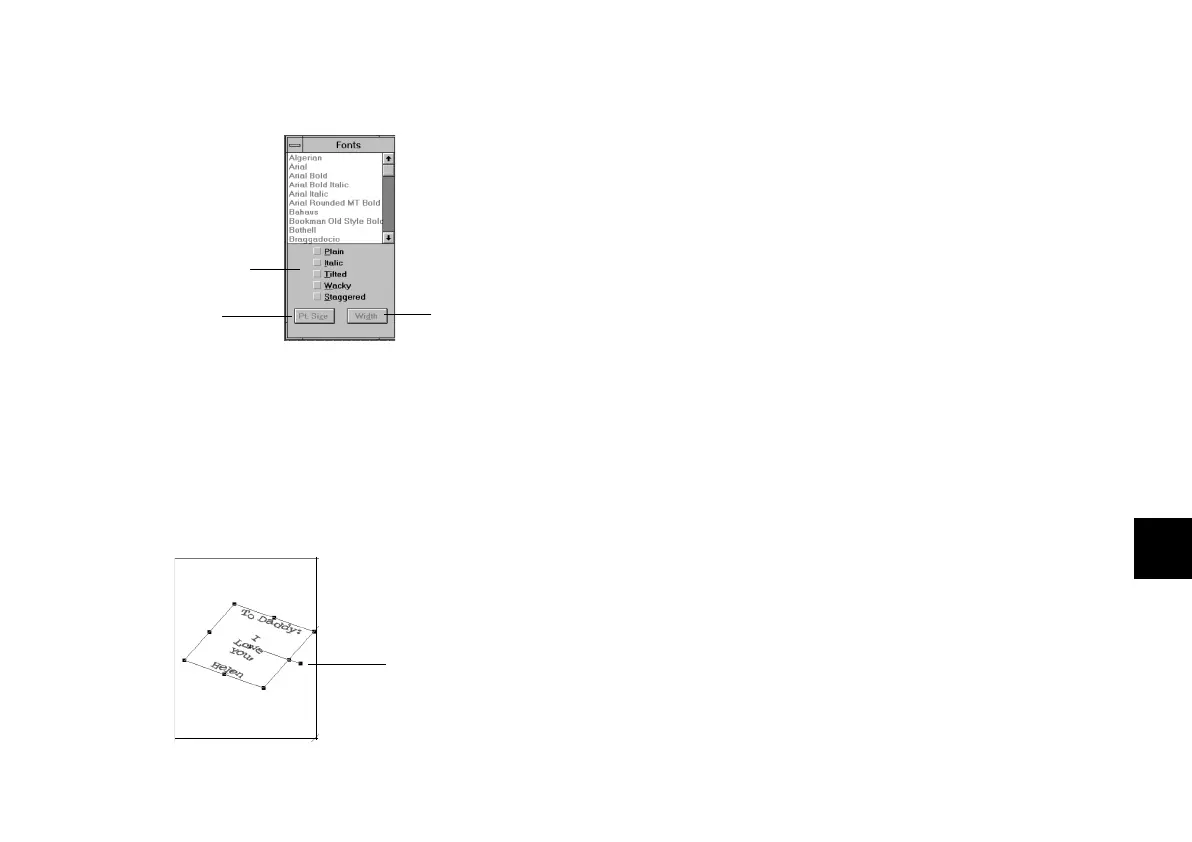
The Font palette appears:
5 Click the font you want to use. Your text changes as
you browse through the fonts. You can move the
Font palette if you can’t see your text.
6 Choose the style, size, and width of the font. Here’s
an example of text with several special effects:
Adding a GraphicAdding a Graphic
After you finish working with the text, you can add a
colorful graphic to the inside left panel of the card.
Follow these steps:
1 Click the gray shadow on the left side of the card or
choose Inside Inside LeLeftft from the View menu. You see the
inside left panel.
2 Click the yellow Insert Fill button. A square block of
yellow color appears on the left panel, as shown on
the next page. This is the background for the
graphic.
3 Click and drag one of the corner handles to enlarge
the color block.
4 Click the Color palette button.
Click to set
font size.
Click to set
font width.
Click to apply a
special effect.
Text on inside of card
with tilted, wacky, and
staggered effects.
You can use
this handle to
rotate text.
php_6.fm5 Page 9 Monday, July 8, 1996 3:28 PM