50
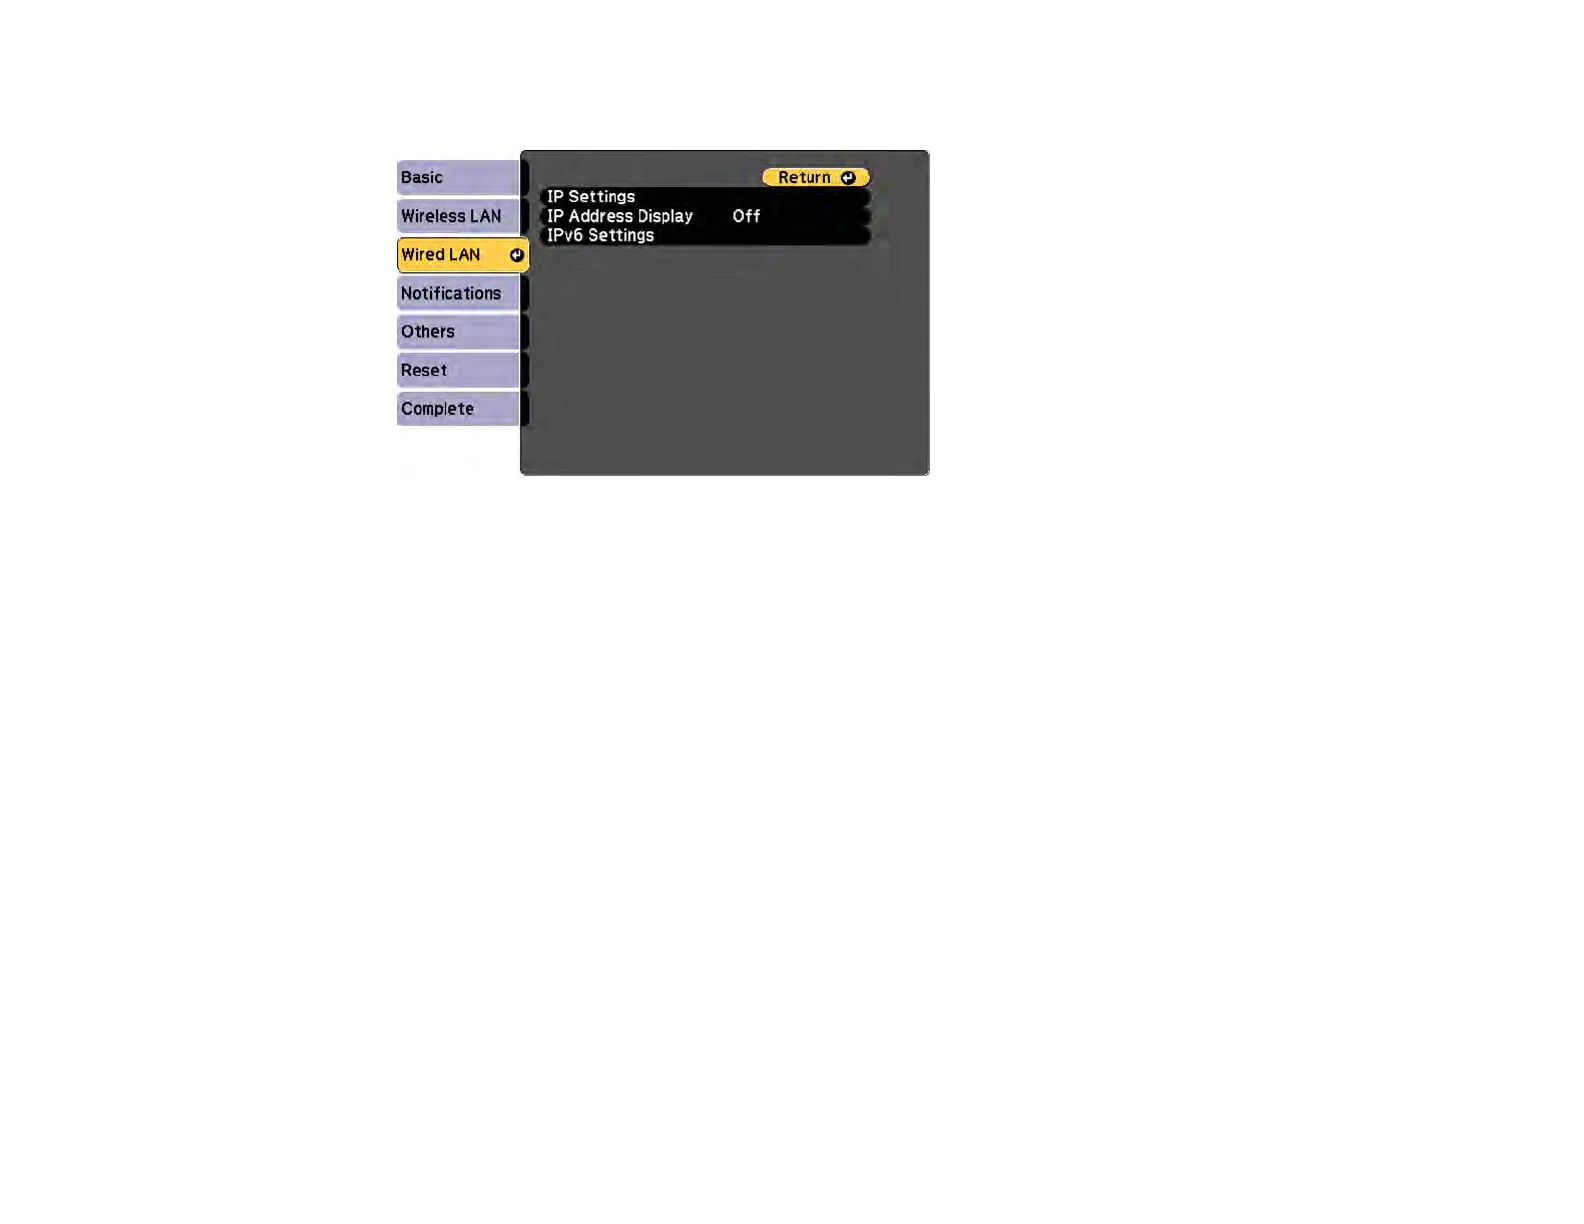
7. Select the Wired LAN menu and press Enter.
8. If necessary, select IP Settings and press Enter.
9. Select your IP Settings as necessary:
• If your network assigns addresses automatically, turn on the DHCP setting.
• If you must set addresses manually, turn off DHCP and enter the projector's IP Address, Subnet
Mask, and Gateway Address as needed.
Note: To highlight the numbers you want from the displayed keyboard, press the arrow buttons on
the remote control. To select a highlighted number, press Enter.
10. To prevent display of the IP address on the standby screen, turn off IP Address Display.
11. To connect the projector to the network using IPv6, select On as the IPv6 Settings option. Then
select the Auto Configuration and Use Temporary Address settings as necessary.
12. When you finish selecting settings, select Complete and follow the on-screen instructions to save
your settings and exit the menus.
Parent topic: Wired Network Projection
Wireless Network Projection
You can project over a wireless network. To do this, you must set up your projector and computer for
wireless projection.