Amount of pre-treatment liquid to
apply
Apply the diluted pre-treatment liquid to the T-shirt
with a roller or sprayer.
Apply approximately 15 g of pre-treatment liquid to
printing areas of A4 size.
c
Important:
❏ Depending on the dye in the T-shirt, it may be
decolorized by the pre-treatment liquid. Try
applying to a section that is not clearly visible
first.
❏ Do not apply too much pre-treatment liquid.
Applying too much may cause the print quality
to decline.
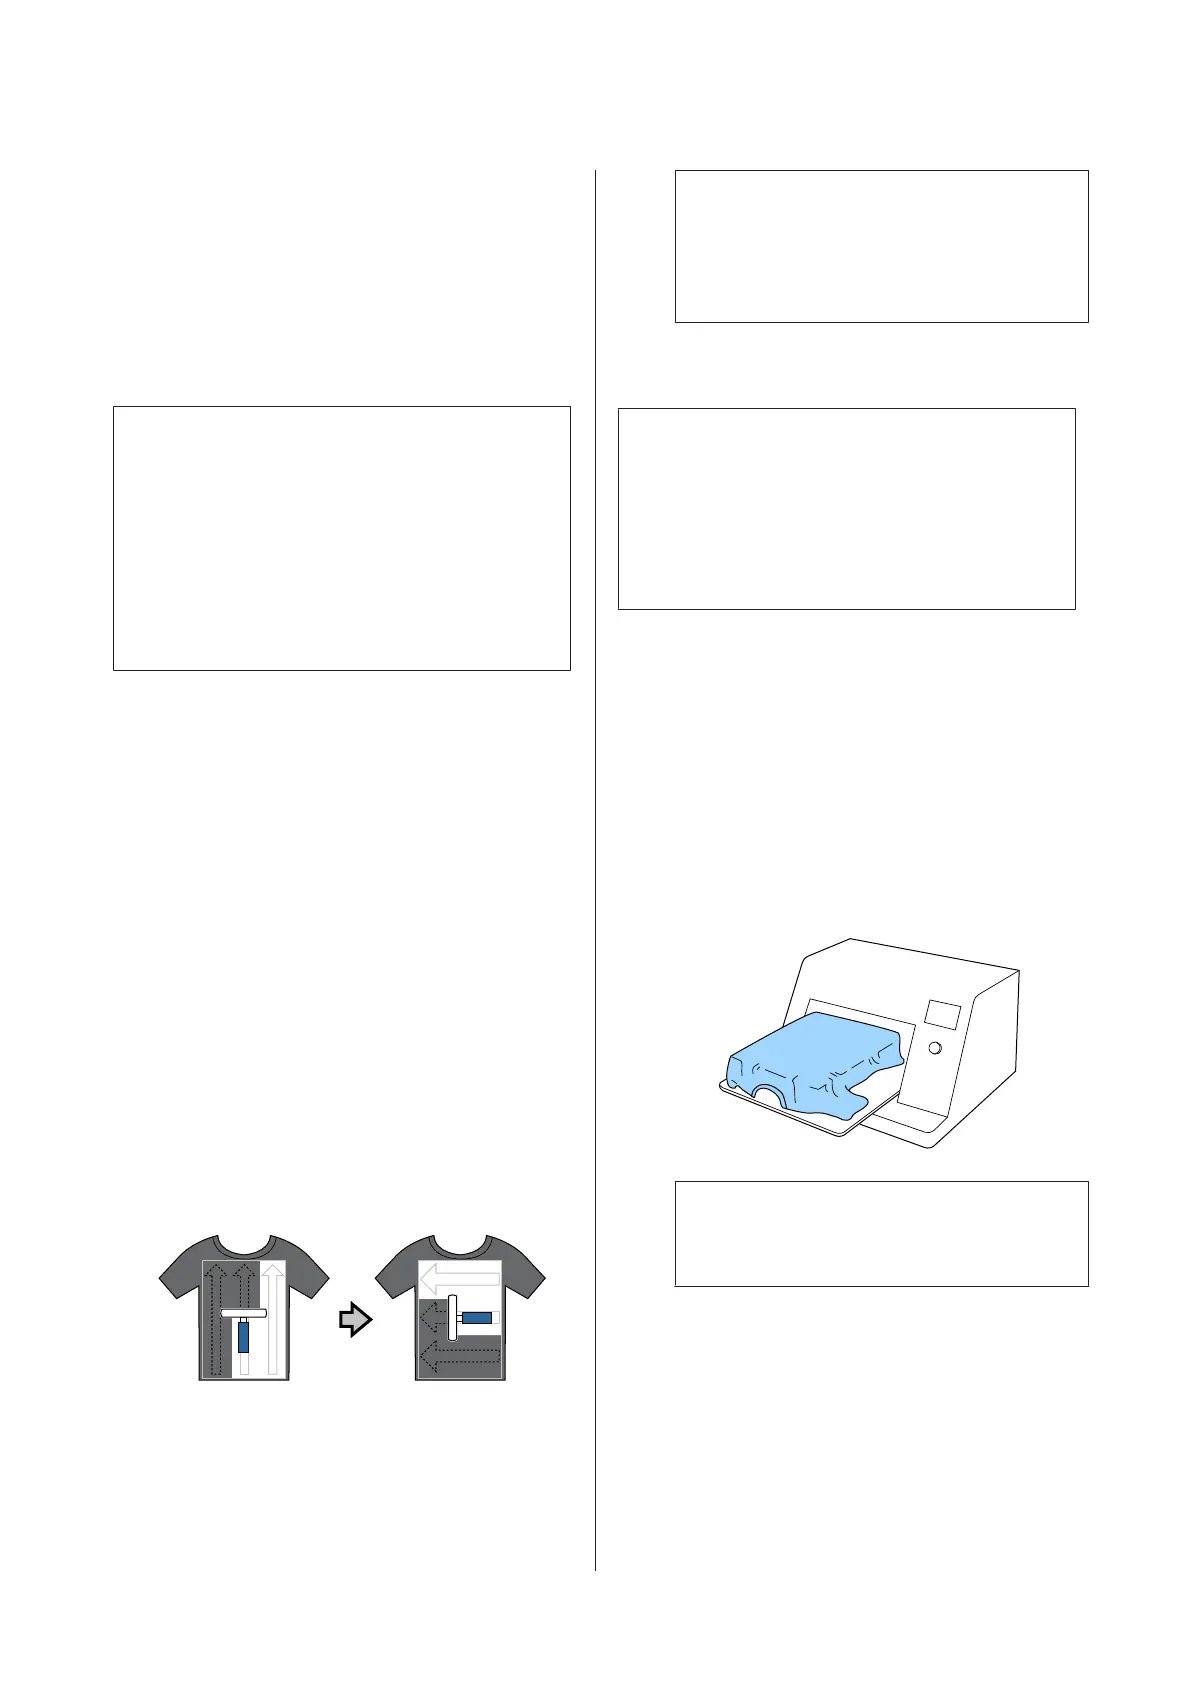
Applying with a roller
To prevent T-shirt fibers on the roller from sticking to
other T-shirts, use a different roller for each color on the
T-shirt.
U “Options and Consumable Products” on
page 114
A
Fill the tray with diluted pre-treatment liquid and
dip the roller in it.
B
Spread out the T-shirt on a flat surface.
C
Squeeze the pre-treatment liquid out of the roller
by pressing it against the edge of the tray, and
apply the liquid evenly.
We recommend applying to an area larger than
the target print area.
D
Fixate the pre-treatment liquid with the heat
press.
U “Fixating the Pre-treatment Liquid (Heat
Press)” on page 35
Note:
You need to press the fibers flat to produce even
whiteness. Use a heat press to fixate the
pre-treatment liquid since the fibers are not pressed
flat in the oven.
Applying with a sprayer
c
Important:
Depending on the type of sprayer, it may create a
mist when applying the pre-treatment liquid. Wear
a mask, protective eye-wear, and gloves as required,
and make sure the area is well ventilated while
working with the pre-treatment liquid.
For details on using the sprayer, see the manual supplied
with the sprayer.
A
Pour the diluted pre-treatment liquid into the
sprayer.
B
Load the T-shirt into the sprayer, and then spray
the pre-treatment liquid evenly over the printing
surface.
We recommend applying to an area larger than
the target print area.
Note:
You can apply the liquid evenly if you run the roller
over the area after spraying.
C
Fixate the pre-treatment liquid with the heat
press.
U “Fixating the Pre-treatment Liquid (Heat
Press)” on page 35
SC-F2100 Series User's Guide
Basic Printing
34

 Loading...