❏ SC-T7200 Series/SC-T5200 Series/
SC-T3200 Series
Loaded roll paper or cut sheet
❏ SC-T7200D Series/SC-T5200D Series
Roll paper currently in use
You can check whether the roll paper
currently in use in is Roll 1 or Roll 2 by
selecting the . tab.
❏ Send as an e-mail attachment
❏ Send to a shared folder on the network
❏ Delete a file
Buttons that are used in the following settings
A
Make sure that the Large copy/Large scan screen
appears.
If a value such as (3) appears up in Received File
Options, the value indicates the number of
unprinted files of the received files that support
direct printing.
B
At Large copy/Large scan screen, use the d/u
buttons to select Received File Options or Scan
File Options and press the Z button.
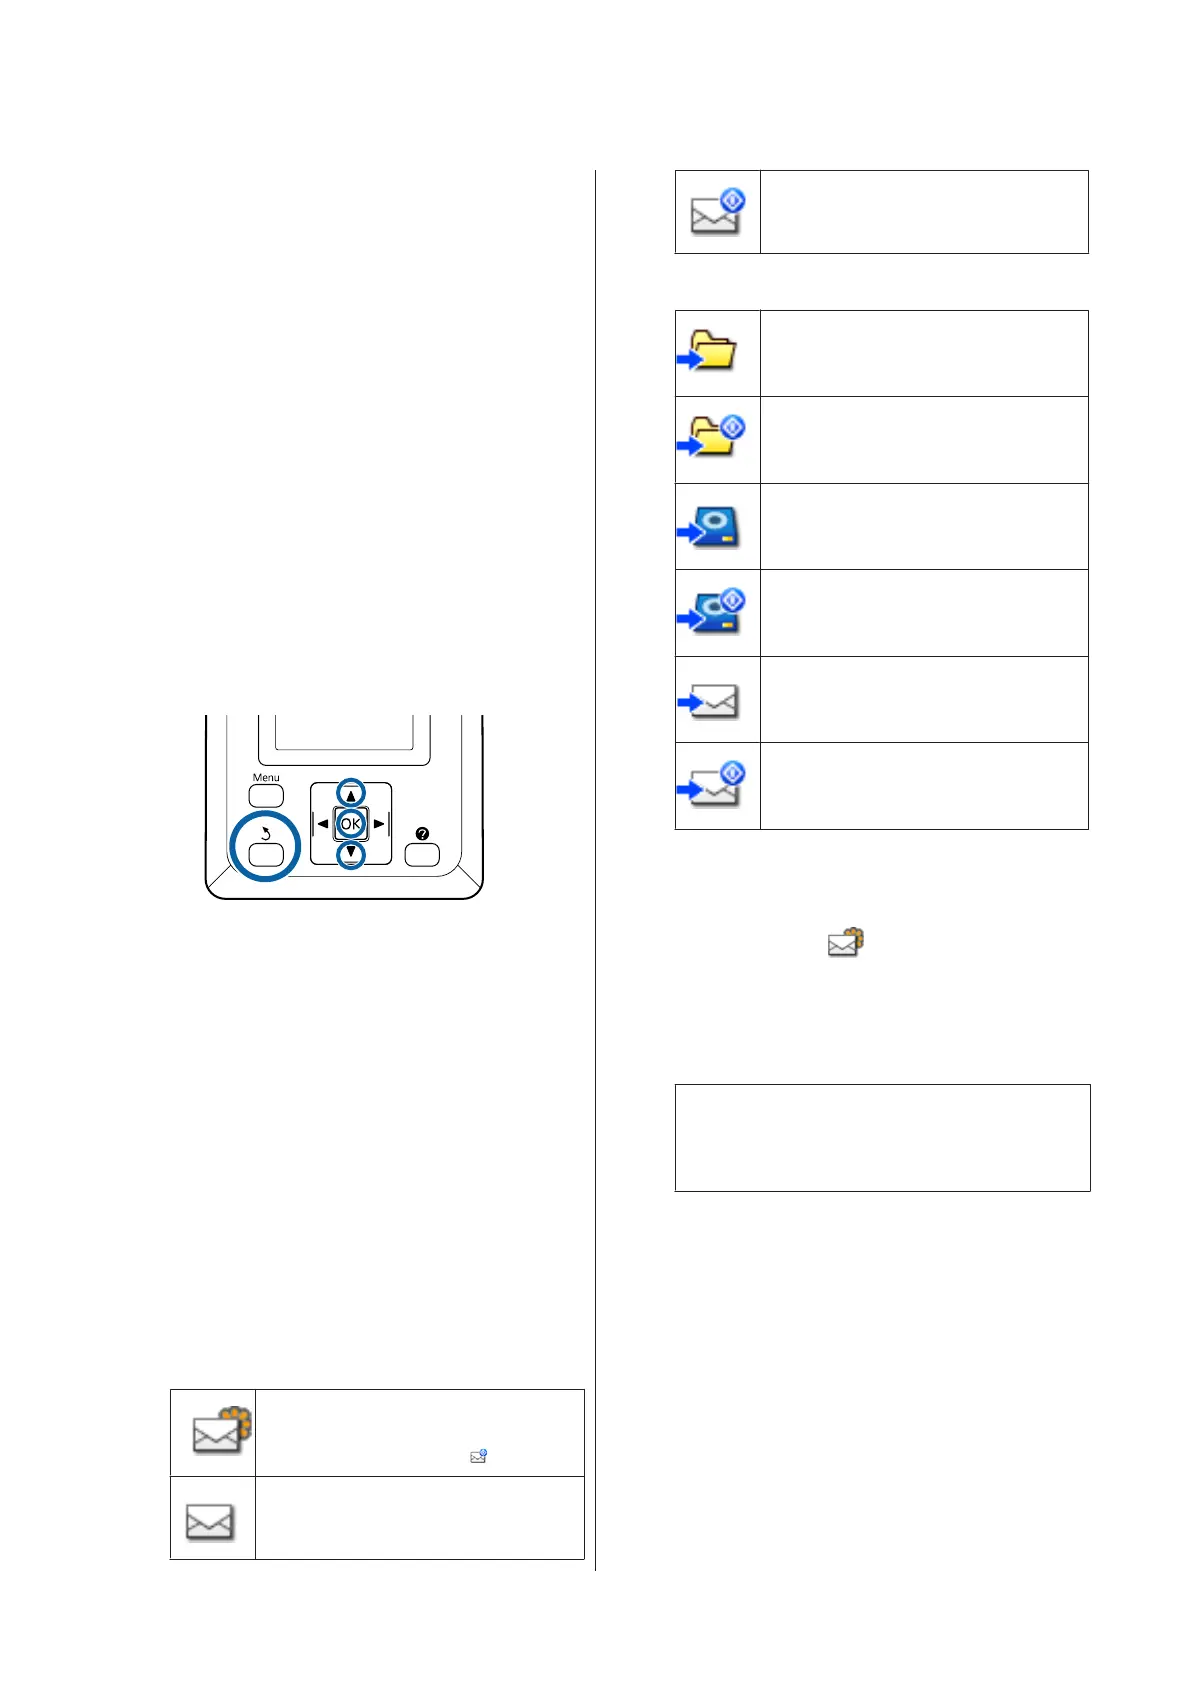
A list of selected files appears. The following
chart shows the meaning of the icons beside the
file names.
When Received File Options was selected
Indicates an unprinted JPEG file that
supports direct printing. If printed even
once, the icon changes to
.
Indicates a file that cannot be printed
directly.
Indicates a JPEG file with a resolution that
supports direct printing.
When Scan File Options was selected
Indicates an image file that was sent to a
shared folder. Indicates a file that cannot
be printed directly.
Indicates an image file that was sent to a
shared folder. Indicates a JPEG file with a
resolution that supports direct printing.
Indicates an image file that was saved to a
hard disk. Indicates a file that cannot be
printed directly.
Indicates an image file that was saved to a
hard disk. Indicates a JPEG file with a
resolution that supports direct printing.
Indicates an image file that was sent by
e-mail. Indicates a file that cannot be
printed directly.
Indicates an image file that was sent by
e-mail. Indicates a JPEG file with a
resolution that supports direct printing.
C
Use the d/u buttons to select the file you want to
manage and press the Z button.
When a file with
displayed is selected in
Received File Options and you press the Z
button, printing starts.
If another job was selected, proceed to Step 4.
Note:
When you press the r button, information on the
selected file is displayed.
D
Use the d/u buttons to select the operation you
want to carry out and press the Z button.
If Print or Delete was selected, check the screen
display and carry out the operation.
When Send To Shared Folder or Send by Mail
has been selected, a screen appears to select the
save destination folder or send destination.
Follow the same operations as when scanning.
SC-T7200 Series/SC-T5200 Series/SC-T3200 Series/SC-T7200D Series/SC-T5200D Series User's Guide
Copying and Scanning
79
 Loading...