2-8 Troubleshooting Guide Rev.B
Confidential
Test Points on the Printer Mechanism
Before you replace the main circuit board to see if the printer is repaired, you need to check the
printer mechanism. If the motor or the coils are shorted, replacing the main circuit board will
not fix the problem. The following explains how to test the motors and coils.
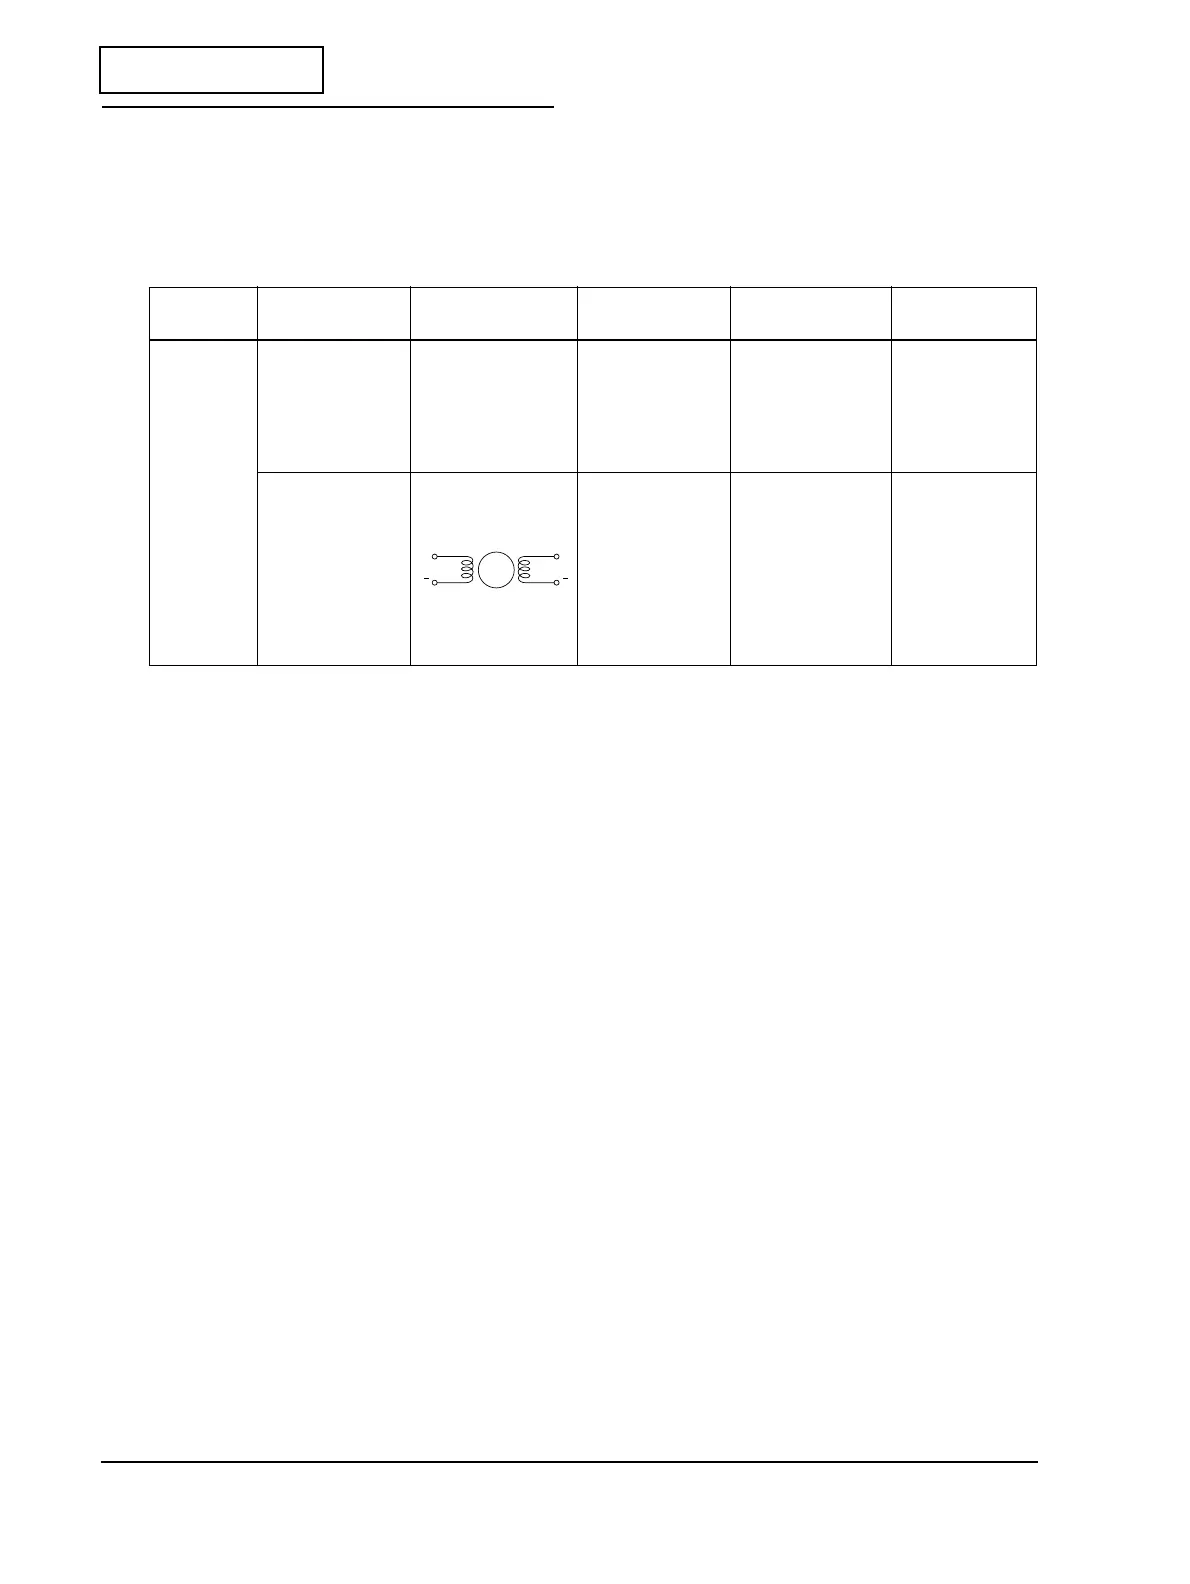
Table 2-6 Test points on the printer mechanism
Name of
Mechanism Part Name Internal Element Function Where to Check Normal Status
Thermal
mechanism
assembly
Cutter motor sub-
assembly
DC brush motor Autocutter drive Remove the cable
connector
connected to
CN8 on the main
circuit board. Test
between + and -.
There is
continuity.
(Aproxinately
38 ± 3.8Ω)
Paper feed
motor
4-phase stepping
motor
Receipt paper
feed
Remove the cable
connector
connected to
CN9 on the main
circuit board. Test
between pin 1
and pin 2 and
between pin 3
and pin 4.
Approximately
2.6 Ω (per
phase)
A
ROTOR
B
AB
 Loading...