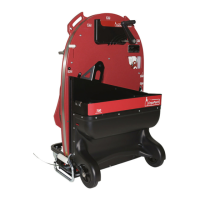
5. Step
As soon as the countdown is finished and
the signal has sounded you have to pull
the rocker lever towards the handle.
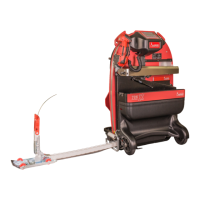
6. Step
Now slew the sealing head to the left
while keeping the rocker lever pulled.
- 50 -
Fig. 68
Fig. 67
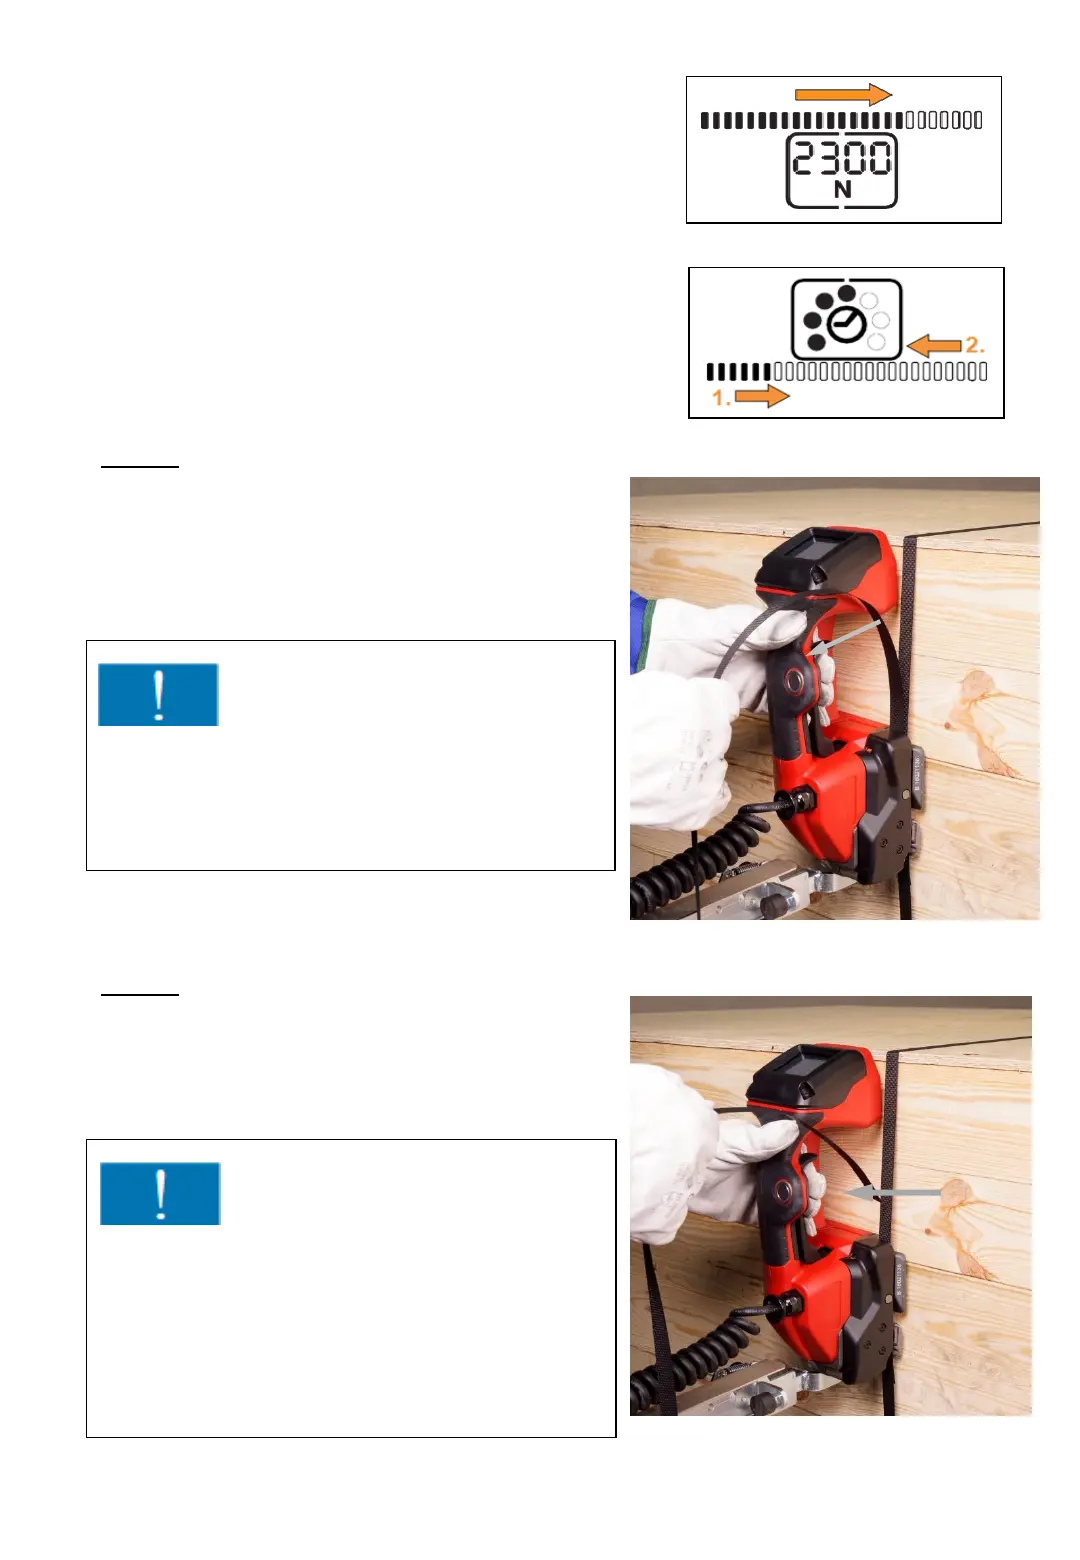
The tensioning process is finished, once
the indicator bar is filled in fully.
The welding process is finished, once the
indicator bar (1.) is filled fully.
The cool down starts (2.). After cool down there
is a beep and the display lights up green.
Fig. 66 b
Fig. 66 a
Attention!
If after pressing the welding button,
the welding does not start, but the sealing
head beeps, the tensioning button was not
pressed first.
Attention!
It is recommended to clean the sealing
head regularly (daily), if there is a lot
of strap waste. Especially the tension wheel
and the tooth plate have to be checked for
damages and kept clean.
Please refer to point 7.8 , page 66