EasyManua.ls Logo

ESAB Fabricator ET 410iP - User Manual

ESAB Fabricator ET 410iP
38 pages
Print Icon
To Next Page IconTo Next Page
Loading...
Fabricator ET 410iP
Welding power source TIG 410A
Instruction manual
0447 209 001 GB 20220520
Valid for: Serial number:
ZG147YY-XXXXXX

Questions and Answers

  • C
    Christopher FischerAug 5, 2025
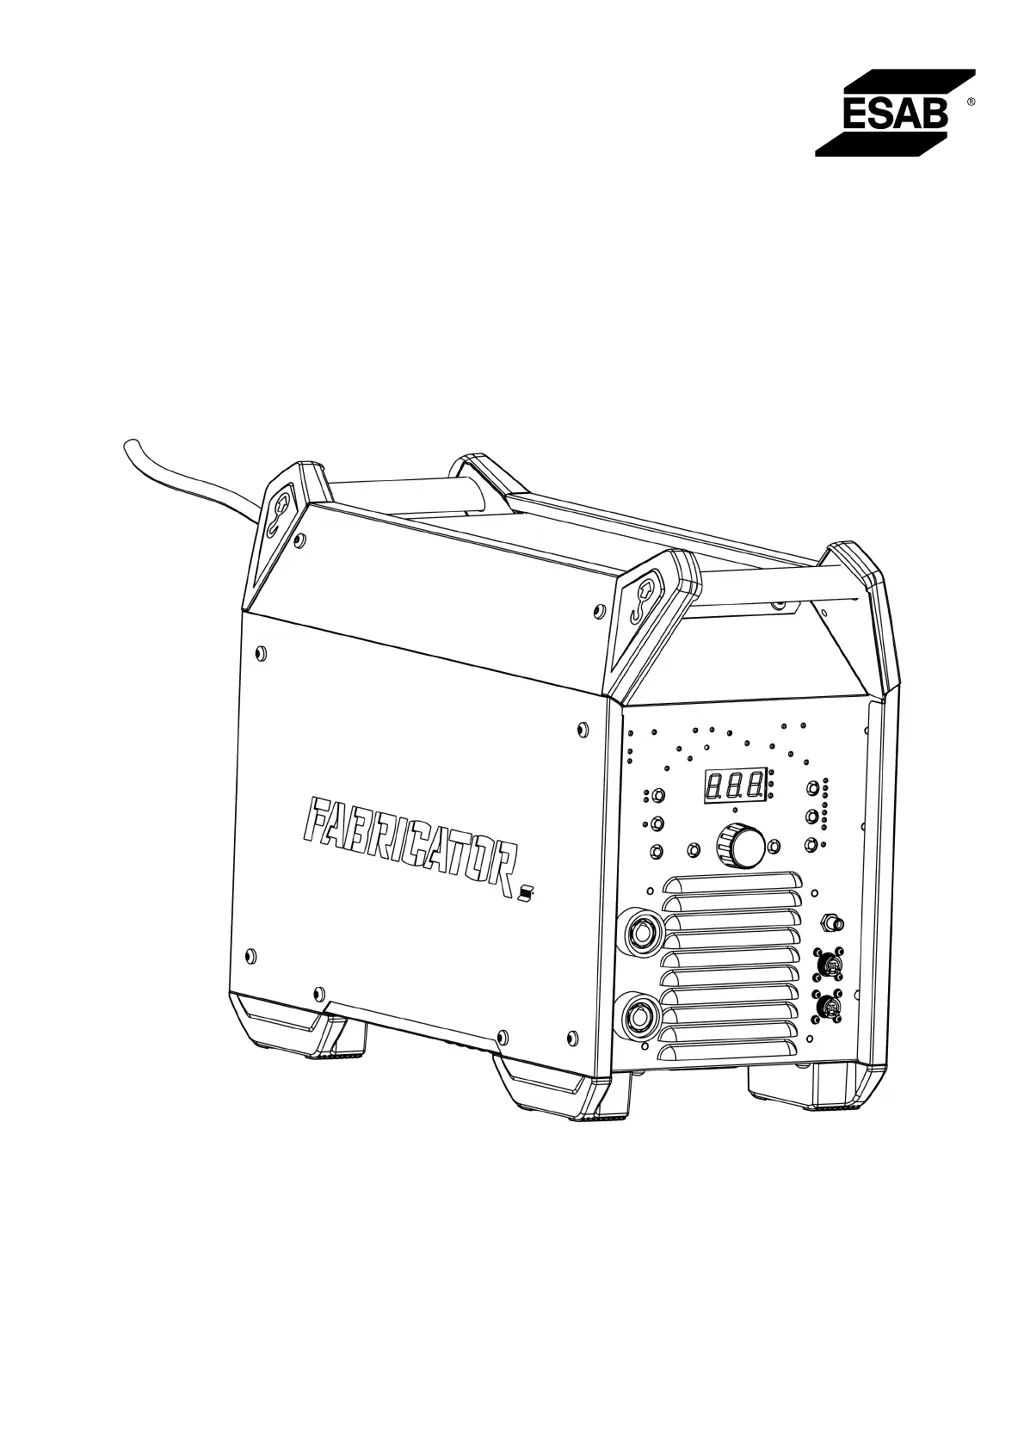
    What to do if my ESAB Fabricator ET 410iP Welding System has no arc?
    • J
      Jonathan WilsonAug 5, 2025
      If your ESAB Welding System is not producing an arc, verify that the display is on, showing that the power source is active and displaying correct values. Ensure the mains power supply switch is on, and all mains, welding, and return cables are correctly connected. Finally, check the mains power supply fuses.
  • K
    kpopeAug 10, 2025
    Why is the welding current interrupted during welding with my ESAB Welding System?
    • J
      joshua44Aug 10, 2025
      If the welding current is interrupted while using your ESAB Welding System, check if the thermal protection trip has been activated, indicated by the LED on the Overtemperature indicator on the control panel. Also, inspect the mains supply fuses.
  • D
    darlene15Aug 15, 2025
    How to troubleshoot MMA welding problems with ESAB Fabricator ET 410iP?
    • N
      nicholasmayAug 15, 2025
      To troubleshoot MMA welding issues with your ESAB Welding System: * Ensure the welding and return cables are correctly connected to the power source. * Confirm the return clamp has proper contact with the workpiece. * Verify you're using the correct electrodes and polarity (check electrode packaging). * Set the correct current value and adjust Arc Force and Hot Start as needed.
  • T
    Travis BarajasAug 20, 2025
    How to troubleshoot TIG welding problems with ESAB Fabricator ET 410iP?
    • T
      Tommy SuttonAug 20, 2025
      To troubleshoot TIG welding problems with your ESAB Welding System: * Verify that the welding and return cables are correctly connected to the power source. * Ensure the return clamp has proper contact with the workpiece. * Confirm the TIG torch lead is connected to the negative welding terminal. * Check that you are using the correct shielding gas, gas flow, welding current, filler rod placement, electrode diameter, and welding mode on the power source. * Make sure the gas valve on the TIG torch is open.
  • J
    james35Aug 25, 2025
    What to do if the thermal protection trips frequently on my ESAB Fabricator ET 410iP Welding System?
    • A
      Austin CastanedaAug 26, 2025
      If the thermal protection trips frequently on your ESAB Welding System, ensure that you have not exceeded the recommended duty cycle for the weld current. Also, check that the air inlets and outlets are not clogged. Clean inside the machine according to routine maintenance and check and clean the cooler.
  • S
    sandersralphAug 30, 2025
    Why can't the maximum current setting reach 410 A on my ESAB Fabricator ET 410iP Welding System?
    • A
      Angela DuranAug 30, 2025
      If the maximum current setting on your ESAB Welding System cannot reach 410 A, check that the power source is connected to a 3-phase mains power supply. Also, inspect the mains power supply fuses.

Summary

SAFETY

Meaning of symbols

Explains the meaning of DANGER, WARNING, and CAUTION symbols used in the manual.

Safety precautions

Outlines general safety precautions for users operating ESAB equipment.

INTRODUCTION

Equipment

Lists the items supplied with the welding power source.

TECHNICAL DATA

INSTALLATION

Location

Provides guidance on positioning the power source for optimal cooling and stability.

Lifting instructions

Details the correct procedure for mechanically lifting the welding power source.

Mains supply

Explains requirements and considerations for connecting the power source to the mains supply.

Recommended fuse sizes and minimum cable area

Specifies recommended fuse ratings and cable sizes for the power supply.

Connect with Cool 2 using adaptor

Provides step-by-step instructions for connecting the Cool 2 unit via an adapter.

OPERATION

Connections and control devices

Identifies and explains the various connection terminals and control elements on the unit.

TIG welding

Describes the TIG welding process and the required supplementary equipment.

MMA welding

Explains the MMA welding process and the necessary additional components.

Connection of welding and return cables

Details how to connect welding and return cables for TIG and MMA modes.

Turning the mains power ON;OFF

Instructions on powering the unit on and off, and data storage behavior.

Fan control and Cool 2

Explains the automatic fan operation and its synchronization with the Cool 2 unit.

Thermal protection

Describes the thermal protection mechanism and how it indicates overheating.

Voltage reduction device (VRD)

Explains the function and indicators of the Voltage Reduction Device (VRD).

Remote control

Details how to connect and use the remote control for welding current adjustment.

Memory

Describes how to save and load welding programs using the memory function.

CONTROL PANEL

Fabricator ET 410 iP

Provides an overview and labeling of the control panel components.

Navigation

Explains how to navigate through parameters and set values using the control panel.

TIG settings

Details the available setting ranges, steps, default values, and modes for TIG welding.

Measured values

Explains how measured current and voltage values are displayed.

TIG functions explanation

Explains the functionality of TIG welding modes like HF ON/OFF and 2T/4T.

Pulse duty cycle

Explains how pulse duty cycle affects arc energy and weld pool size.

Pulse frequency

Describes the impact of pulse frequency on weld pool solidification and arc focus.

Remote current

Explains how to set current for foot pedal or remote control, including mode-specific ranges.

MMA settings

Details settings for MMA welding, including Set current, Arc force, and Start pulse.

MMA functions explanation

Explains MMA-specific functions like Arc force and Start pulse.

MAINTENANCE

Routine maintenance

Outlines a schedule for routine maintenance tasks and checks before each use.

Cleaning instructions

Provides step-by-step instructions for cleaning the power source, including safety precautions.

TROUBLESHOOTING

ERROR CODES

Error codes overview

Explains how error codes are indicated and lists user-handleable error codes.

ORDERING SPARE PARTS

APPENDIX

WIRING DIAGRAM

Presents the electrical wiring diagram for the welding power source.

ACCESSORIES

Lists and describes optional accessories available for the welding power source.

ORDERING NUMBERS

Provides a list of ordering numbers for the welding power source and related documentation.

ESAB Fabricator ET 410iP Specifications

General IconGeneral
Mains Fuse25 A
Output Current Range5 - 410 A
Protection ClassIP23
Input Frequency50/60 Hz
Wire Diameter Range (Solid Wire)0.8-1.6 mm
Efficiency85%
Input Voltage400 V
Duty Cycle40% @ 410 A
Duty Cycle (MIG/MAG)60% @ 410 A, 40°C
ProcessMIG/MAG, MMA, TIG
Stick Welding Output5-410 A
Wire Diameter Range (Flux Cored)1.0 - 1.6 mm

Related product manuals