Navis 100 Installation Guide 11
Install a Luminaire
Note:
If you are installing a luminaire with a wall wash trim plate,
see Install a Wall Wash Luminaire on page13 for installation
instructions.
Tools required:
small flatblade screwdriver (if installing an RGBW luminaire)
2.0 mm hex key
Note:
Use a maximum torque setting of 1.9Nm (10.5in-lb) when
tightening the 2.0 mm hex screws to avoid damaging the locking
clamp, mounting clamps, and mounting surface.
1. Remove the magnetic trim plate from the base of the luminaire to
expose the ceiling clamp screws and the locking screw.
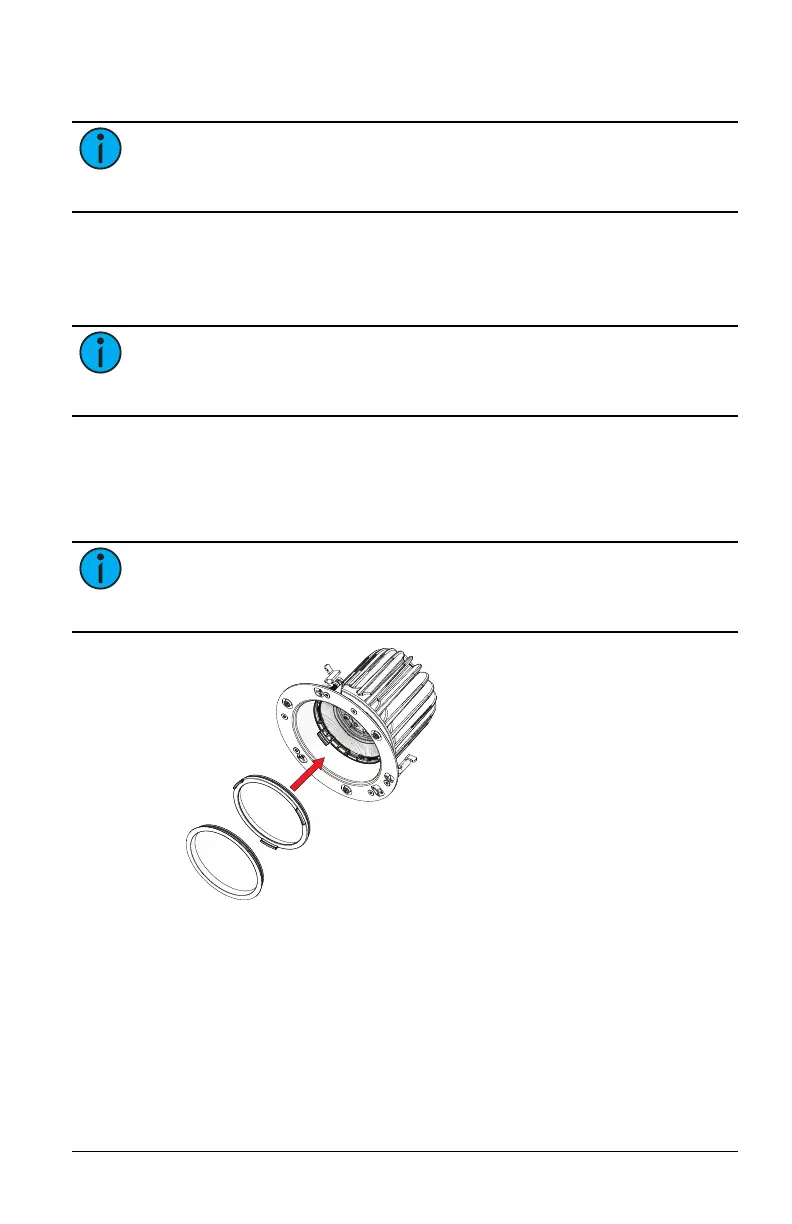
2. If necessary, install the secondary optic, the finishing ring, or both
by snapping the part into the lens holder.
Note:
The edges of the secondary optic and the finishing ring
may protrude below the edge of the trim plate when you tilt the
luminaire to its full extent.
3. If installing an RGBW luminaire, use a small flatblade screwdriver
to set the channel rotary switch to the channel of the luminaire
(1–4). (See
Navis 100 Features on page4
for the location of the
channel rotary switch and information about channel numbers.)