20 Navis 100 Installation Guide
Install Replacement Secondary Optic
There are several secondary optic accessories available for the Navis 100
luminaire (see
Accessories on page22
). Follow these instructions to
change a secondary optic.
Tool required:
Small flatblade screwdriver
1. Remove the magnetic trim plate from the luminaire.
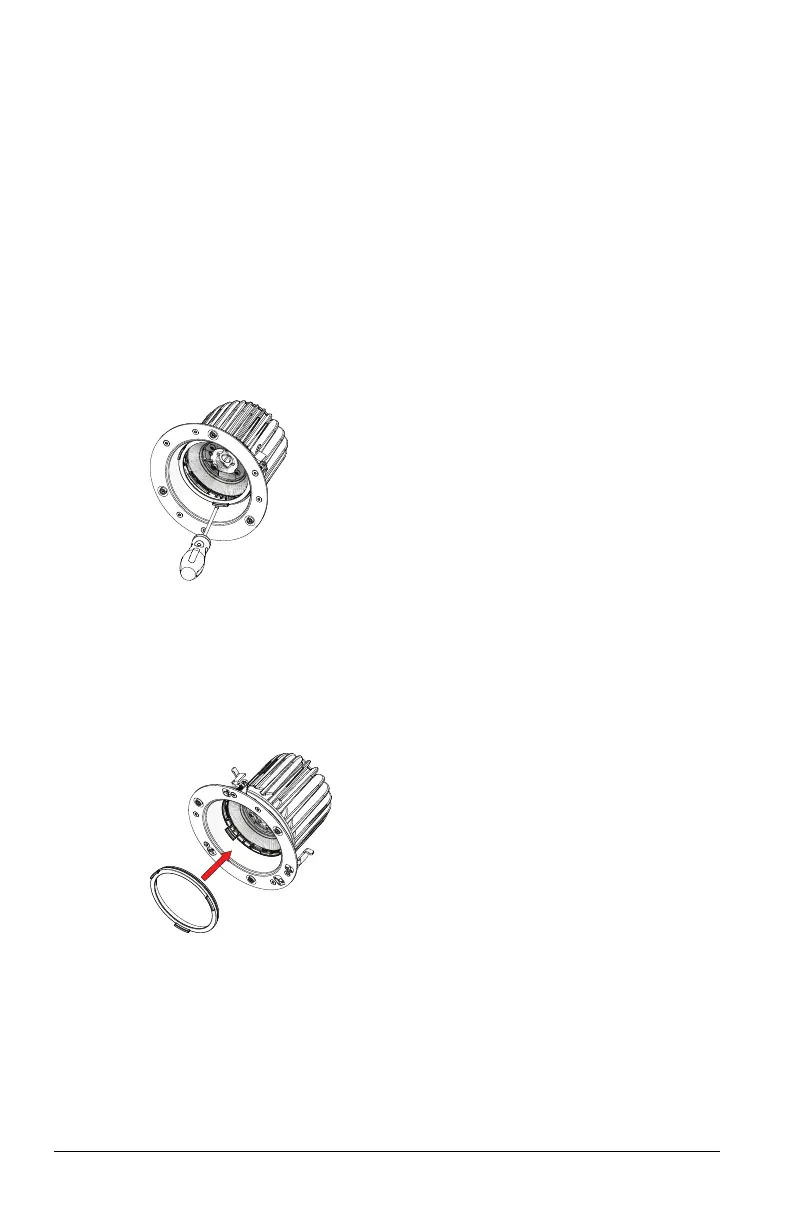
2. If a finishing ring is installed in the luminaire, remove the finishing
ring by sliding a small flatblade screwdriver between the edge of
the finishing ring and the side of the luminaire and carefully prying
the ring loose.
3. Remove the existing secondary optic by sliding a small flatblade
screwdriver between one of the tabs on the secondary optic and
the side of the luminaire and carefully prying the secondary optic
loose (see the previous graphic).
4. Install the replacement secondary optic by snapping it into the lens
holder.
5. If necessary, reinstall the finishing ring by snapping it into the lens
holder.
6. Attach the magnetic trim plate to the base of the luminaire. The
trim plate should be centered on the base of the luminaire and
should connect firmly to the three magnets.
 Loading...