Navis 100 Installation Guide 19
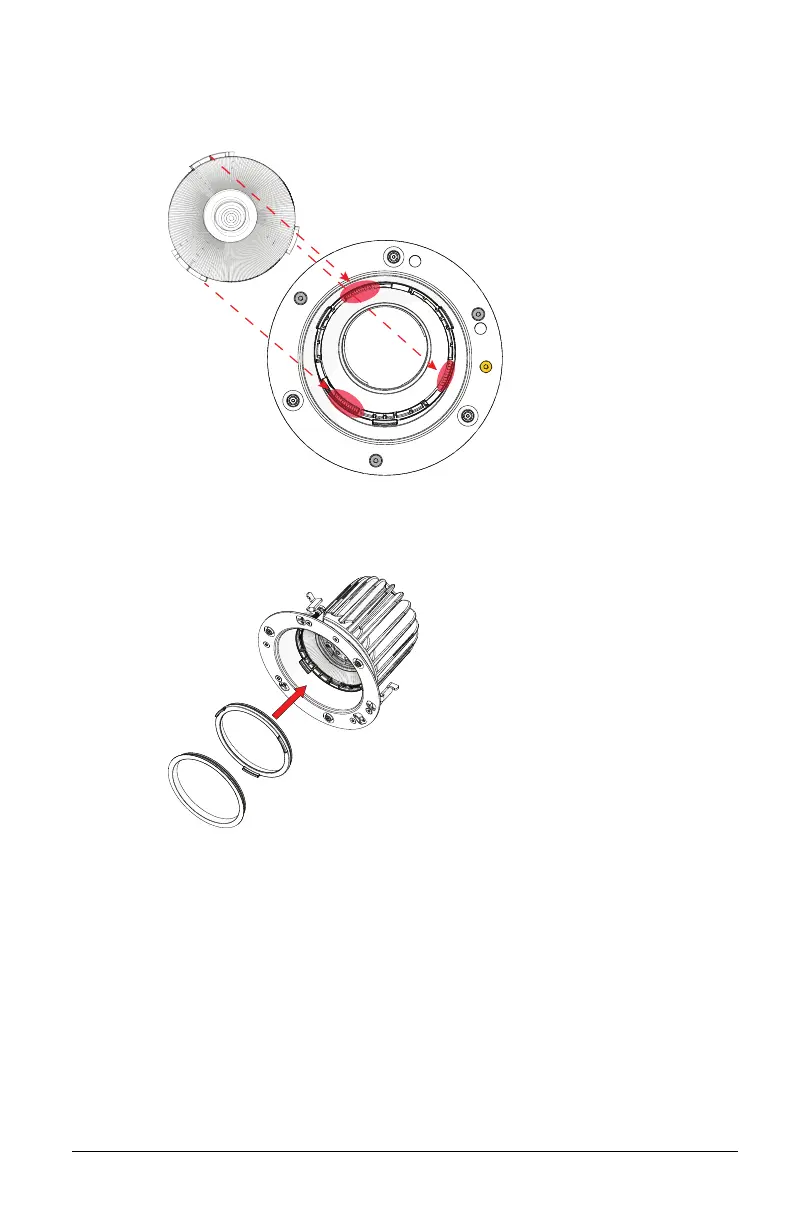
4. Position the replacement lens in the luminaire. Align the tabs on
the lens with the appropriate slots in the lens holder. (There are
two large tabs and one small tab.)
5. Twist the lens clockwise until it locks into the lens holder.
6. If necessary, reinstall the secondary optic, the finishing ring, or
both by snapping the part into the lens holder.
7. Replace the beam degree label on the base of the luminaire with
the label from the replacement lens kit so that the luminaire is
labeled correctly.
8. Attach the magnetic trim plate to the base of the luminaire. The
trim plate should be centered on the base of the luminaire and
should firmly connect to the magnets on the luminaire.
 Loading...