Navis 100 Installation Guide 13
Install a Wall Wash Luminaire
Note:
Wall wash luminaires are not intended for use with the
Navis 100 Pendant or the Navis 100 Surface Cylinder accessories.
Tools required:
small flatblade screwdriver (if installing an RGBW luminaire)
2.0 mm hex key
Wall wash angle template (packaged separately from the luminaire)
Note:
Use a maximum torque setting of 1.9Nm (10.5in-lb) when
tightening the 2.0 mm hex screws to avoid damaging the locking
clamp, mounting clamps, and mounting surface.
1. If you are installing an RGBW luminaire wall wash, you must attach
spacer pads to the wall wash angle template and set the channel
for the RGBW luminaire.
a. Affix the three provided spacer pads to the back edge of the
wall wash angle template adjacent to the three notches.
Note:
Do not attach the spacer pads to the wall wash angle
template if you are installing a White or Fade to Warm wall wash
luminaire.
b. Use a small flatblade screwdriver to set the channel rotary
switch to the channel of the luminaire (1–4). (See
Navis 100
Features on page4
for the location of the channel rotary
switch and information about channel numbers.)
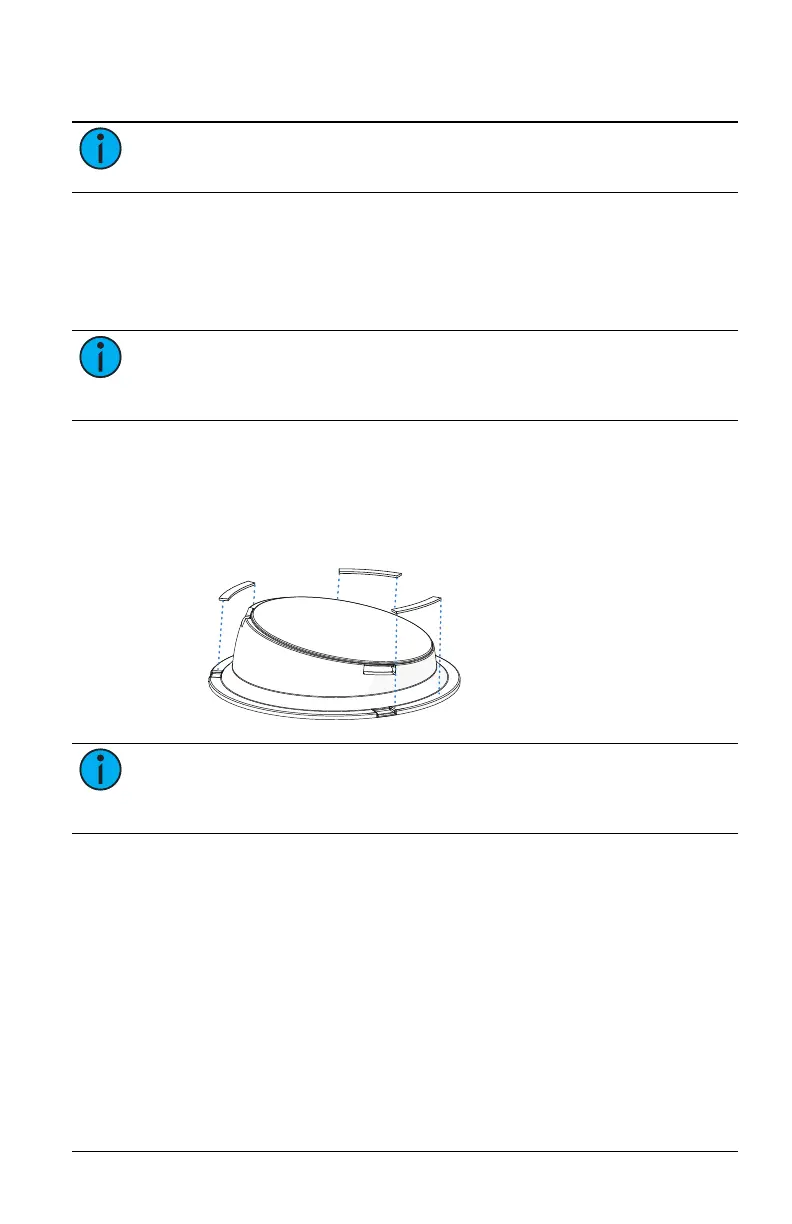
2. Remove the magnetic trim plate from the base of the luminaire to
expose the ceiling clamp screws and the locking screw.
 Loading...