18 Navis 100 Installation Guide
Install Replacement Lens
There are several beam angle options available for the Navis 100
luminaire: 15°, 25°, 40°, and 60° (see
Accessories on page22
). You can
change the beam angle of a luminaire by exchanging the lens for one
with a different beam angle.
Note:
Navis 100 luminaires are not serviceable. If the luminaire is
not functioning properly, do not remove the lens in an attempt to
diagnose the problem. Contact ETC Technical Services for
assistance.
Tool required:
Small flatblade screwdriver
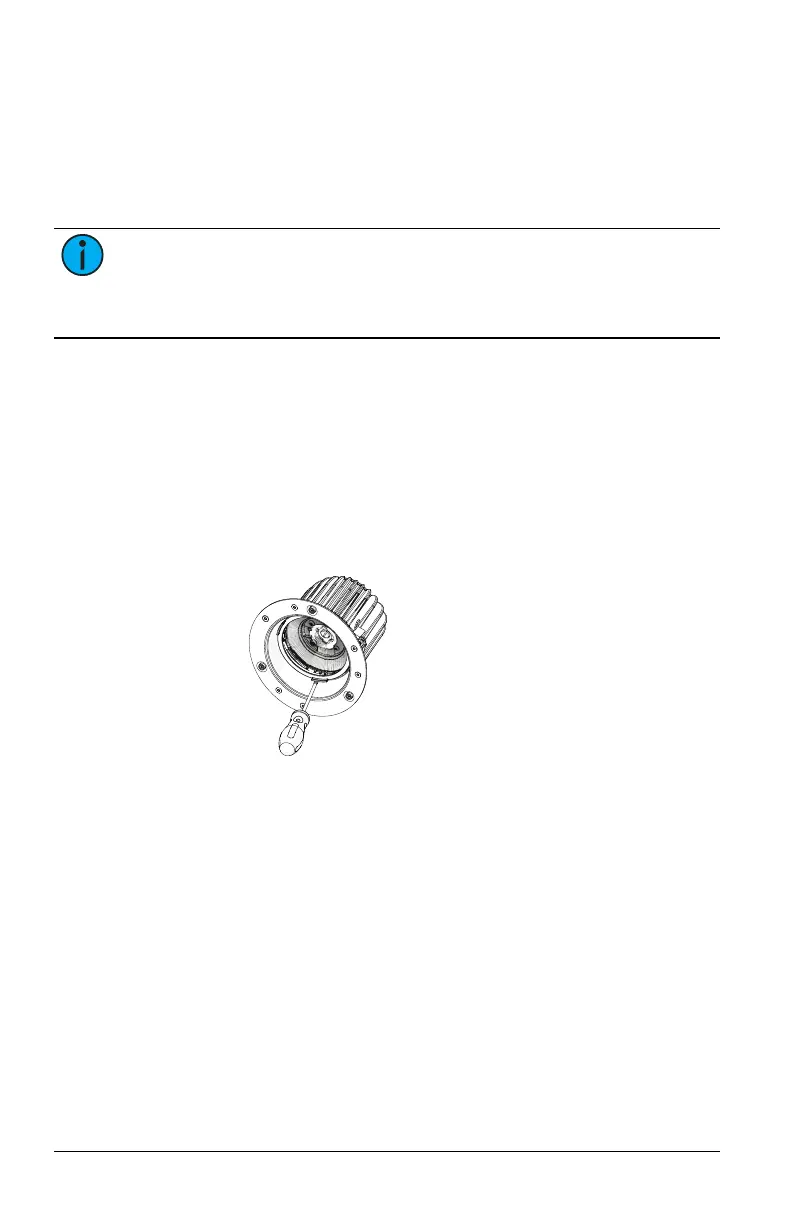
1. Remove the magnetic trim plate from the base of the luminaire to
expose the ceiling clamp screws and the locking screw.
2. If necessary, remove the finishing ring, the secondary optic, or both
from the luminaire by sliding a small flatblade screwdriver between
the edge of the part and the side of the luminaire and carefully
prying the part loose.
3. Remove the existing lens from the luminaire by twisting the lens
counterclockwise to unlock it from the luminaire. ETC recommends
that you use a suction cup tool to remove the lens. (A suction cup
tool is available from ETC, part number 7496K1011.)