ETC Quick Guide
Source 4WRD II Version 1.1.2
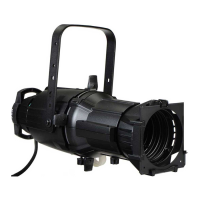
Install the Source 4WRD II Retrofit
WARNING: RISK OF FIRE OR ELECTRIC SHOCK! Install this kit only
onto luminaires that have the construction features and
dimensions shown in the images in this document and where the
input rating of the retrofit kit does not exceed the input rating
of the luminaire.
AVERTISSEMENT : RISQUE D'INCENDIE OU DE DÉCHARGE
ÉLECTRIQUE! N’installer ce kit que sur les projecteurs qui ont les
caractéristiques de construction et les dimensions indiquées sur
les images de ce document et où la puissance électrique
nécessaire à la conversion n’excède pas la puissance maximale du
projecteur.
WARNING: Do not make or alter any open holes in an enclosure
of wiring or electrical components during kit installation.
CAUTION:
Do not touch or clean LED emitters with anything
other than oil-free canned air.
Tools required:
Adjustable wrench
#2 Phillips screwdriver
1. Use oil-free canned air to clean the LED emitters before you install the
retrofit. Do not touch the LEDemitters.
2. With the fixture resting securely on a flat surface, attach the supplied
threaded post to the back end of the fixture body. Use an adjustable
wrench to tighten the threaded post one-quarter turn past finger
tight.
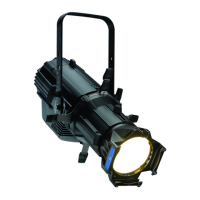
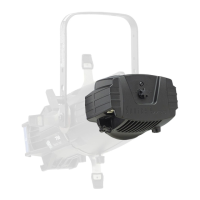
3. Gently slide the Source 4WRDII LED onto the fixture body and
threaded post while guiding the LED tower into the lamp housing
hole, as shown in the following image. Take care to prevent contact
between the LEDs and the reflector.
Source 4WRD II Page 4 of 8 ETC