12
www.evolutionpowertools.com
GETTING STARTED
WARNING: ALWAYS DISCONNECT THE SAW FROM THE POWER
SOURCE BEFORE MAKING ANY ADJUSTMENTS.
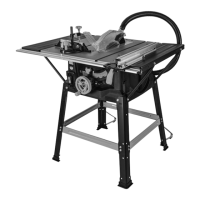
PERMANENTLY MOUNTING THE R210MTS-G2
TABLE/MITRE SAW (Fig. 1)
WARNING: To reduce the risk of injury from unexpected saw
movement, place the saw in the desired location either on a
workbench or other recommended leg set. The base of the saw
has four holes to mount the mitre saw. If the saw is to be used in
one location, permanently fasten it to the workbench or leg set
using appropriate bolts with lock washers and nuts.
1. Tighten the mitre and bevel locks.
2. Position the saw so other people cannot stand behind it.
Thrown debris could injure people in its path.
3. Place the saw on a firm, level surface where there is plenty of
room for handling and properly supporting the workpiece.
4. Support the saw so that the table is level and the saw does
not rock.
5. Bolt or clamp the saw to its support.
REAR STABALISING BAR
Extend bar to the rear of the machine (Fig. 2)
TABLE SAW GUARD
To fit the table saw guard:
• Using the hex key loosen the 2 hex screws
• Fit the table saw guard assembly (Fig.3)
• Tighten the 2 hex screws
INSTALLING/REMOVING BLADE
WARNING: Only use genuine Evolution blades which are
designed for use in this machine. Ensure that the maximum
speed of the blade is compatible with the machine. Only
perform this operation with the machine disconnected from
the mains supply.
Note: It is recommended that the operator considers wearing
protective gloves when handling the blade during installation
or when changing the machines blade.
To change a blade:
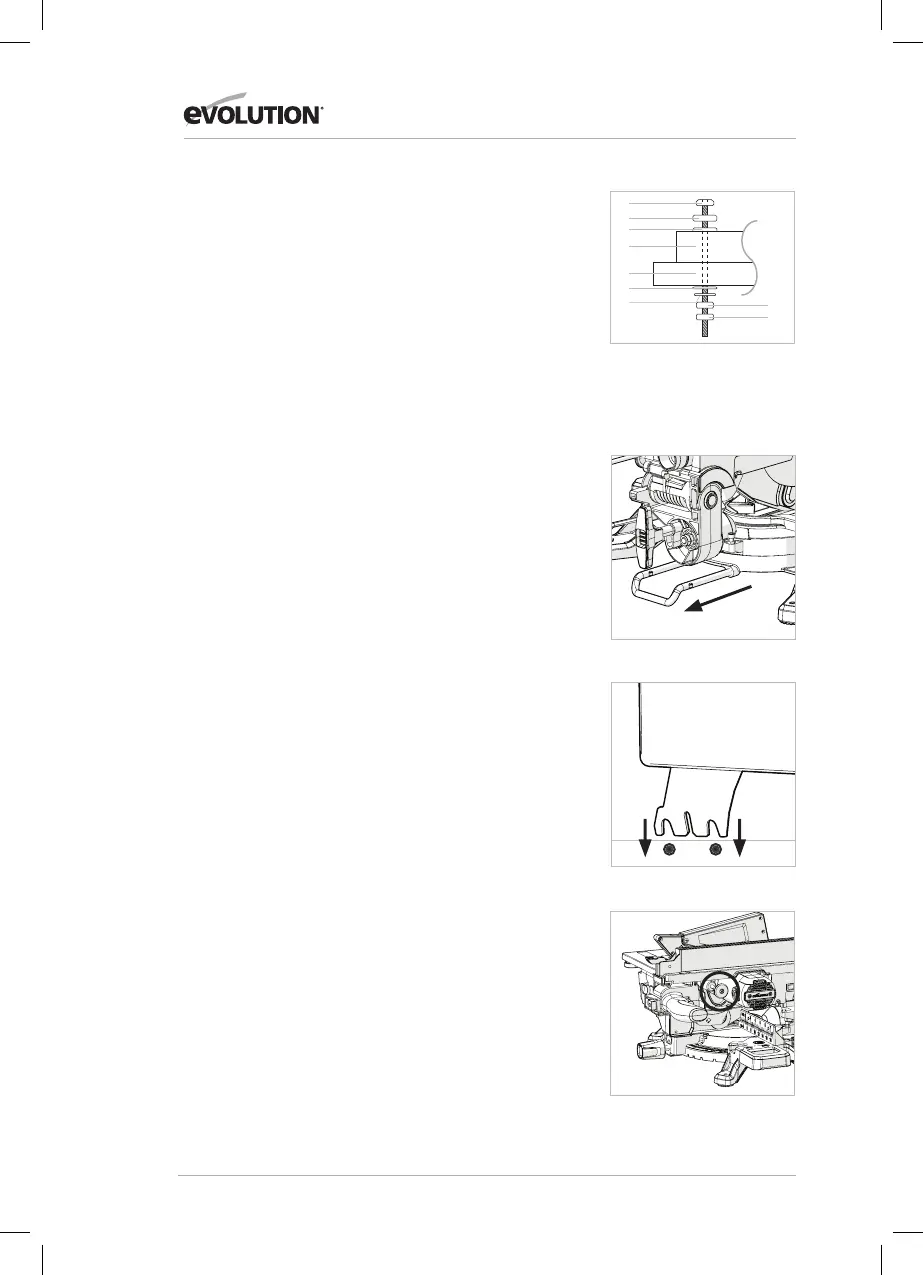
• Pull out pin (Fig. 4) to release the motor.
• Slightly push down on the cutting head handle.
• Pull out the cutting head latching pin and allow the cutting
head to rise to its upmost position. (Fig. 5)
• Use the pin spanner (provided) to hold the outer blade flange.
• Use the hex key (provided) to unscrew the arbor screw. (Fig. 6)
Fig. 1
1) Hex headed bolt
2) Spring washer
3) Flat washer
4) Mitre saw base
5) Workbench
6) Flat washer
7) Spring washer
8) Hex nut
9) Lock nut
(1)
(2)
(3)
(4)
(5)
(6)
(7)
(8)
(9)
Fig. 2
Fig. 4
Fig. 3