B
MAINTENANCE
Read all of SAFETY and this section before attempting any procedure. Pay particular attention to Notices, Cautions, Warnings and Dangers.
45
Owner’s Manual
The oil dipstick/fill cap must be in place before operating the engine. Failure to install the dipstick/fill cap will result in oil
becoming contaminated and/or oil being discharged into the engine compartment.
Changing the Oil
Tool List Qty. Tool List Qty.
Socket, 19 mm ............................................................ 1 Oil Filter Wrench ......................................................... 1
Ratchet........................................................................ 1 Oil Drain Pan............................................................... 1
Extension, 8” ............................................................... 1 Funnel ......................................................................... 1
For maximum performance and longevity, the engine oil
should be replaced after the first 8 hours of operation. After
the initial oil change, it should be changed every 125 hours
of operation or semi-annually, whichever comes first.
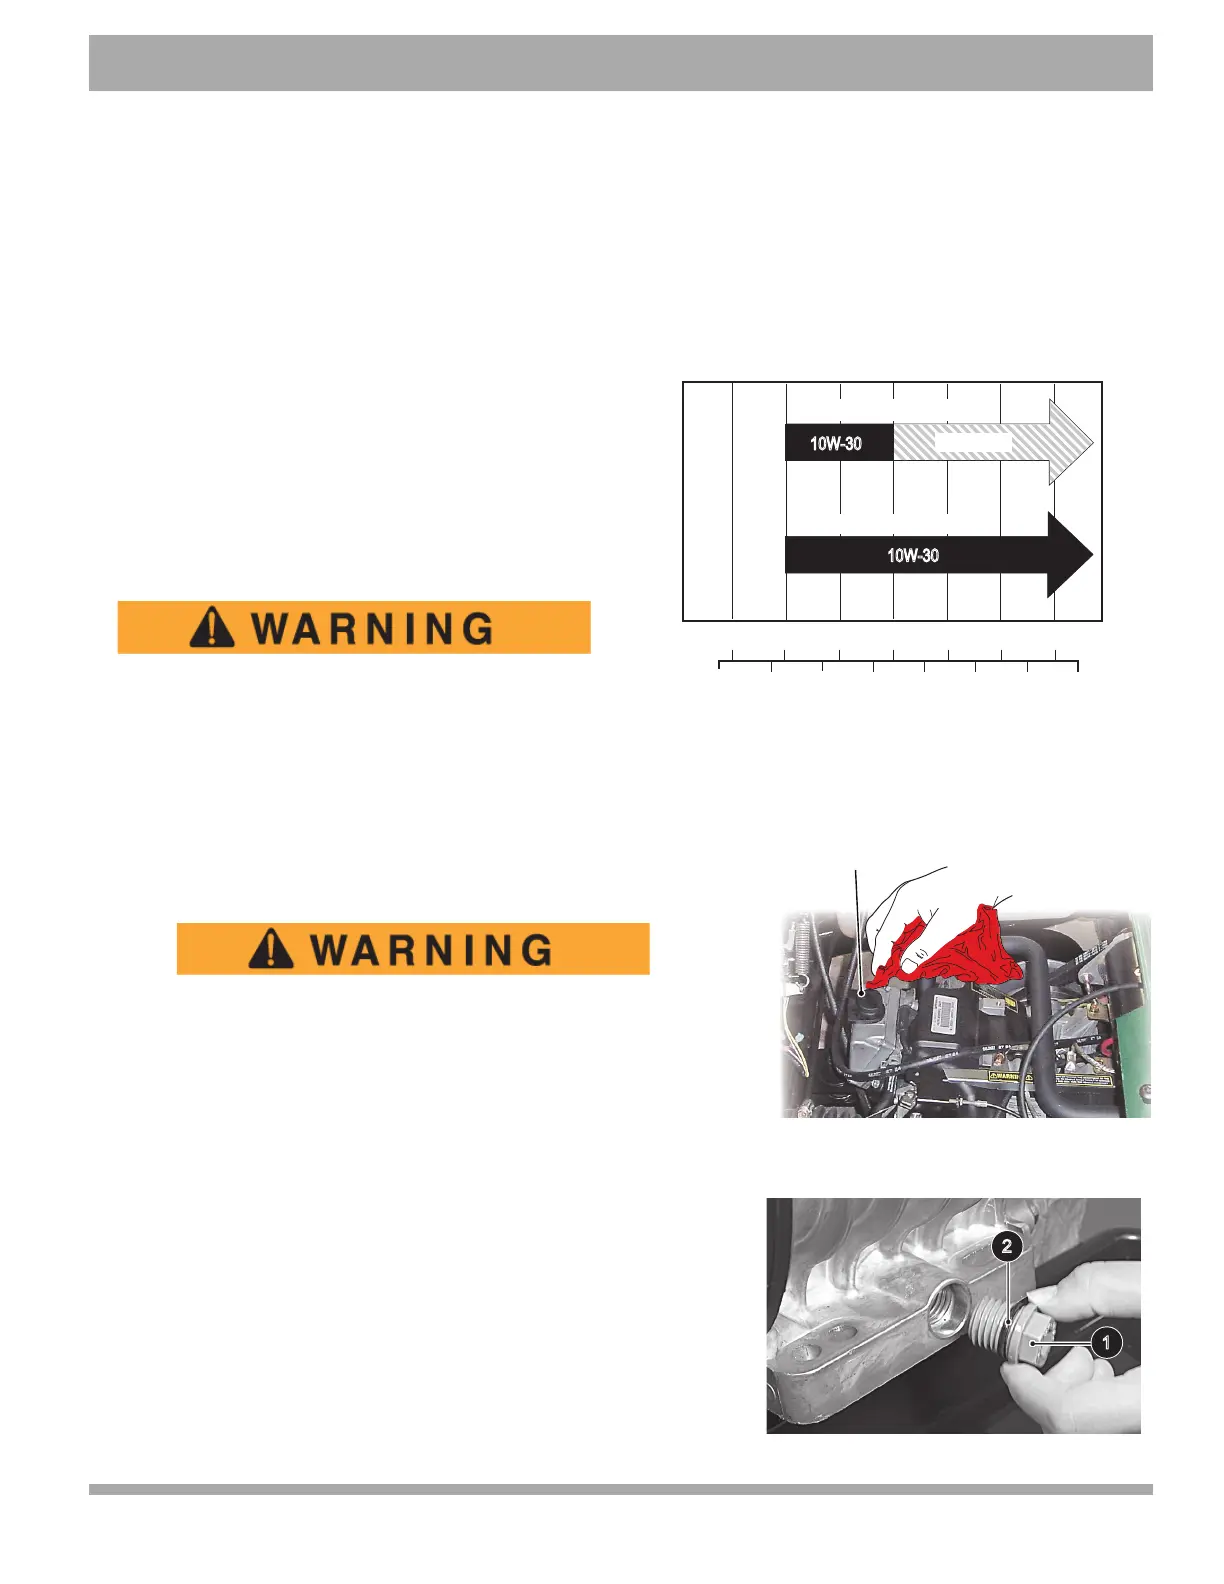
The selection of oil is dependent upon the service that the
vehicle will perform. Most vehicles require 10W-30 oil,
whereas vehicles used at capacity or near capacity load
applications will require 10W-40 oil after a break-in period of
100 hours.
Be aware that engine fluids are carcinogenic and
may be hot. Contact to the skin may cause
severe burns. Wear rubber gloves to protect skin
from exposure to the old oil and degreaser.
The oil should be changed with the engine warm. Park the vehicle on a level surface, engage the parking brake and
remove the key.
Place a drain pan under the engine. Wipe the engine with a clean cloth.
Remove the oil fill cap.
Be careful of hot oil when drained. It may be hot enough to
burn you severely.
Place an oil drain pan under the oil drain plug (1) located at the rear of the
engine base. Remove the drain plug (1) and allow the oil to drain into the
pan. At the first oil change, small metal chips and lint may be found. This
is normal and a result of the engine break-in period. Inspect the filter at
every oil change. The presence of large metal chips could indicate possi-
ble damage to the engine. Before installing the drain plug, clean the area
around the drain hole with a lint free cloth and inspect the drain plug (1)
for damage. Replace if necessary. If the O-ring (2) on the drain plug is
damaged, replace it with a new one. Tighten the drain plug to 62 in. lbs.
(7 Nm) torque.
-20 0 20 40 60 80 100
-30 -20 -10 0 10 20 30
40
C
F
0
0
10W-30
10W-40
HEAVY DUTY WORK
LIGHT DUTY WORK
(AIR TEMPERATURE)
10W-30