52
MAINTENANCE
Read all of SAFETY and this section before attempting any procedure. Pay particular attention to Notices, Cautions, Warnings and Dangers.
Owner’s Manual
SPARK PLUGS
Tool List Qty. Tool List Qty.
Spark Plug Socket, 13/16”........................................... 1 Anti-Seize Compound .............................................. AR
Ratchet ........................................................................ 1 Torque Wrench, ft. lbs. ............................................... 1
Plug Gauge, Wire Type ............................................... 1
Use care not to over-tighten the plug. Over-tightening can cause damage to the aluminum cylinder head
threads.
Remove and inspect the spark plug at intervals indicated in the Periodic Service Schedule. Spark plug should
be properly gapped. Tighten to 16 ft. lbs. (22 Nm) torque.
Remove and inspect the spark plug at intervals indicated in the Periodic Service Schedule. Spark plug should be properly
gapped. Tighten to 16 ft. lbs. (22 Nm) torque.
A fouled spark plug is indicated by an electrode with a wet, black appearance. A fouled plug can be caused by:
• Dirty air filter element.
• Restrictions in the air intake system.
• Incorrect valve adjustment.
• Spark plug wire in poor condition.
• Poor quality fuel.
BATTERY REMOVAL AND INSTALLATION
Tool List Qty. Tool List Qty.
Insulated Wrench, 1/2" ................................................ 1 Ratchet........................................................................ 1
Socket, 1/2" ................................................................. 1 Torque Wrench, ft. lbs. ............................................... 1
Extension, 12" ............................................................. 1
Hardware that is removed must be installed in its original position unless otherwise specified. If the torque values are
not specified, refer to the Torque Specifications table in the GENRAL INFORMATION AND ROUTINE MAINTE-
NANCE section.
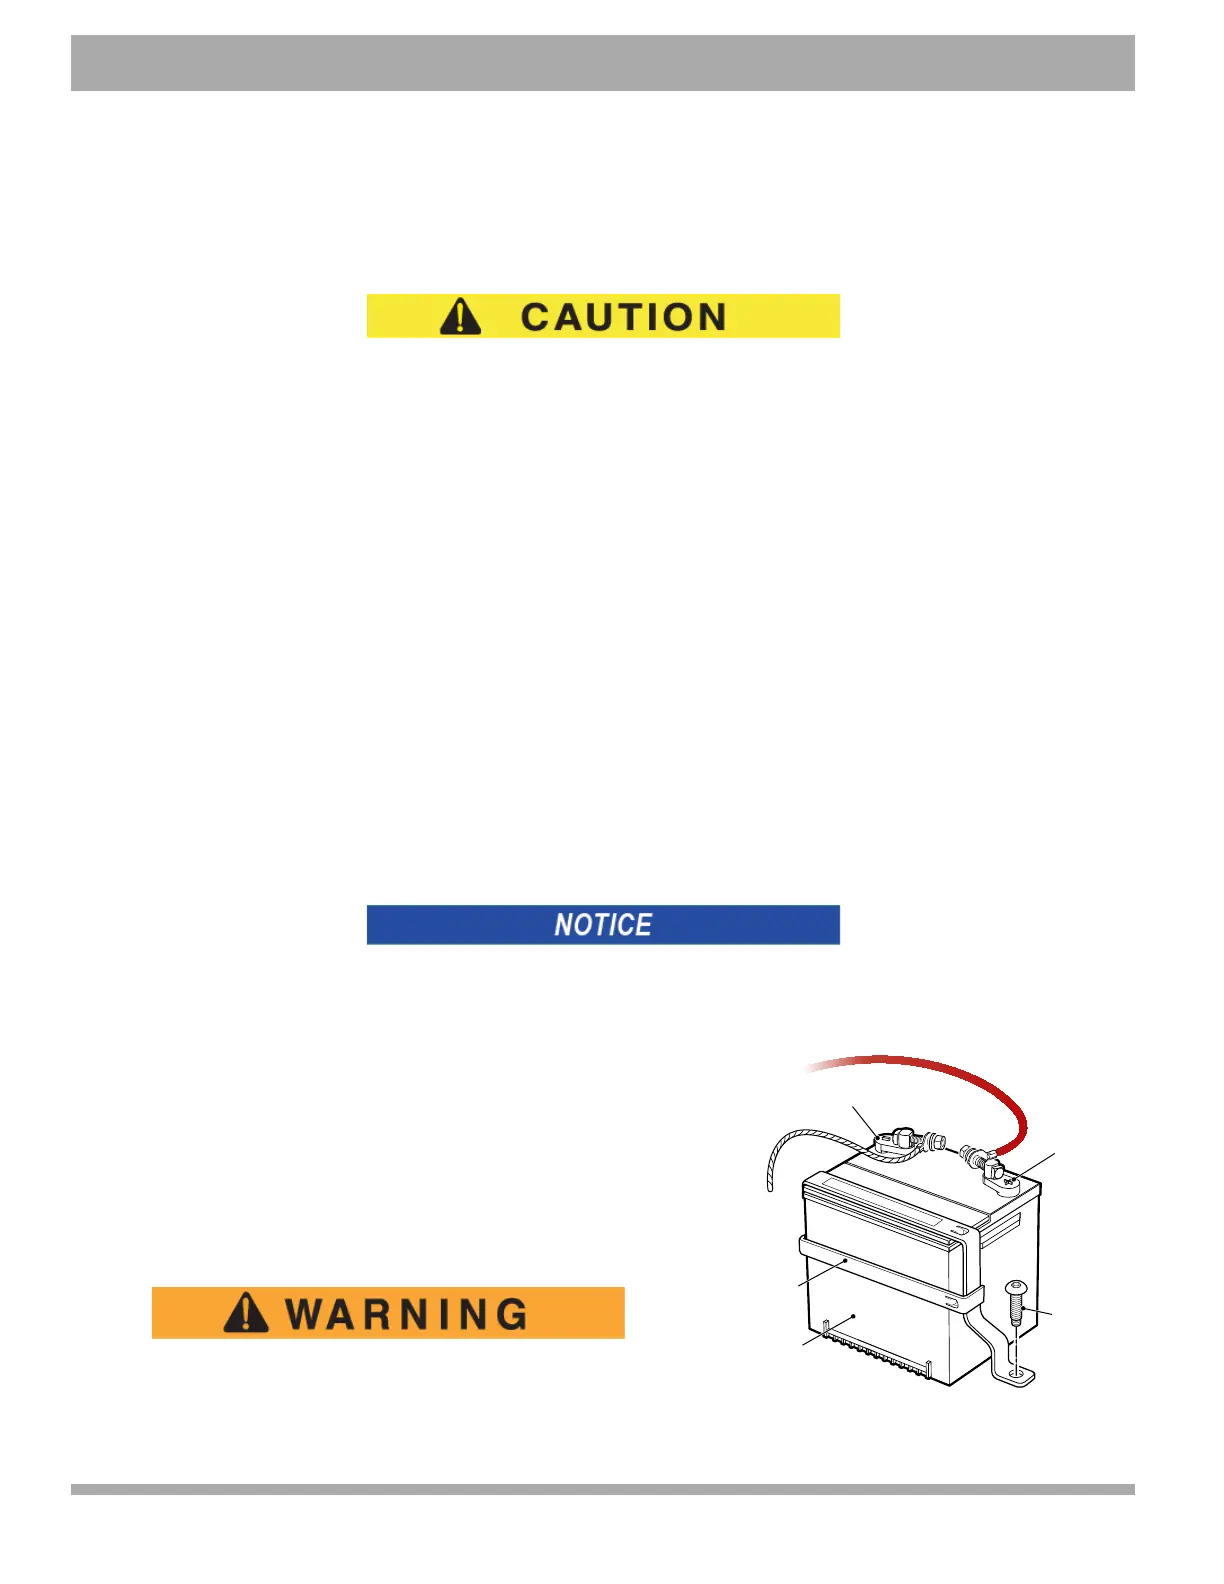
At the battery, remove the negative (-) cable before removing the posi-
tive (+) cable. Remove the bolt from the battery hold down and remove
the battery.
Installation of the battery is in reverse order of removal.
Connect the positive (+) battery cable first and then connect the nega-
tive (-) battery cable.
Be sure to remove all corrosion from the terminals and hardware. After
installing the battery, coat terminals with a commercially available termi-
nal protectant.
Be careful when you use aerosol containers near battery
terminals. Use a metal container that has insulation to pre-
vent an explosion.
Battery (+)
Battery
Battery
Tie Down
Tie Down
Screw
Battery (-)