SECTION 6 - CLEANING and MAINTENANCE
It is important to clean air intake filter regularly.
The filter is located below body of appliance at front and RH side. It can be removed by sliding out of front.
Clean using hot, soapy water and re-fit after drying. (Refer to Figure 5).
CLEANING THE APPLIANCE
General
BEFORE ANY CLEANING OPERATION, ISOLATE
ELECTRICITY AT MAIN SWITCH. THE APPLIANCE
MUST NEVER BE CLEANED WITH A JET OF WATER OR BE STEAM CLEANED.
Surfaces are easier to clean if spillage is removed before it becomes burnt on. It is advisable to clean unit
daily, after use.
Stainless Steel Surfaces
These surfaces should be cleaned with hot water and detergent then dried and polished with a soft cloth.
Cleaning agents containing bleach, abrasives or caustic chemicals will damage or stain the stainless steel
surfaces and must not be used.
Vitreous Enamel Surfaces
Approved cleaning agents which bear the Vitreous Enamel Development Centre (VEDC) mark are
recommended.
Wipe enamelled surfaces clean while still warm. Use a soft cloth and hot soapy water. Badly stained,
removable parts should be soaked in hot water with an approved detergent.
If parts are not able to be removed, the application of
warm water with approved detergent using nylon
or scotch cleaning pads will provide good results.
Ceran-glass Hob
Clean glass with hot soapy water and a soft cloth. Do NOT use metal scrapers.
MAINTENANCE
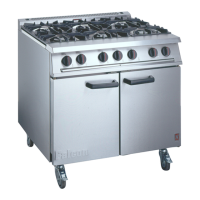
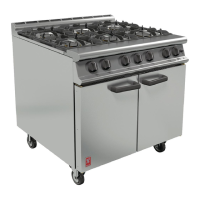
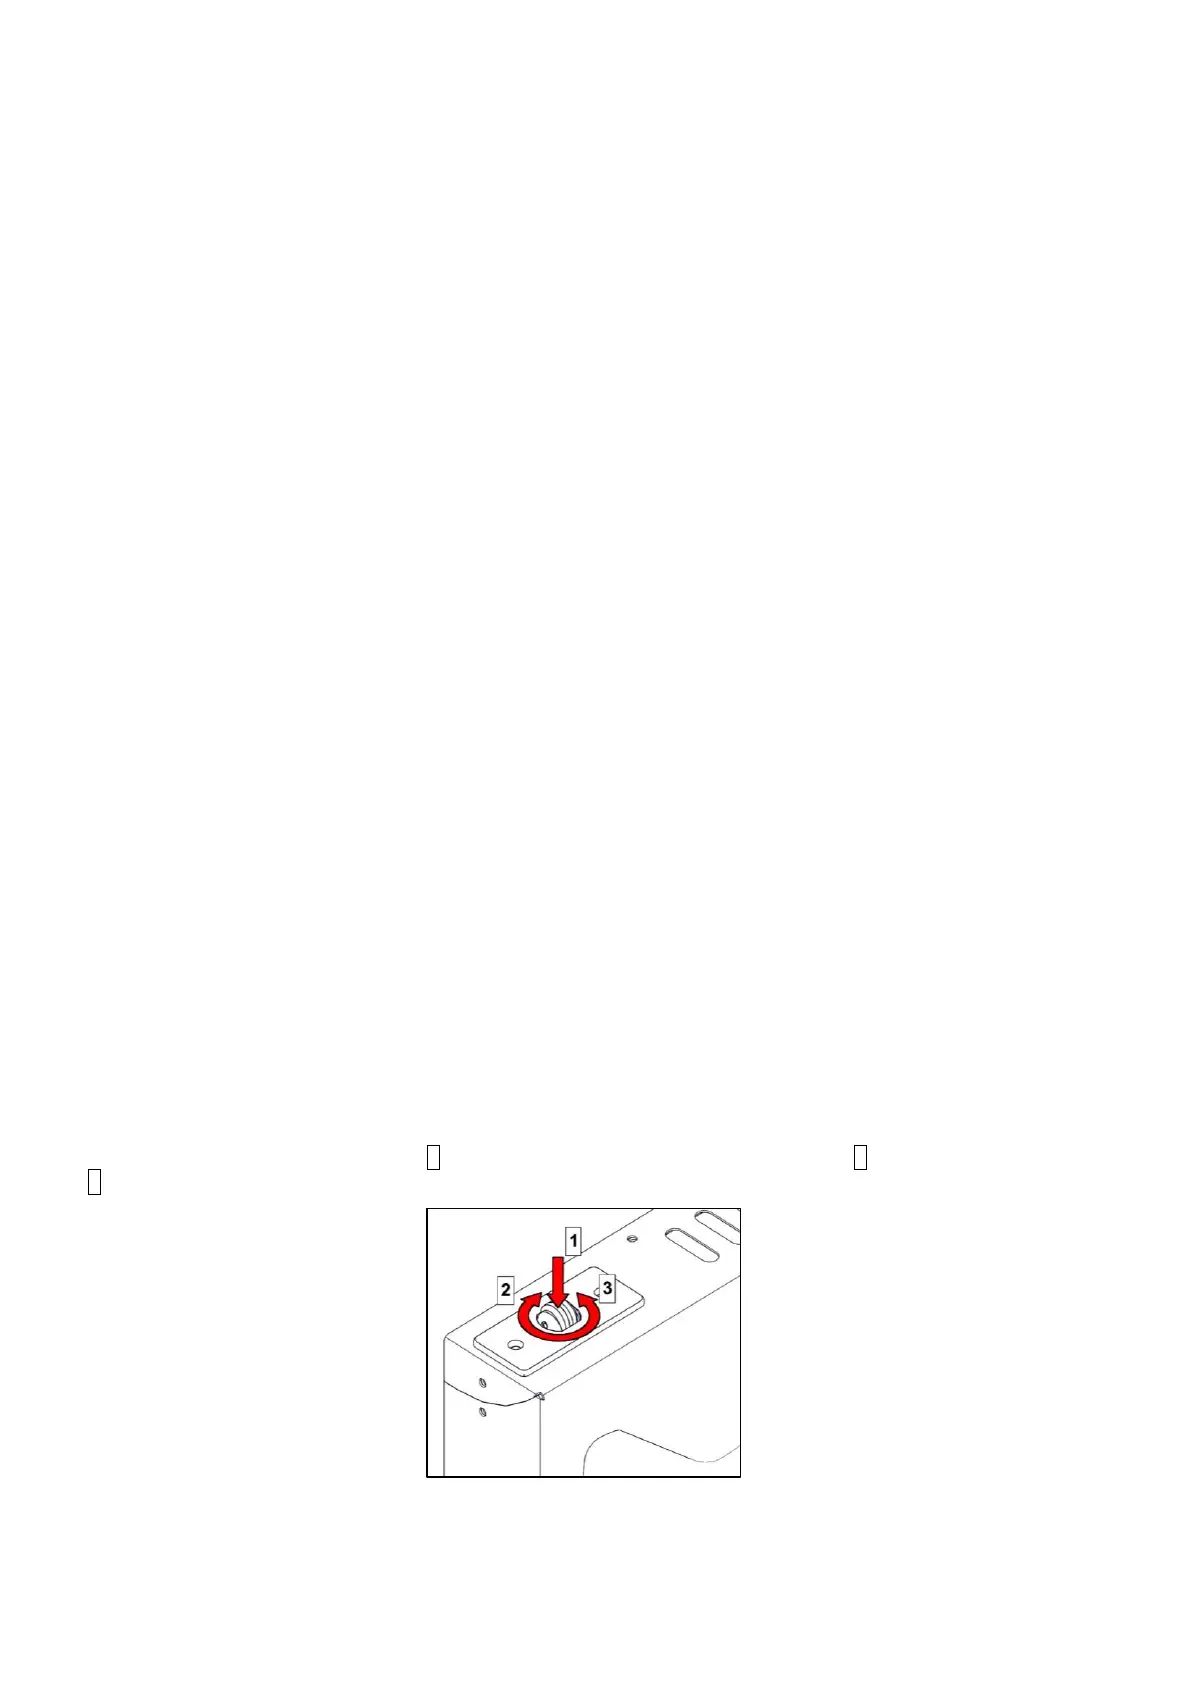
Oven Door Catch
Lubricate door catch occasionally. Push down roller and apply high melting point lubrication inside the catch and
onto the roller itself.
If there are issues with closing of the door, try adjusting the catch (Fig 16). Use your hands or an appropriate
implement to push down on the roller 1 as shown. Whilst holding it down, turn it right 2 to adjust it down, or left
3 to adjust it up as shown.
Figure 16 - Door catch adjustment