170
(MT11 - Gb2012)
4+1
INTERCOMS *
7+1
VIDEOINTERCOMS
Table for choosing intercoms and accessories for the required type of installation
N. of intercom- Exhito Exhito Studio Accessories Application dia-
municating EX320 EX301 EX304 EX310 EX301 EX304 ST720W ST701 ST704 RL37 PRS210 gram on page:
2 2 0 2 2 0 2 2 2 2 0 0 180
3 3 3 3 3 3 3 3 6 3 0 0 180
4 4 8 4 4 12 4 1 1 180
5 5 15 5 5 20 5 1 1 171
PA
SE
MD71
MD100
1
2
230V
127V
0
G
27
X
DY
PRS226E
C+
RP100
C
1
2
UP11
UP100
P2
P1
Si 211L/5S
E
X
H
I
T
O
S
T
U
D
I
O
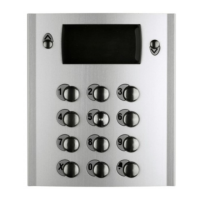
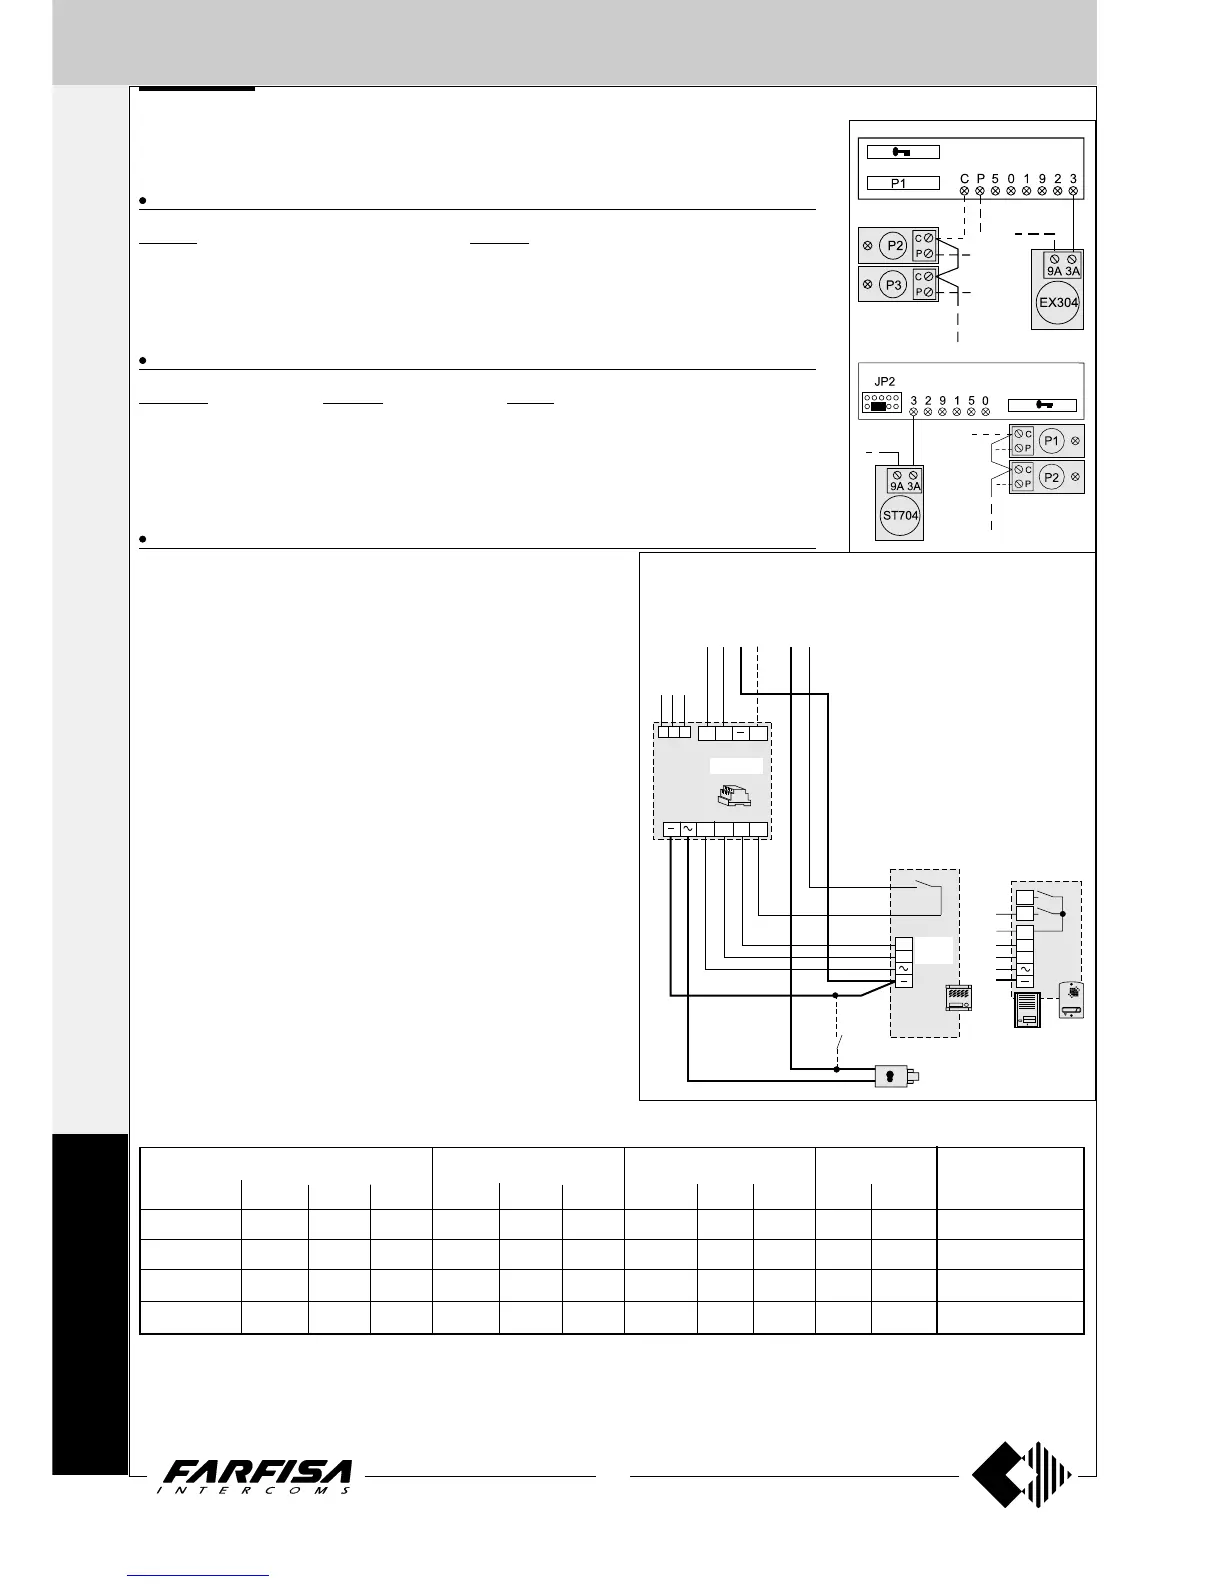
5 INTERCOMMUNICATING INTERCOMS CONNECTED TO 1 EXTERNAL DOOR
STATION WITH COMMON CALL
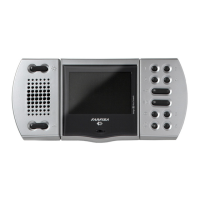
INTERNAL STATIONS
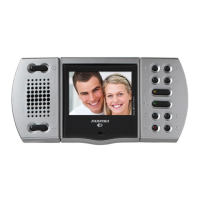
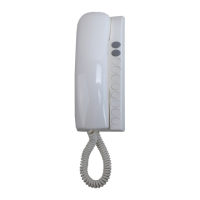
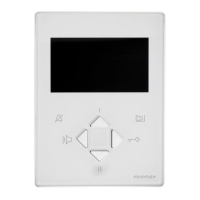
EXHITO series STUDIO series
... EX320 ... EX310 ... ST720W
... EX301 ... EX301 ... ST701
... ST704 ... ST704 ... ST704
EXTERNAL DOOR STATIONS
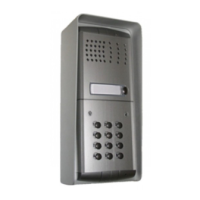
PROFILO series MATRIX series MODY series
1 PL71 1 MA71 1 MD71
1 PL81 1 MAS61 (
1
)1MD81
1 PL91 * 1 MA91 * 1 MD91 *
1 PL11P 1 MA11P 1 MD11
1 MD30
VARIOUS ARTICLES
1 PRS226E Power supply-switcher
... PRS210 Transformer
... RL 37 Relay module
1 PA ** Door release push-button (optional)
Application diagram
When using MD100, RP100, UP11 and UP100 amplified exter-
nal door stations place this diagram on the diagram on page 171
and line it up with the riser.
Warning.
- In the external door stations RP100
cut the jumper W1.
- In the external door stations UP do
not connect the yellow wire and
insulate it.
- For alternate current wires refer to
note 6 of the installation instruc-
tions on page 146.
1 SE ** Electric door lock (12VAC-1A)
... Refers to number of users (see table on the bottom of this page).
(
1
) Or MA61.
* Rain shelters are used instead of back boxes and hood covers.
** Articles not supplied by ACI Farfisa.
Working instructions. See page 183.
Notes
- Do not forget to connect terminals C of the additional buttons and install the
EX304 or ST704 speaker module in every intercom.
- For the connection of name-plate lamps, read notes 6 and 7 of the
installation instructions on page 146.
- For wires dimensioning refer to installation instructions and table on page
146.
ST 720
EX320