18
(MT11 - Gb2012)
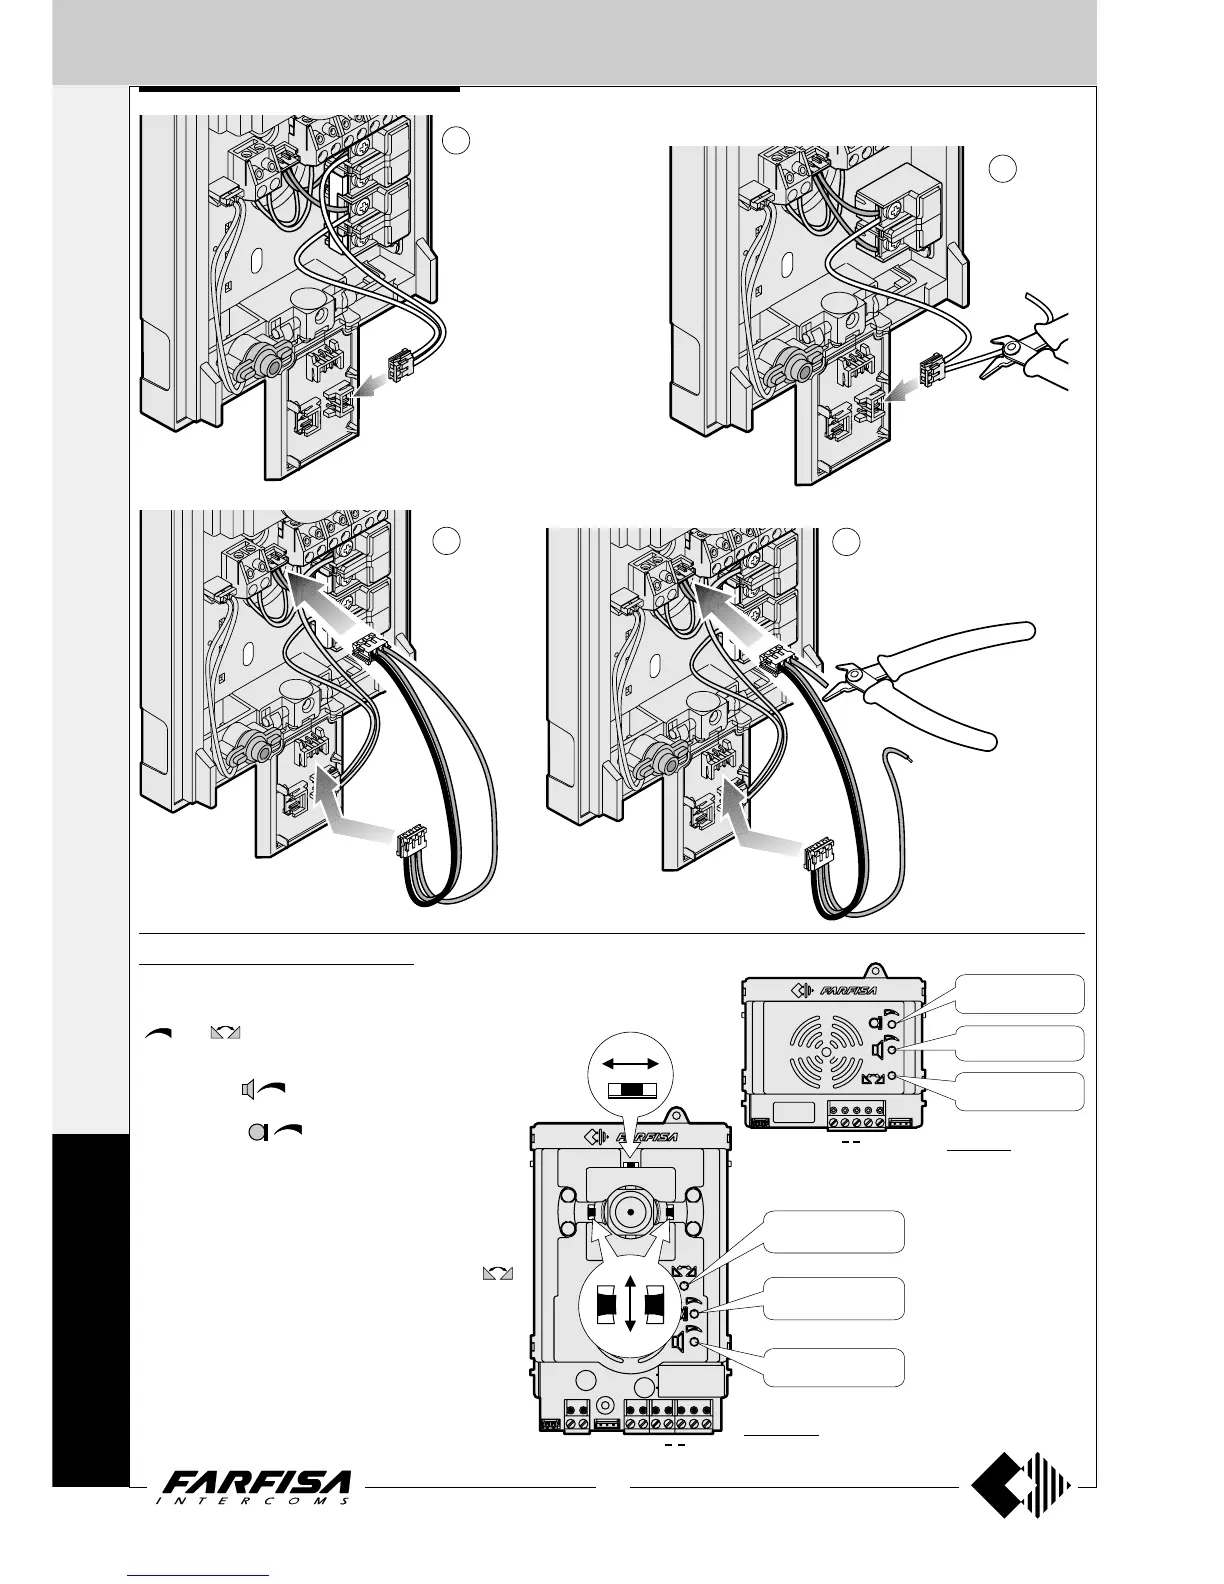
"E" terminal.
Cut the red wire to get "E"
terminal only if required by
the installation diagram.
4a
4b
5b
5a
Cut and keep insulated not
used wire.
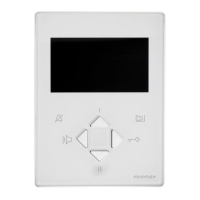
Adjustments AG30ED and AG40CED
Adjustments are carried out in the factory; should any be
necessary they can be re-adjusted from the outside with a
screwdriver with the trimmers identified by the symbols
"
" and .
Adjustment of volume
Rotate trimmer
to change the volume of the receiv-
ing channel (loudspeaker).
Rotate trimmer
to change the amplification of
transmitting channel (microphone).
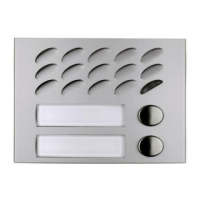
Anti-feedback adjustment
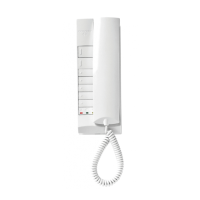
- Make a call from the door station and pick up the handset
of one of the videointercoms.
- Remove the microphone from its housing inside the
push-button panel, place it on the loudspeaker of the
electric door answering system and adjust the
trimmer until the feedback stops (Larsen effect).
- Replace the microphone in its housing.
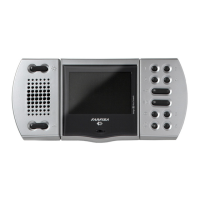
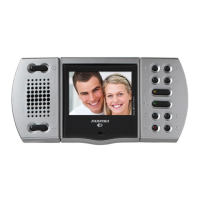
Sweeps
If necessary, you can manually change the camera framing
by adjusting the horizontal and vertical levers in the de-
sired direction (see figure).
HXASFY1
Transmitter adjustable
volume (microphone)
Receiver adjustable
volume (loudspeaker)
Anti-feedback (Larsen
effect) adjustment
±10°
±10°