6
(MT11 - Gb2012)
E
C
H
O
S
1+1
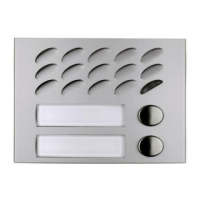
INTERCOMS *
4+1
VIDEOINTERCOMS
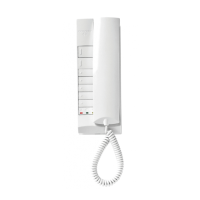
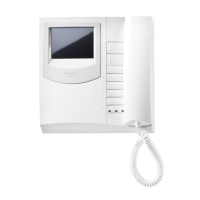
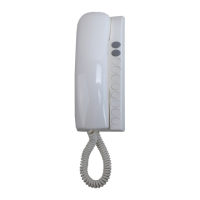
INTERNAL STATIONS
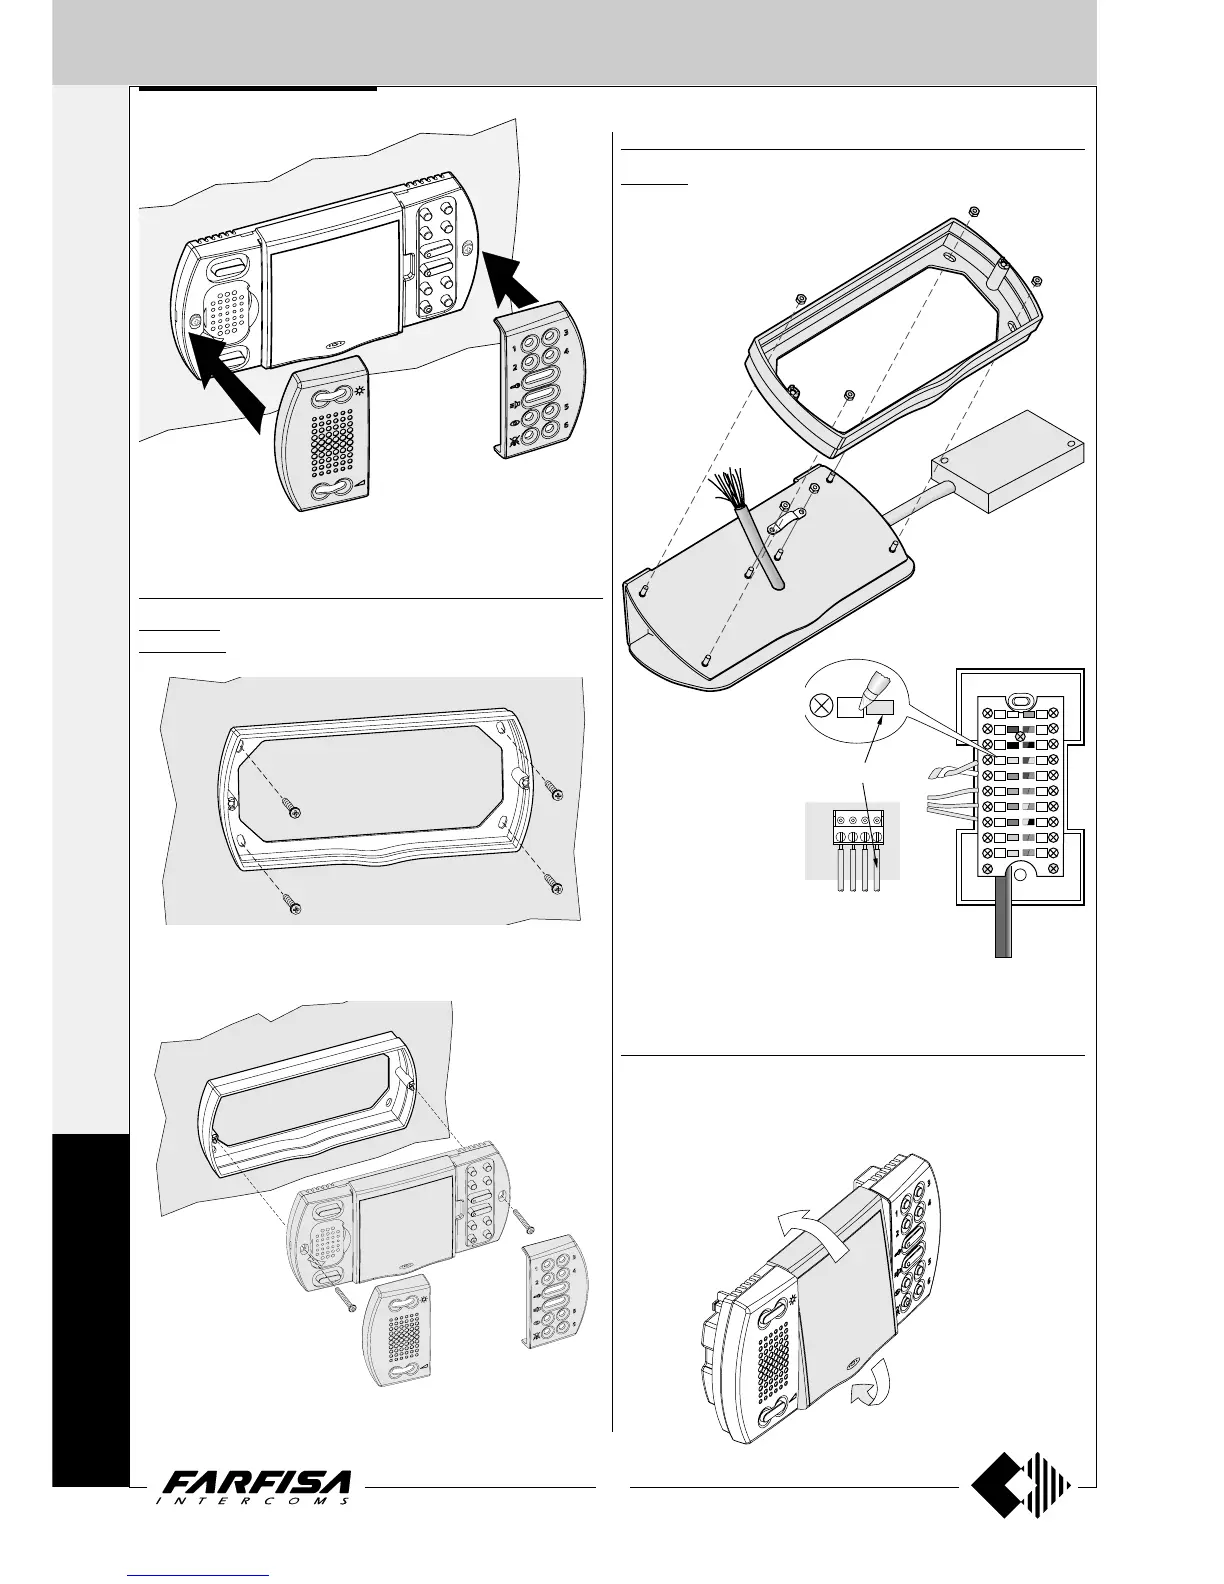
7 -Re-insert the two frontal plastic frames to the video intercom.
WA9100T. Wall adaptor for the EH9161CT videointercom.
WA9100W. Wall adaptor for the EH9161CW videointercom.
2 -Fix the video intercom to the wall adaptor using the two screws
supplied with the product.
1 -Fix the adapter to the wall with 4 expansion plugs at approx. 1.5m
from the floor.
TA9160. Table adapter for Echos videointercoms. Complete with
junction box and 2.4m connection cable with 20 wires.
- Fix the wall adaptor
WA9100T or WA9100W
to the table adaptor using
the supplied nuts.
- Insert the cable in the
proper hole of the adaptor
and fix it.
- Make the connection on
the videointercoms
terminal boards and write
down the correspondence between terminals and wire’s colour on the
label on the junction box.
- Fix the videointercom as shown in the figure 2 of this page.
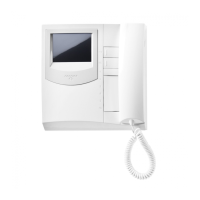
Display adjustment
To optimize the angle of view of the display it can be adjusted up and
down for about 15°.
Yellow
Junction box
X
H
Y
F
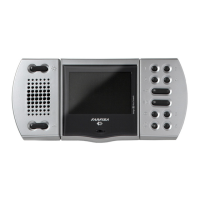
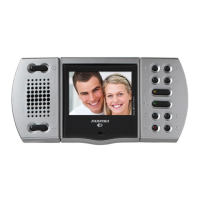
EH9161..
X
X
Y
Surface mounted version
Table version
WA9100T/W
TA9160