Go to fetco.com for the latest versions of all information Page 4 User Guide & Operator instructions P211e0November 2021
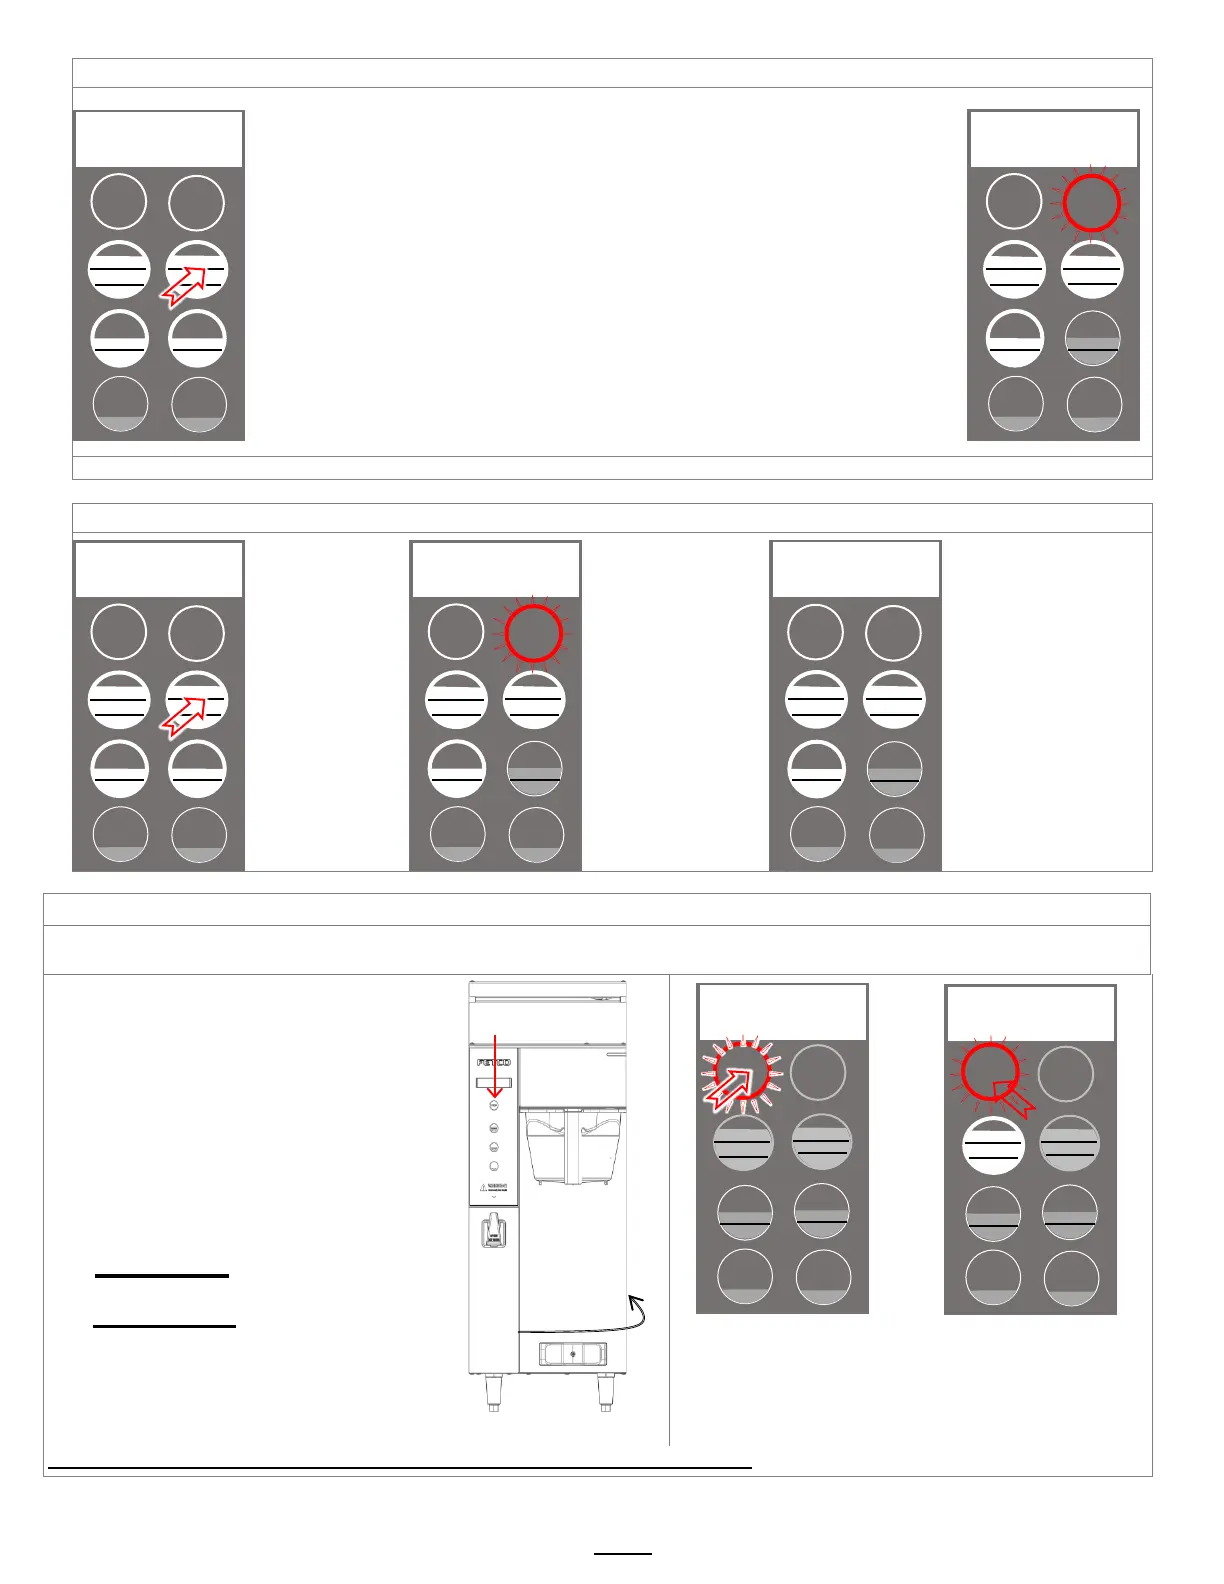
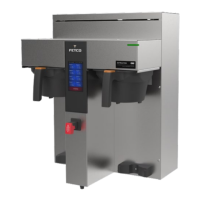
Screens shown are for twin brewer. Single brewer will not have menu A4-A6.
There are seven menu groups-A-G . See the following pages for the batch parameter definitions and all settings for the brewer
TO ENTER PROGRAMMING
1-Turn brewer “OFF” from power switch
2-Turn power switch to “ON”
…Screen will initialize and then
display digital process notifications
3-After Initialization-Red “STOP” Lamp turns on
4-Quickly press “STOP” button.
When brewer is In PROGRAMMING MODE
-the screen will display:
|BATCH PRG|
|A (or B-H) |
-Illuminated LED indicates active keypad positions
See the following pages for batch parameter
definitions and all settings for the brewer
Turn power OFF
Turn power ON
Wait for red LED
And quickly press STOP
button on front touch pane
First screen will display
for PROGRAMMING-A
Scroll through main menu
topics by pressing “STOP”
Note: Only the left side buttons of a two sided brewer are used for programming
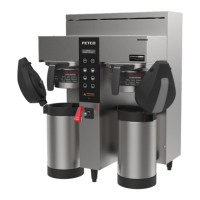
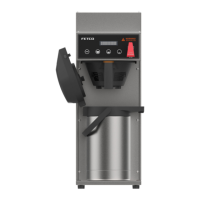
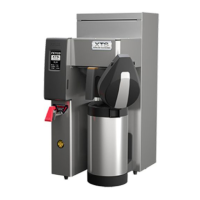
1. Turn the power switch “ON”. (Twin Shown)
2. Prepare a brew basket with the correct size filter and appropriate amount of
coffee.
3. Slide the brew basket completely into the rails.
4. Place a clean, empty, and preheated dispenser under the brew basket.
5. Select a batch & hold the corresponding BREW button in for 1 second to start
6. -STOP button will illuminate,
-Countdown time will display,
-Selected BREW button will flash to indicate brew is in progress.
-All other BREW buttons for that brew head will extinguish.
7. When the brew cycle is finished,
STOP button will extinguish and the BREW button will continue to flash for the
amount of time programmed into the DRIP DELAY setting.
This indicates that coffee may still be dripping from the brew basket
For safety- do not remove brew basket until drip-out is complete.
Twin Brewer ready to brew. Example shown: Pressing top right brew position
shows top right
brew position
being activated,
(as above)…
Left side is in
“READY-MODE”
during brew, but
left side buttons
can be accessed
for brewing
activates and top
right button will
pulsate.
the right side
extinguish.
Count down timer
5:30 for Batch 1
5:00 for Batch 2
The brewing cycle
completes in four
minutes.
Stop button
extinguishes and drip
out starts at 1:30
minutes.
Do not remove brew
basket during this
segment.
Brewer returns to
“ready to brew” (screen
one) after drip out
completes
STOP
STOP
STOP
On/OFF switch
located lower
right on back of
brewer
STOP
STOP