Dreamer NX User Guide | www.flashforge.com
2. Click [Load] and choose a .stl file from hard drive.
3. The object will then be shown on the screen.
4. Click [Load] and choose another (or the same) file from hard drive.
5. Click on the object and then click on [Extruder], select [Use left extruder]to
one part and select【Use Right Extruder】the other part.
NOTE: one object is turned to green, that indicates it will be print wit the left
extruder.
6. Now the 3D model is ready to be created.
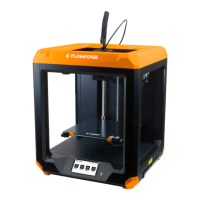
Before introducing the connection methods, let me give you a brief introduction
of Dreamer NX’s interfaces.
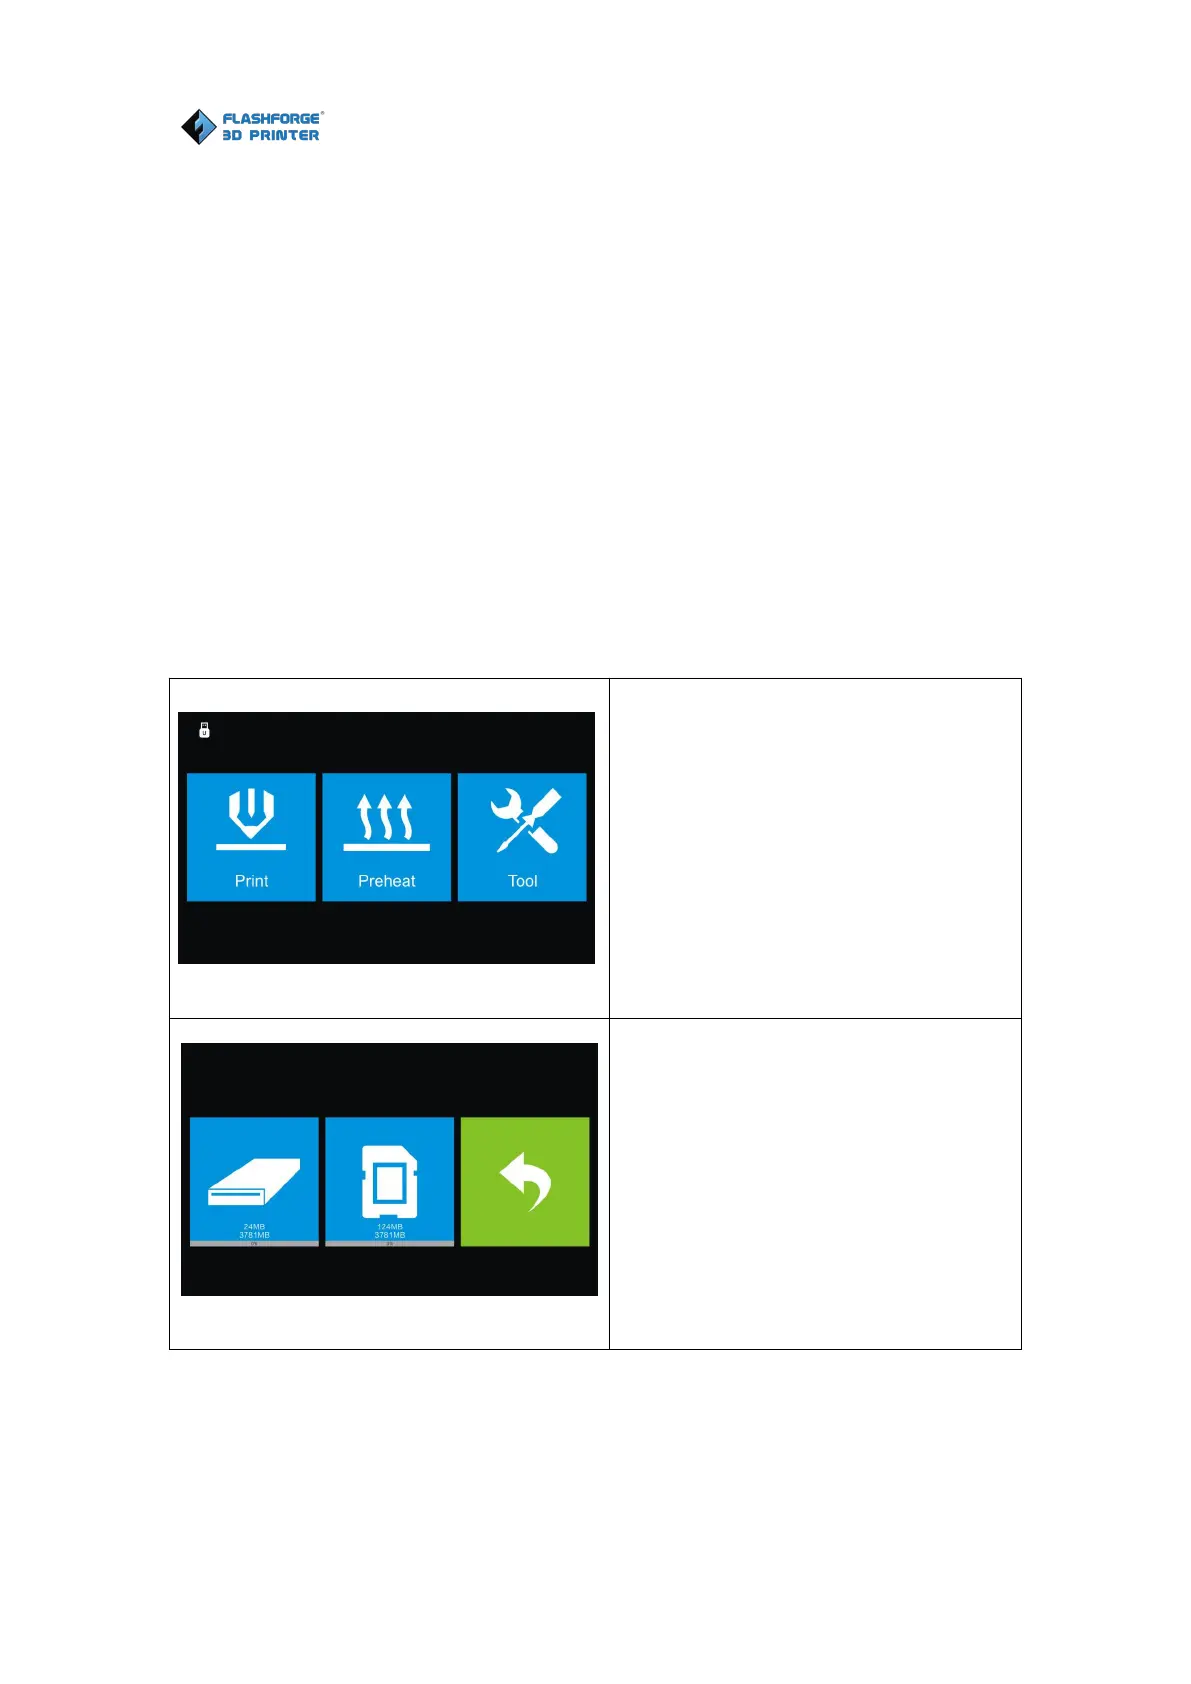
Read the print file from
The Local memory card
The SD card
Back