Dreamer NX User Guide | www.flashforge.com
Chapter 3. Unpacking
This chapter will present you the whole unpacking procedure of Dreamer NX
3D printer. (Note: Make sure you read the whole unpacking guide)
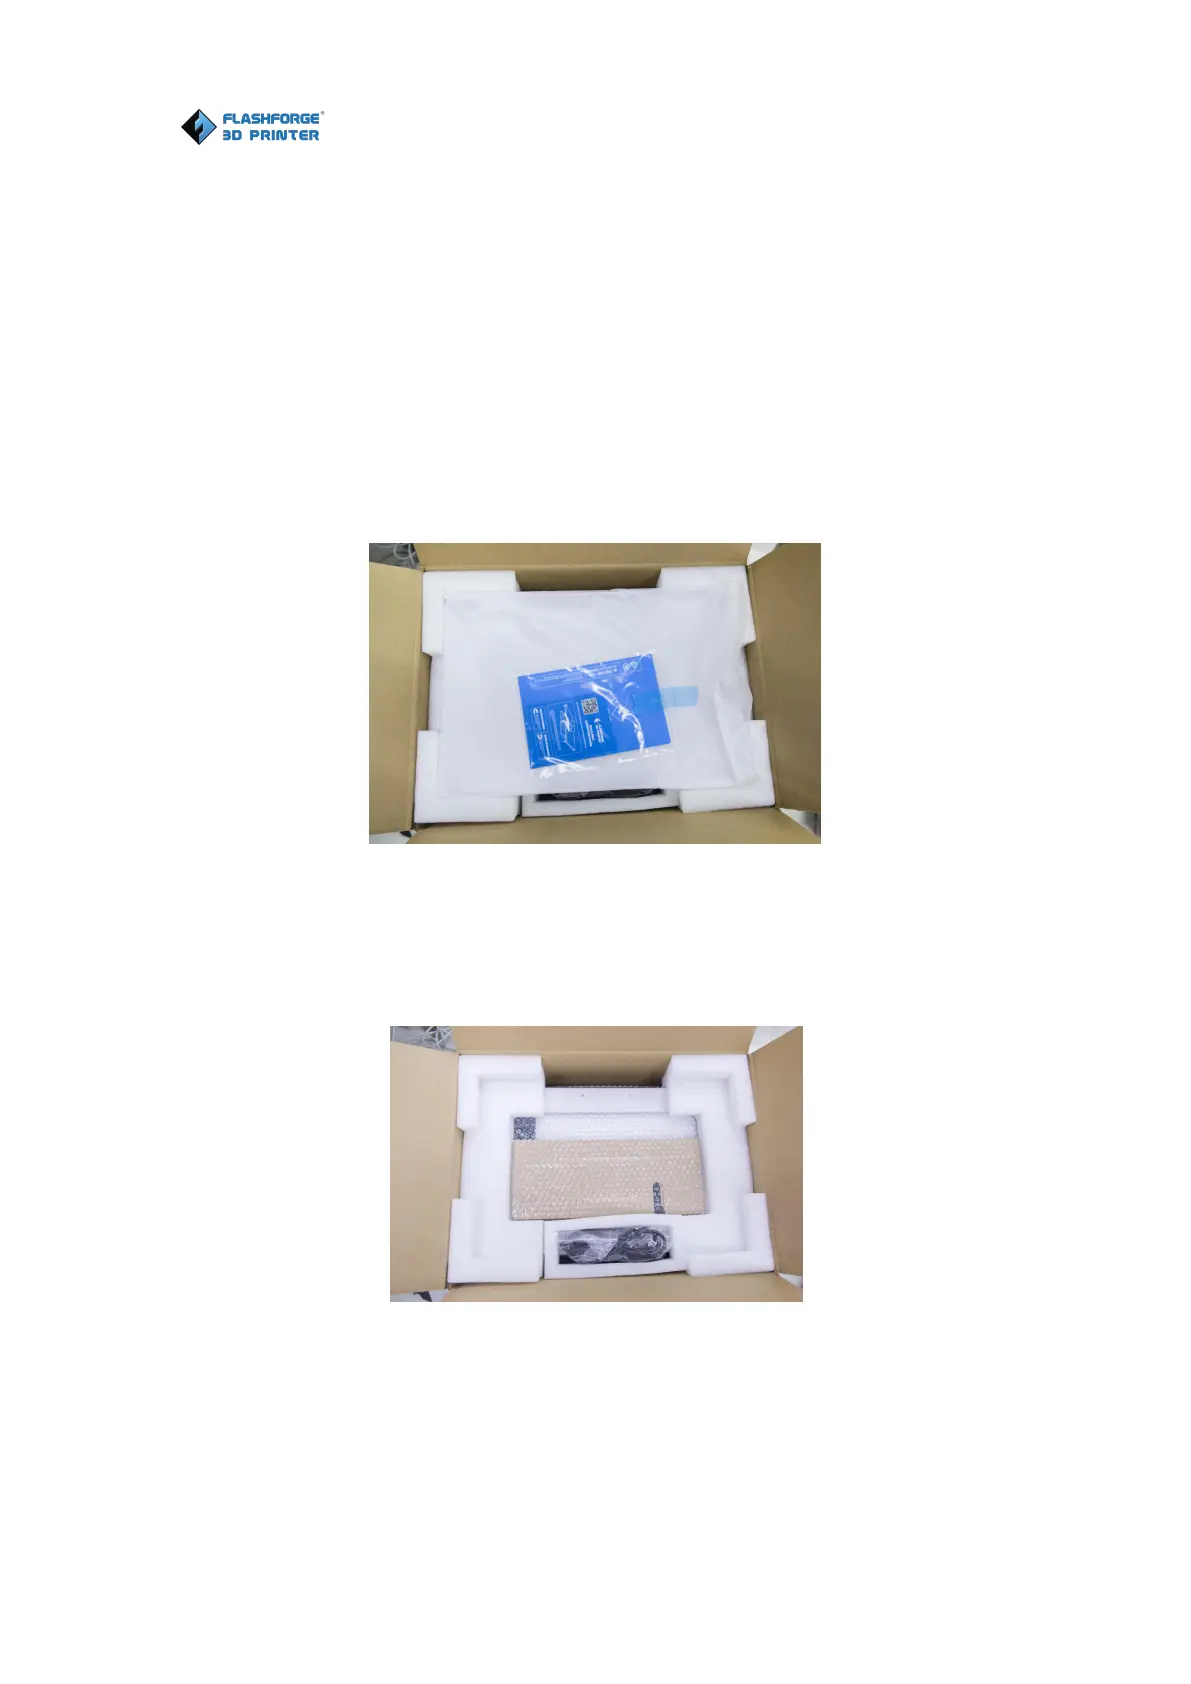
1. (3-1)Put Dreamer NX package on the clean, tidy workbench, using a knife
to cut the tape, then you can see a quick start guide, a leveling card and two
build tapes. Please read the quick start guide first and start your 3D printing
journey with your Dreamer NX 3D printer.
2. ( 3-2 ) Remove the top protective foam pieces, which also houses the
DreamerNX’s lid and put them aside. The Dreamer NX unit and a power cable
will be exposed.
3-2
3.
(
3-3
)
Firmly grasp the two side handles of FlashForge Dreamer NX. Lift it
out of the box and place it on a stable surface. Then you will see the Tool Bag