Dreamer NX User Guide | www.flashforge.com
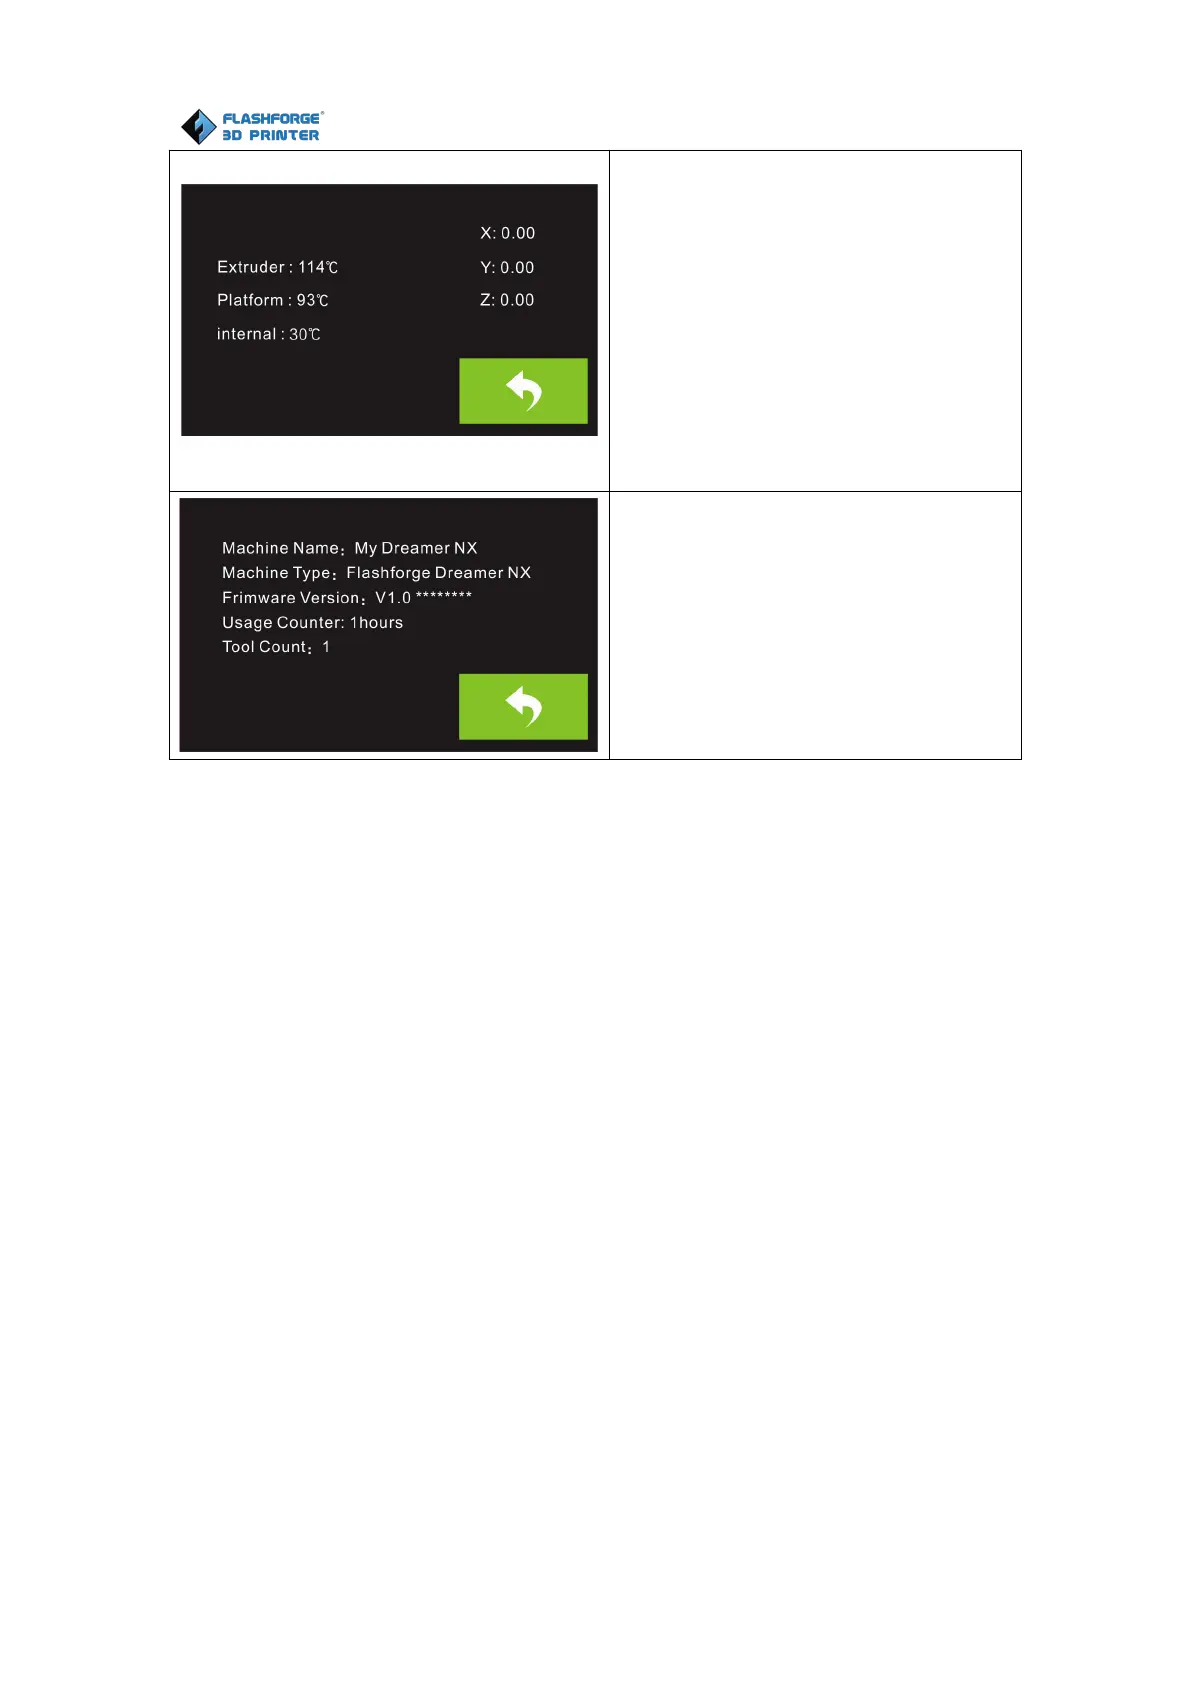
Status:
It displays the real-time status of the
extruder temperature, the platform
temperature and the internal
temperature.
About:
It displays the basic information
about the device.
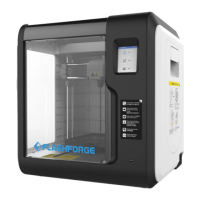
7.2 Methods of printing
1. Connect Dreamer NX to the computer with the USB 2.0 cable.
2. Turn on the Dreamer NX. Make sure the build plate is leveled and filament is
loaded into the left extruder.
3. Select [Print] from menu bar, then select [Connect].
4. Click on [Rescan], then [Connect].
5. Now the printer is connected with FlashPrint. A status box at the lower right
corner will show the temperature of both extruders and the platform.
6. Click [Print] icon, and a printing options screen will appear.Check the box
“Print When Slice Done” and click [OK].
7. Save the file at any location, and the object will start slicing
8. After slicing the object, it will automatically upload the gcode to the Dreamer.