Do you have a question about the Flashforge Inventor 2 and is the answer not in the manual?
Remove packing box, printer, and verify included accessories like filament.
Remove all foams, tape, bags, and ties securing the printer.
Acknowledge completion and save packaging.
Lists all accessories and parts provided with the Inventor 2 printer.
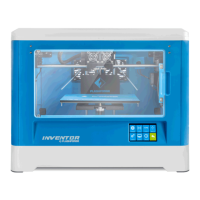
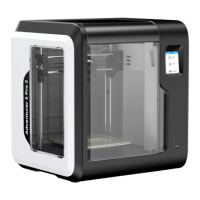
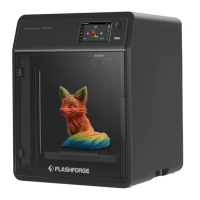
Visual guide and list of all parts of the Inventor 2 printer.
Install filament cartridge and thread filament through the mechanism.
Connect the filament guide tube to the cartridge and extruder.
Connect power adapter, cable, and switch on the printer.
Adjust display language and understand bed adjustment nuts.
Start auto-leveling and fine-tune nozzle-to-bed distance.
Finish all leveling points and confirm successful adjustment.
Access the load function and begin the filament feeding sequence.
Heat the nozzle and push filament through the extruder.
Verify leveling, filament loading, and nozzle cleanliness.
Insert USB, choose file, and initiate the printing process.
Access unload function and prepare the filament path.
Heat nozzle, release lever, and pull out filament.
| Nozzle Diameter | 0.4 mm |
|---|---|
| Filament Diameter | 1.75 mm |
| Heated Bed | Yes |
| Bed Temperature | up to 100°C |
| Layer Resolution | 100 - 400 microns |
| Print Speed | 20-100 mm/s |
| Connectivity | USB, Wi-Fi |
| Supported Materials | PLA, ABS, PETG |
| Display | 2.8-inch color touchscreen |
| Printing Technology | FDM (Fused Deposition Modeling) |
| Nozzle Temperature | up to 240°C |
| Power Requirements | 100 - 240V, 50/60Hz |