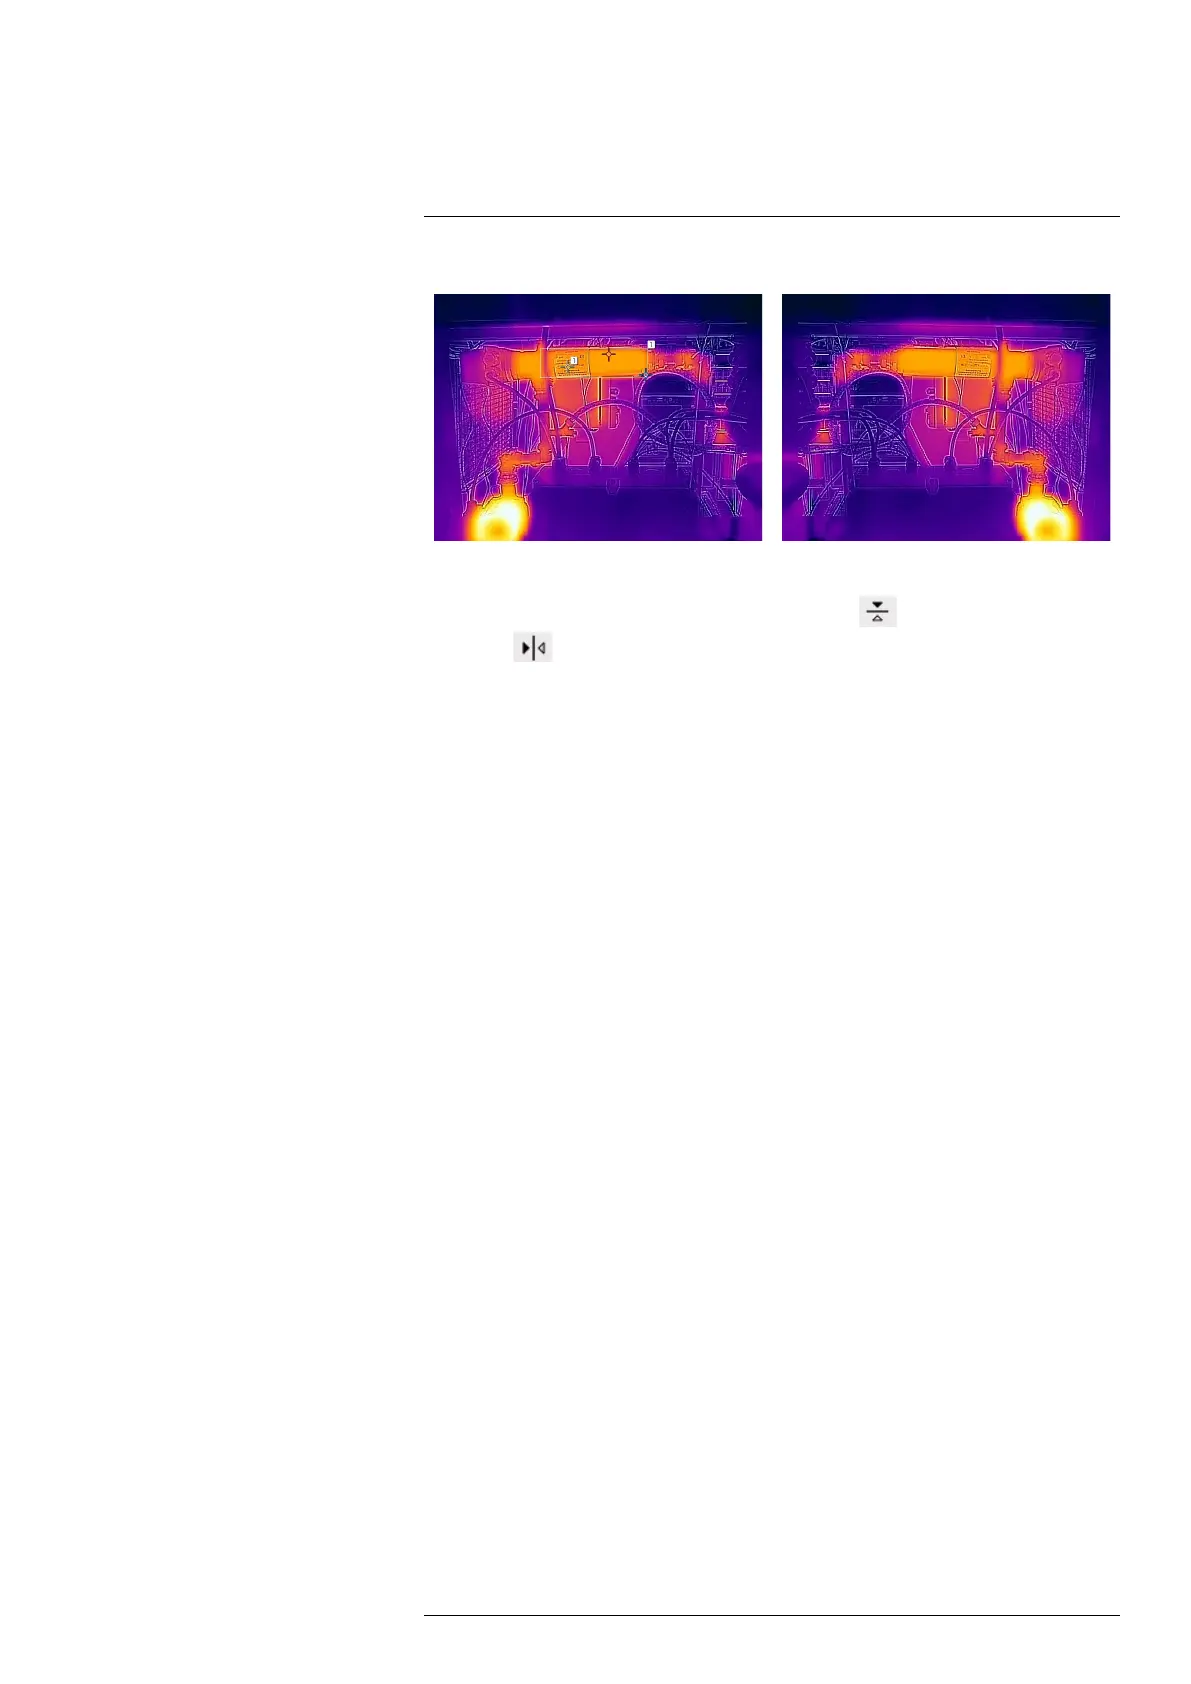
Horizontal + vertical flip
To change the flip setting, follow this procedure:
1. On the toolbar and in the View modes section, click
to flip the image horizontally
or click
to flip the image vertically.
10.4.12 Full screen view
To view the image in full screen, follow this procedure:
1. On the toolbar and in the View modes section, click Full screen.
2. To return to normal view, press the Esc (Escape) key on the computer keyboard.
10.4.13 Saving a snapshot
It is possible to take a snapshot and save the image with the current measurement re-
sults. The image can later be viewed and managed on the Library tab. Up to 100 images
can be saved.
To take a snapshot, follow this procedure:
1. On the toolbar and in the View modes section, click Snapshot.
2. The Notification text Snapshot stored is temporarily displayed under the live image.
10.4.14 Pausing the live image stream
To pause or freeze the live image stream, follow this procedure:
1. On the toolbar and in the View modes section, click Freeze.
2. To resume the live image stream, click Unfreeze.
10.4.15 Hiding the overlay graphics
To hide all overlay graphics in the live image, follow this procedure:
1. On the toolbar and in the View modes section, click Hide overlay.
2. To show any hidden overlay graphics, click Show overlay.
10.4.16 Filter levels
The filter level affects how much the raw image is filtered before it is presented to the
user. Depending on the scene, the filters can provide a better image quality. Different ap-
plications might benefit from different filters, and it is recommended to try the available fil-
ter levels for each application. The measurement accuracy is not affected by the filters.
10.4.17 Camera presets
It is possible to save the current camera setup, including measurement tool configura-
tions, alarms, and colorization settings. The zipped file with the presets is saved to disk
in your Downloads folder. It can later on be uploaded and applied.
 Loading...