427-0075-01-12 Version 110 November 2017 21
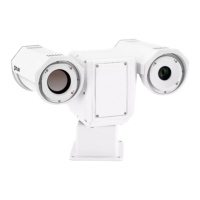
2 Basic Operation and Configuration
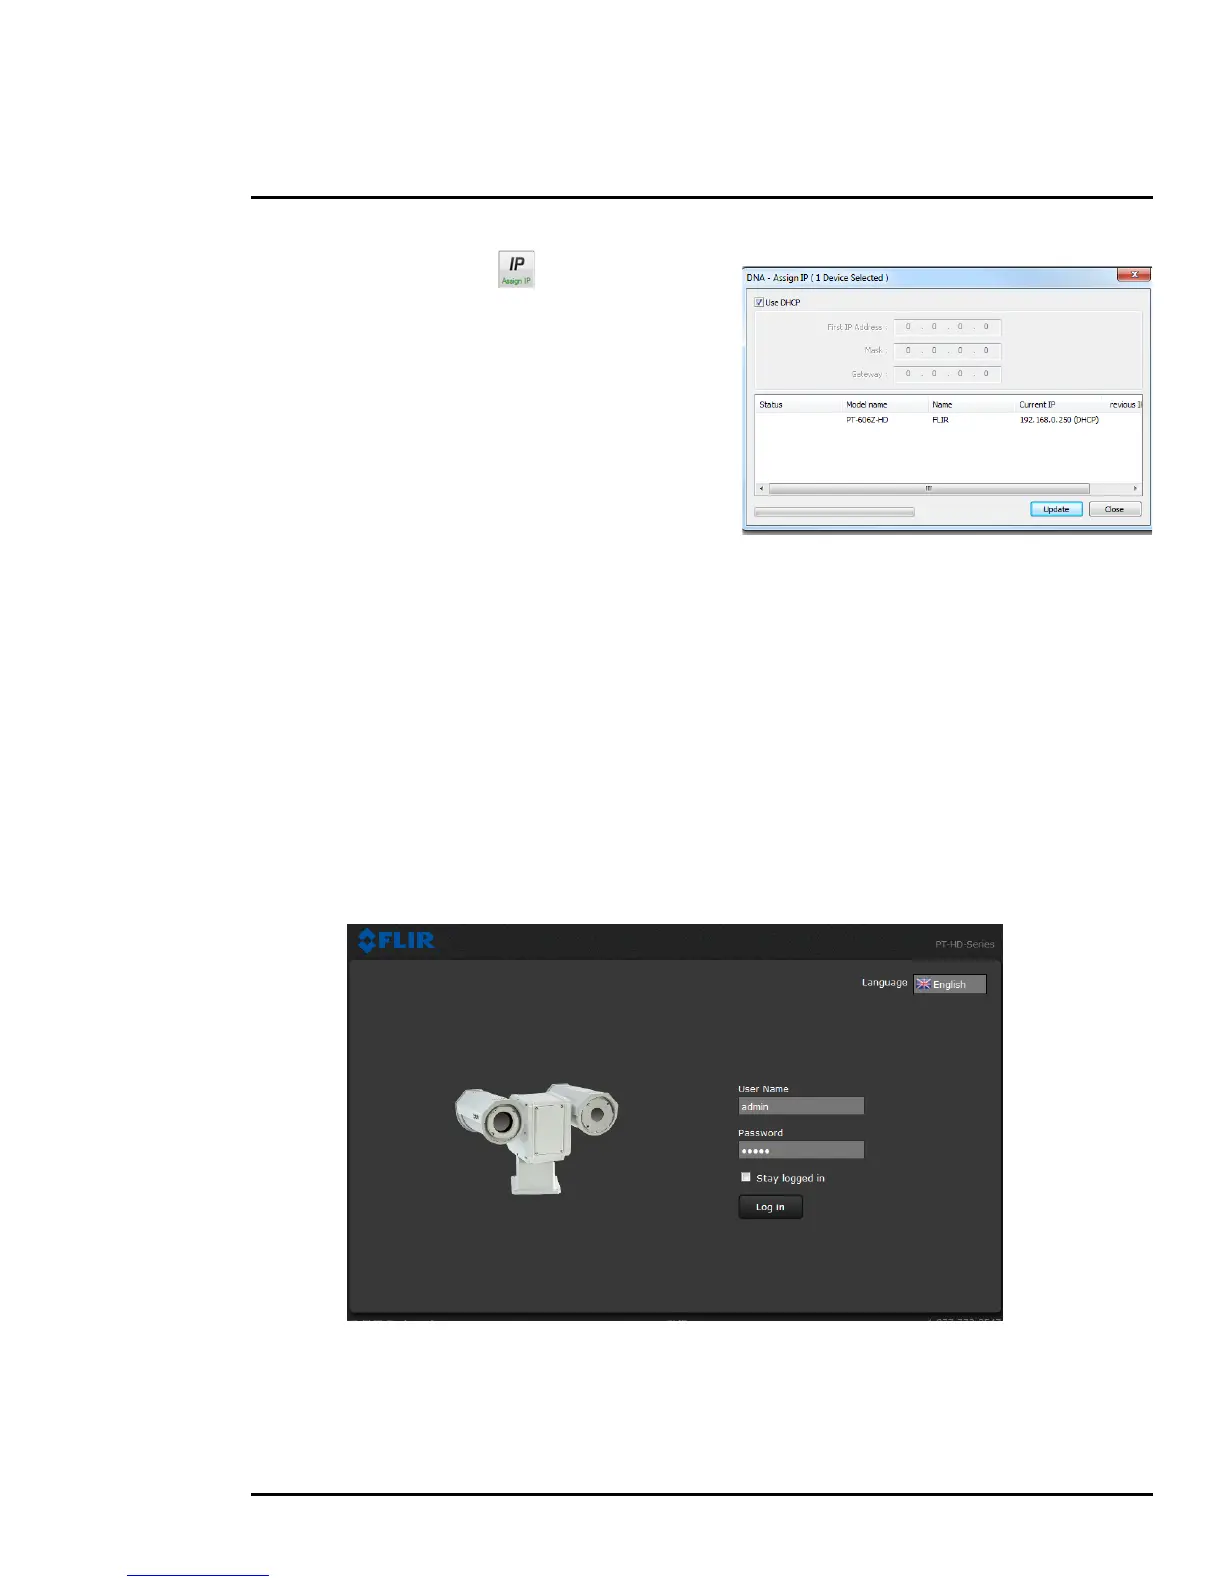
Step 4 Select Assign IP to change the IP
address from the default DHCP to a static IP.
Step 5 Double-click the camera in DNA’s
Discovery List to open the camera’s web
server Login page in Internet Explorer or
point your web browser to the camera’s IP
address.
Step 6 Using a web browser, configure the camera
settings, such as camera date/time, and
other parameters, so the camera is
compatible with the existing network.
2.3 Log into the Camera Web Page
Use a web browser to connect to the camera’s web server using one of three User Names: user,
expert, or admin (the default passwords are user, expert, and admin respectively). The user login
can be used to do the initial bench test of the camera. The expert login may be used to make
configuration changes such as setting the IP address and other server settings. The admin login has
access to all configuration, setup, and maintenance settings. The login passwords should be changed
(admin login required) to prevent unauthorized access. Two web sessions can be active at once. An
inactive session will be logged out after 20 minutes.
For information on how to change the passwords, refer to Server > Security Options, pg. 35.
Open a web browser and enter the camera IP address. The login screen with a picture of the camera
will appear. Enter user for the User Name and user for the Password, and click Log in.
 Loading...