8. Clean and inspect the filler tube and plunger for
damage. Replace if necessary.
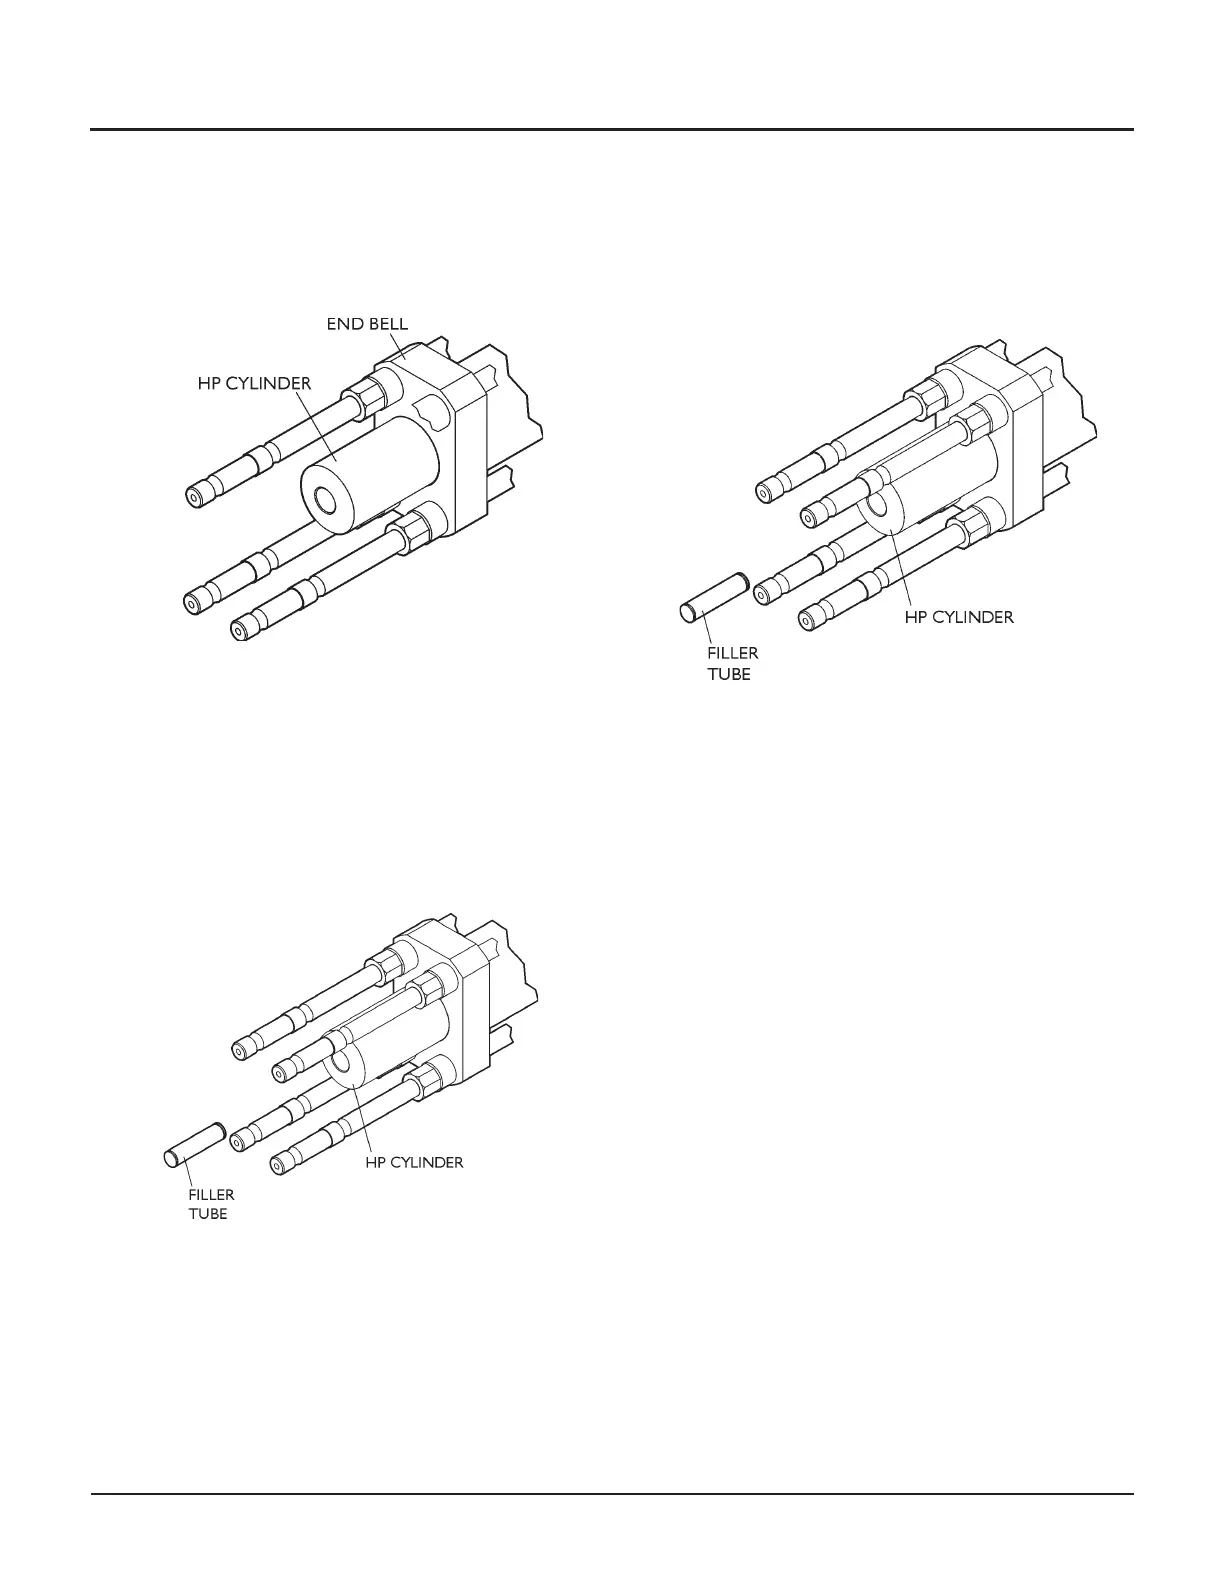
9. Slide the high-pressure cylinder over the ceramic
plunger and into the end bell bushing. A slight rock
-
ing motion will help ease the cylinder into position.
10. Reinstall the filler tube in the new high-pressure
cylinder.
CAUTION
Make sure the filler tube is oriented correctly.
There is a wall inside the tube that must be at the outer-
most end of the tube when it is inserted. Failure to orient
the tube correctly will damage the intensifier assembly.
11. Thoroughly clean the tie rods, nuts, and washers to
remove the old anti-seize lubricant.
12. Reinstall the check valve assembly and end cap to
-
gether by sliding the end cap along the tie rods and
guiding the high-pressure cylinder into the bronze
bushing of the end cap. Take care to align the check
valve assembly with the correct orientation as previ
-
ously noted in Step 5.
13. Reload the intensifier tie rods.
•
See Maintenance Procedure A, Assembling the
Intensifier
14. Reconnect the high-pressure tubing and the inlet
water hose.
© Flow International Corporation M-376 | 29
CHAPTER 3
Maintenance Procedures